Voice-Control Monitor Calibration: Setup
By Kai Moreno • 24th Apr
Integrating voice control into your display monitor calibration workflow eliminates friction from desktop optimization while maintaining the spec-first discipline that prevents costly mistakes. This isn't gimmickry; it is workflow architecture: hands remain on keyboard or tools; monitor position, brightness, and color adjustments respond to voice commands. When calibration profiles anchor your reference, voice control becomes your deployment layer. To extend this beyond your display, explore our smart home monitor integration guide.
Why Voice Integration Matters for Monitor Systems
Monitor calibration establishes a neutral reference (a measured, documented state) that your color or brightness decisions depend on. Once locked, that profile must be accessible without breaking focus or workflow. Voice commands reduce the friction between calibrated state and active work. For multi-monitor setups, remote adjustment avoids the desk traversal that kills productivity on deep workstations or standing rigs at full height.
The core challenge: compatibility. Your display, smart assistant, and calibration ecosystem must speak the same language. A voice command to adjust color temperature is worthless if your monitor lacks network capability or API hooks. This is where spec discipline prevents the kind of integration debt that plagued me when I clamped a premium arm to a 49-inch panel without mapping full extension torque and offset (I learned then that performance starts with fit, not after purchase). Spec the desk, then the gear (never the other way around). The same principle applies to voice integration: measure what your ecosystem actually supports before you rely on it.
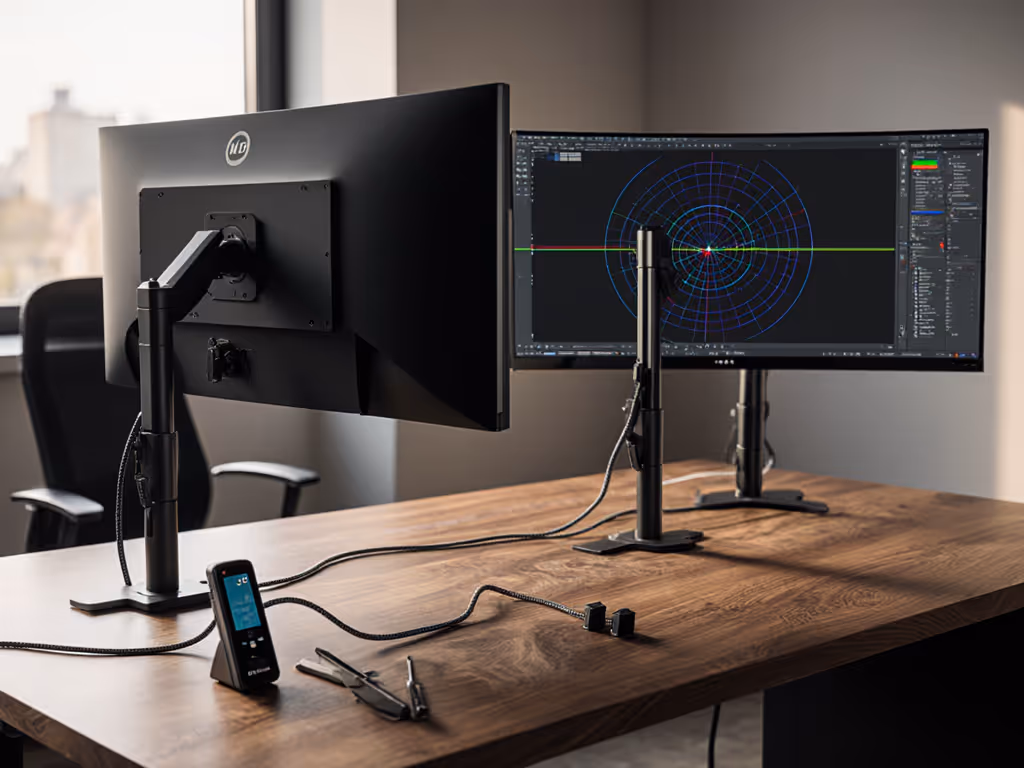
1. Inventory Your Monitor's Connectivity & Control Protocol
Voice control requires a route from the smart assistant (Alexa, Google Home, Apple Siri) to the monitor's firmware. Check your monitor's manual for:
- Native smart-home integration: Does it appear in the manufacturer's app? Can it connect to Wi-Fi or Bluetooth? Some high-end displays (typically USB-C docking monitors and premium gaming panels) ship with cloud-connected companion apps that respond to voice via IFTTT (If This Then That) or native ecosystem hooks.
- HDMI-CEC (Consumer Electronics Control): If your monitor supports CEC and is connected via HDMI, commands can route through a receiver or hub. CEC is unreliable for complex commands but works for basic on/off and input switching.
- USB or Ethernet control: Workstation monitors sometimes expose control APIs via network interface or USB. Confirm the protocol and any authentication requirements.
- Third-party automation bridges: Devices like Home Assistant or Lutron can intercept non-native monitors and map voice commands to IR or network calls if the monitor supports remote control at all.
Measurement point: Document which controls are exposed: brightness, color temperature, input selection, power. Not all are voice-friendly; power and input switching are most reliable.
2. Choose Your Smart-Assistant Ecosystem
Voice control is only as useful as integration breadth. Your assistant must reach your monitor and your other desk peripherals (lights, webcam, microphone, display switcher).
- Amazon Alexa: Widest third-party integrations; thousands of skills. Strongest for smart-home routing and IFTTT workflows. Low latency for voice command → action. Requires an Alexa-enabled device (Echo Dot ~ $30 to $60 USD) near your desk or integration into a multi-room speaker.
- Google Home: Deep integration with Chromecast and select smart displays; clean automation via Home app routines. Smaller ecosystem than Alexa for niche monitor brands.
- Apple Siri + HomeKit: Tightest security and local processing (commands execute on-device, not cloud). Smallest monitor ecosystem; primarily works with AirPlay-capable or HomeKit-native displays. Best if your desk runs Apple silicon (Mac Studio, MacBook Pro).
Compatibility matrix: List the monitors and accessories you own, then cross-check the official app for each smart assistant. If your monitor isn't listed, third-party integration is your only path, and fragile. For platform-specific quirks and driver support, compare monitor accessories by operating system.
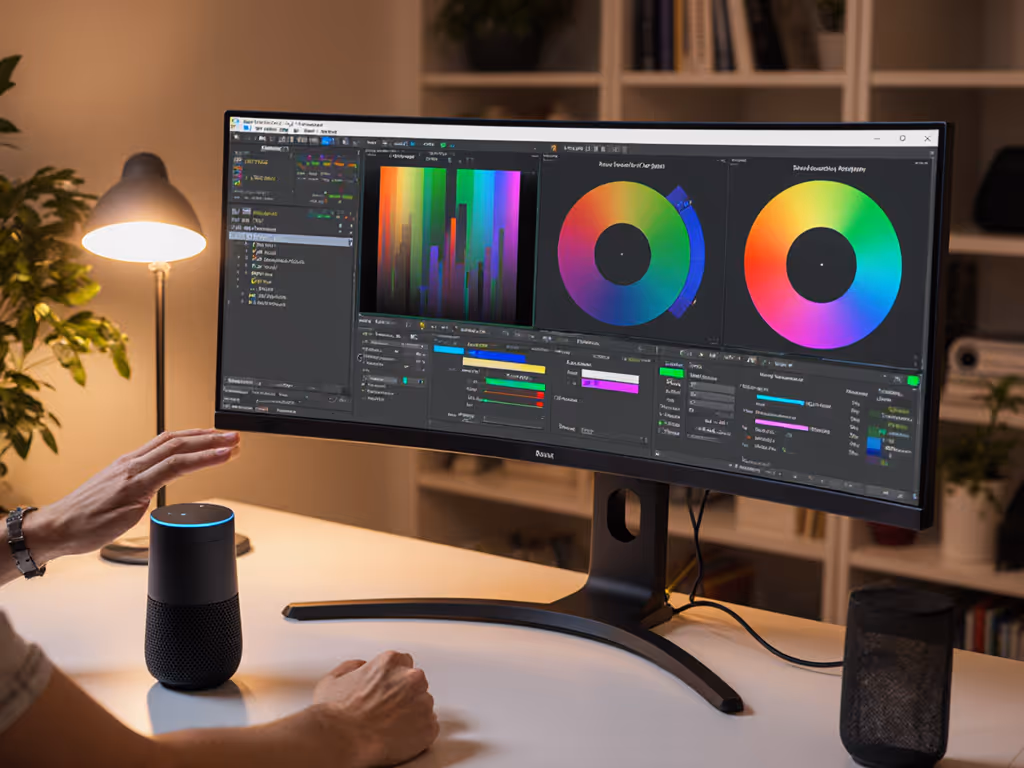
3. Map Calibration States to Voice Routines
Calibration is about locked reference points: a specific brightness (e.g., 100 cd/m²), color temperature (e.g., 6500K), and gamma curve. Voice routines automate switching between calibrated profiles, not creating them.
Define voice commands for each context:
- "Alexa, calibration color": Loads your color-grading profile (brightness 80 cd/m², 5600K, hardware LUT applied).
- "Alexa, calibration video": Loads your video-reference profile (100 cd/m², 6500K, 2.4 gamma).
- "Alexa, brightness work": Boosts to 150 cd/m² with adaptive color temperature for ambient daylight.
Each routine chains multiple actions: display brightness adjustment, color temperature shift (if supported), and optionally lighting adjustment to reduce room contrast. If you haven't added it yet, start with bias lighting benefits to stabilize perceived contrast during profile switches. Smart-home platforms let you create these chains via their mobile app or web dashboard.
Verification: Test each routine from your monitor's reference position (typically 50 to 70 cm from eyes). Confirm the values match your documented calibration profile. If brightness doesn't shift, check HDMI-CEC is enabled on both monitor and receiver, or verify the monitor's app supports that control.
4. Validate Latency and Reliability
Voice commands introduce network latency. A Bluetooth connection is 50 to 100 ms; Wi-Fi-connected monitors may add 200 to 500 ms. Cloud-dependent commands (routing through Alexa servers) can spike to 1 to 2 seconds on poor connectivity.
For calibration switching, this is acceptable (you are not adjusting in real time). For brightness during active work, anything above 500 ms feels sluggish.
Test protocol:
- Calibrate your reference brightness and measure it with a meter (even a phone spectrometer app gives relative data).
- Issue a voice command to change brightness and measure time from "wake word" to display response.
- If latency exceeds 1 second, check Wi-Fi signal strength or switch to Bluetooth (if available).
- Repeat the test 10 times; if 2+ commands fail silently, the integration is unreliable, so document it and investigate the monitor's app logs.
5. Secure Your Monitor's Network Credentials
If your monitor connects to Wi-Fi or a smart-home hub, it enters your network. Weak credentials or unpatched firmware are attack vectors.
- Update the monitor's firmware before enabling network control. Check the manufacturer's support page quarterly for security patches.
- Use a strong, unique password for the monitor's companion app account.
- If using a smart-home hub (Amazon Echo, Google Home hub, Apple TV), enable two-factor authentication on the hub's primary account.
- Place the monitor on a separate Wi-Fi network ("IoT" SSID) if your router supports network segmentation, isolating it from your work devices.
6. Document Your Setup & Fallback Plan
Voice integration fails: networks drop, firmware updates break compatibility, or the assistant misunderstands. Your calibration must not depend on voice.
Create a recovery routine:
- Print or screenshot your calibration profile (brightness, color temp, gamma values).
- Note the manual controls on the monitor's panel; can you adjust brightness with buttons if the network is down?
- Keep the manufacturer's app installed and logged in; it is your fallback if voice commands fail.
- Document each routine name and what it does. Example: "Brightness 100 cd/m², 6500K, Adobe RGB" saves 2 seconds vs. manual steps.
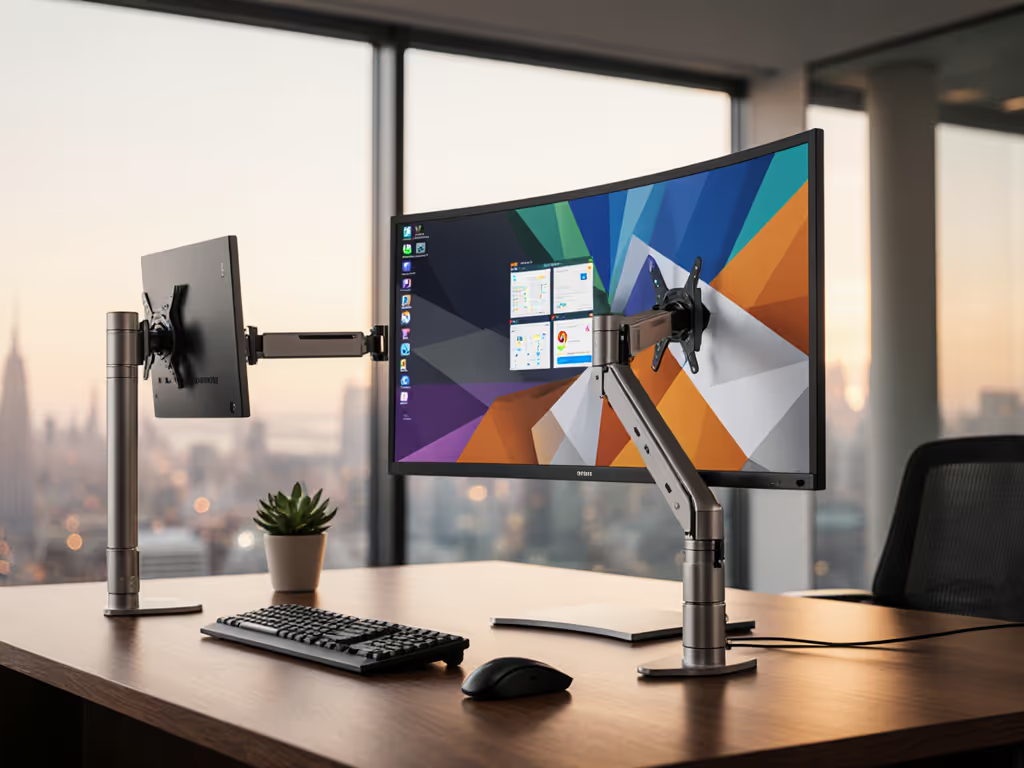
7. Test Multi-Monitor Scenarios
If you run dual or triple displays, voice commands must target the right monitor. Also plan for mixed-resolution multi-monitor setups, where scaling differences can affect profile consistency. Most assistants can't distinguish between "Monitor 1" and "Monitor 2" without explicit device names.
- Rename each monitor in its companion app: Desk-Left-U2515, Desk-Center-LG, Desk-Right-Gaming. Include position and brand.
- Test voice commands with full device names: "Alexa, set Desk-Left-U2515 to calibration color."
- If your ecosystem doesn't support per-device targeting, route commands through a scene (e.g., "Alexa, engage color grading") to trigger all three monitors simultaneously.
Next Step: Start with a Single Calibration Profile
Don't attempt voice integration across five profiles on day one. Pick your most-used calibration state (likely your primary work brightness and color temp) and create one reliable routine. Test it daily for a week. Once that routine runs without failure, expand to additional profiles. This incremental approach reveals integration weak points before you depend on voice for your entire workflow. Spec each routine, measure latency, and document fallbacks. Voice control is a layer; calibration is your foundation, so keep them separate.
Related Articles