Top Monitor Mounts for Your OS: Ergonomic Setup Guide
By Mina Okafor • 1st Nov
Finding the right top monitor mounts isn't just about hardware, it's about creating a seamless connection between your operating system workflow and your physical comfort. Your cross-platform monitor accessories should adapt to you, not the other way around. I've seen too many professionals inherit mismatched setups that cause strain before they even start their workday. Early in my career, I inherited three mismatched monitors stacked high. By week two, my neck ached and my workflow slowed. Repositioning around neutral posture (arm weight, focal distance, reach arcs) restored comfort and speed. Now I prototype every mounting choice with bodies first, hardware second.
Comfort measured in millimeters beats power measured in watts. When your ergonomics align with your operating system's display management, you'll notice fewer interruptions, better focus, and sustained productivity throughout your workday.
Understanding Your Ergonomic Foundation
Before you browse top monitor mounts, understand that your operating system's display management capabilities directly impact your physical setup. macOS has different multi-monitor behavior than Windows, while Linux distributions offer customization that can either help or hinder your workflow.
Your eyes and neck don't care about your OS. They care about one thing: maintaining neutral posture. This means:
- Your top display edge should be at or slightly below eye level
- Monitors positioned 20-30 inches (50-76 cm) from your face
- Centered within your natural reach arc (about 18-24 inches/45-60 cm from your torso) For a deeper walkthrough on ideal eye level, viewing distance, and tilt, see our ergonomic monitor height guide.
When your monitor positioning aligns with your OS's display management, you'll compound attention and accuracy throughout your workday. Comfort is a performance spec.
Step 1: Audit Your Workspace and Physical Needs
Before selecting cross-platform monitor accessories, assess these physical elements:
- Desk depth: Measure from the front edge to the back (minimum 24 inches/61 cm recommended for dual monitors)
- VESA pattern: Check your monitor's back panel for the 4-hole mounting pattern (typical configurations: 75x75mm, 100x100mm, 200x100mm)
- Monitor weight and curve: Note the exact weight (curved/ultrawide panels often require higher capacity mounts)
- Your natural seated/to-standing height range: Measure from floor to eye level in both positions
Most compatibility issues arise when people skip this physical assessment and focus only on OS features. Posture first, furniture second.
Step 2: Match Mounts to Your Operating System Workflow
Each operating system has unique display behaviors that affect your mount choice:
macOS Monitor Positioning Considerations
Apple's ecosystem handles multi-monitor setups elegantly, but requires careful mounting:
- The menu bar only appears on one display by default
- Handoff between displays works best with symmetric positioning
- Stacking monitors vertically requires careful height calibration for smooth cursor movement
If you use a MacBook with an external display, consider mounts with sufficient height adjustment to align your laptop screen with your external monitor, this prevents constant neck tilting. The Ergotron LX Desk Monitor Arm provides the precise height range (12.5-20 inches/32-51 cm) needed to match Apple displays with laptops.
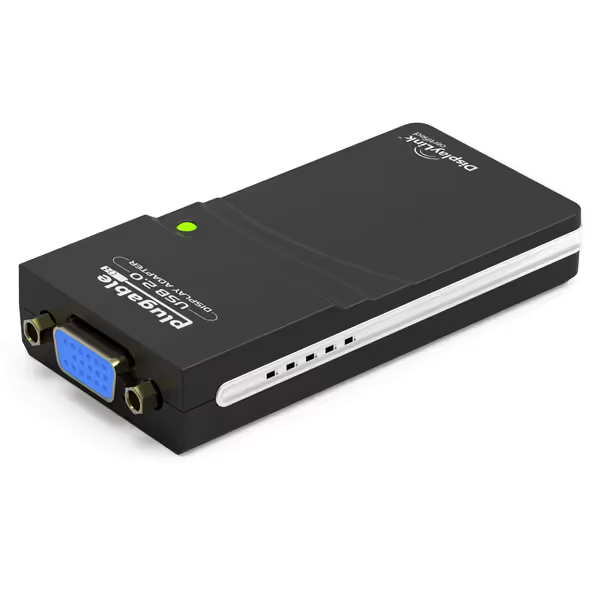
Plugable USB 2.0 to VGA Adapter
Easily add multiple VGA displays to expand your workspace.
$29.95
Max Resolution1920x1080 (1080p)
Max Resolution1920x1080 (1080p)
Pros
Instant multi-monitor setup via USB 2.0.
Compact, portable, and no external power needed.
Broad OS compatibility: Windows, macOS, ChromeOS.
Cons
Potential for blurry displays on some setups.
Customers find the adapter works right out of the box and is easy to install, making it a great value compared to installing a new graphics card. The device successfully extends display to two separate monitors and works well with Windows 10 and MacBook Air systems.
Customers find the adapter works right out of the box and is easy to install, making it a great value compared to installing a new graphics card. The device successfully extends display to two separate monitors and works well with Windows 10 and MacBook Air systems.
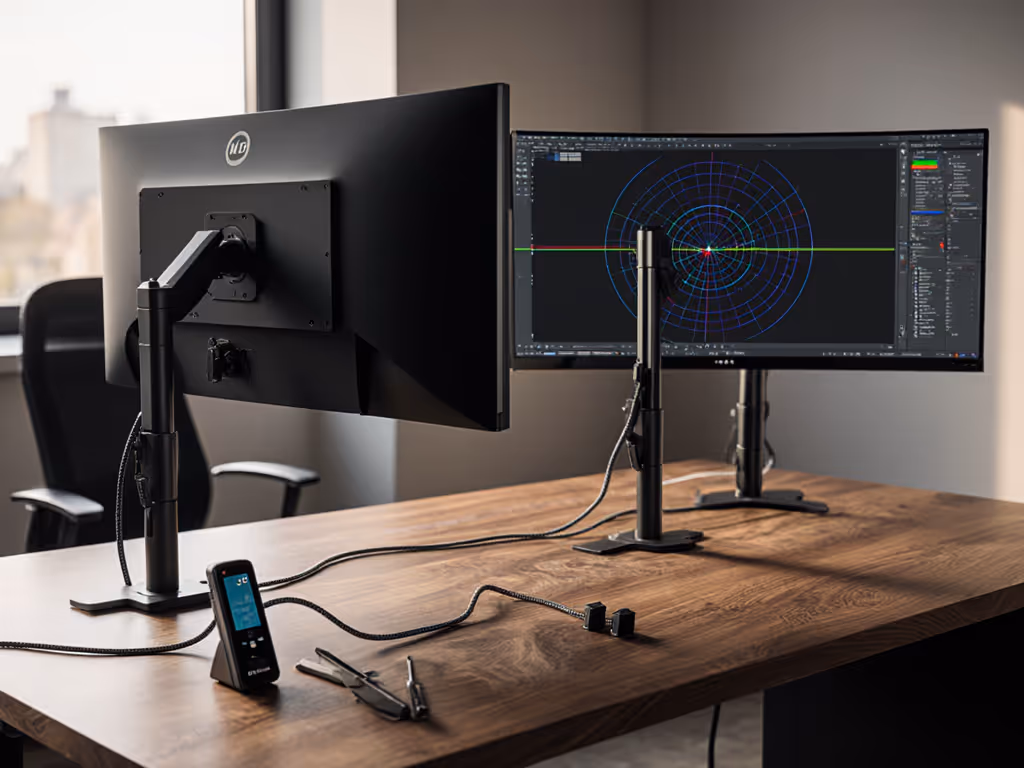
Windows Multi-Monitor Management
Windows offers the most flexible multi-monitor setup but requires stable mounts:
- Taskbar can display on all monitors
- Virtual desktops can be monitor-specific
- Display scaling settings vary per monitor
For Windows users managing multiple high-resolution displays, stability is paramount. The Mount-It! Triple Monitor Desk Mount accommodates the weight (up to 33 lbs/15 kg per arm) and width of modern high-res panels that Windows handles so well. Its gas-loaded arms maintain position even when you're rapidly switching between resource-intensive applications. Not sure which mechanism suits your setup? Compare gas spring vs counterbalance arms to prevent sag and wobble.
Linux Multi-Monitor Setup Nuances
Linux users face the most variation depending on your distribution and compositor:
- X11 vs Wayland affects how displays are managed
- Some distros require manual configuration of display arrangements
- Refresh rate inconsistencies can cause eye strain
If you're running a Linux multi-monitor setup, choose mounts with micro-adjustment capabilities. The Humanscale M2 offers that precise tuning needed when your display manager doesn't perfectly align your physical arrangement with the software representation.
Step 3: Select Mount Types Based on Your Ergonomic Needs
Don't just buy the most expensive option, select mounts that solve your specific ergonomic challenges:
For Standing Desk Users
If you frequently adjust between sitting and standing positions, choose mounts with:
- Smooth vertical movement (no incremental height steps)
- Counterbalance that maintains position at any height
- Cable management that accommodates desk movement
The Herman Miller Jarvis Single Monitor Arm excels here with its fluid motion and integrated cable channels that prevent snagging during transitions. If cable clutter is your bottleneck, our comparison of built-in vs external cable management shows which keeps standing-desk setups tidy.
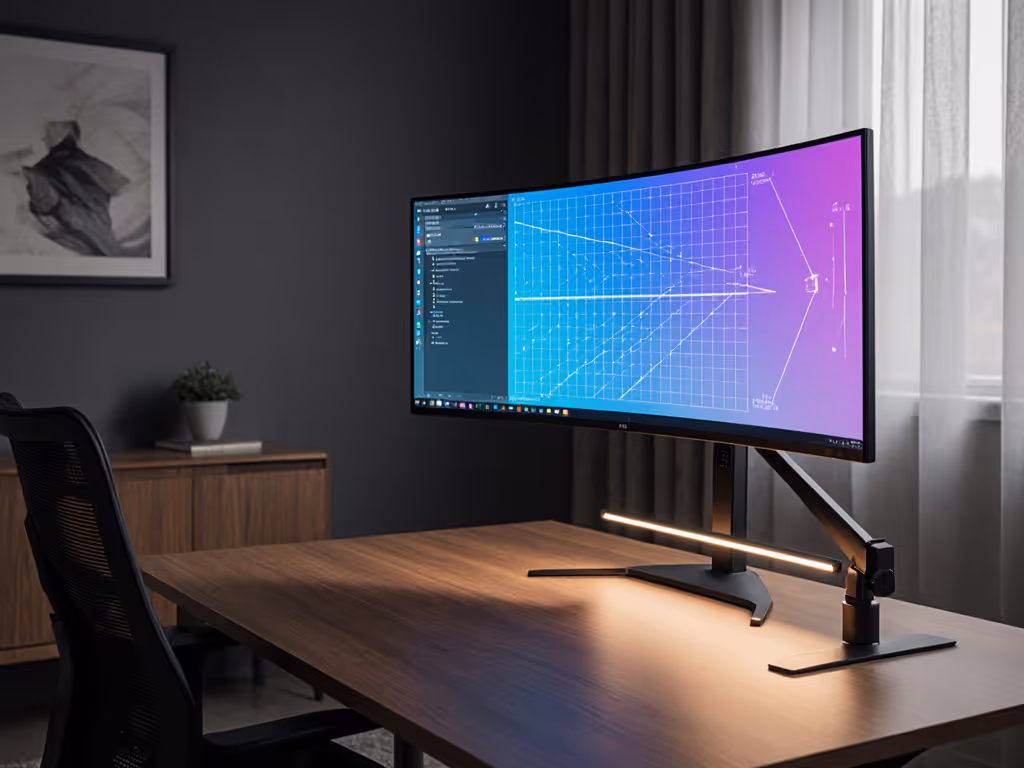
For Ultrawide and Curved Displays
Big screens create unique challenges for best monitor calibration tools and positioning:
- The center of the curved screen should be at your seated eye height
- Distance should accommodate the entire field of view (24-30 inches/61-76 cm)
- Mounts must handle the monitor's center of gravity (not just total weight)
Curved displays require mounts with sufficient inward reach. For model picks and load ratings, see the best monitor arms for curved and ultrawide displays. The AVLT Single 13"-43" Monitor Arm provides the 16-inch (40 cm) inward extension needed to position these larger displays at proper ergonomic distance.
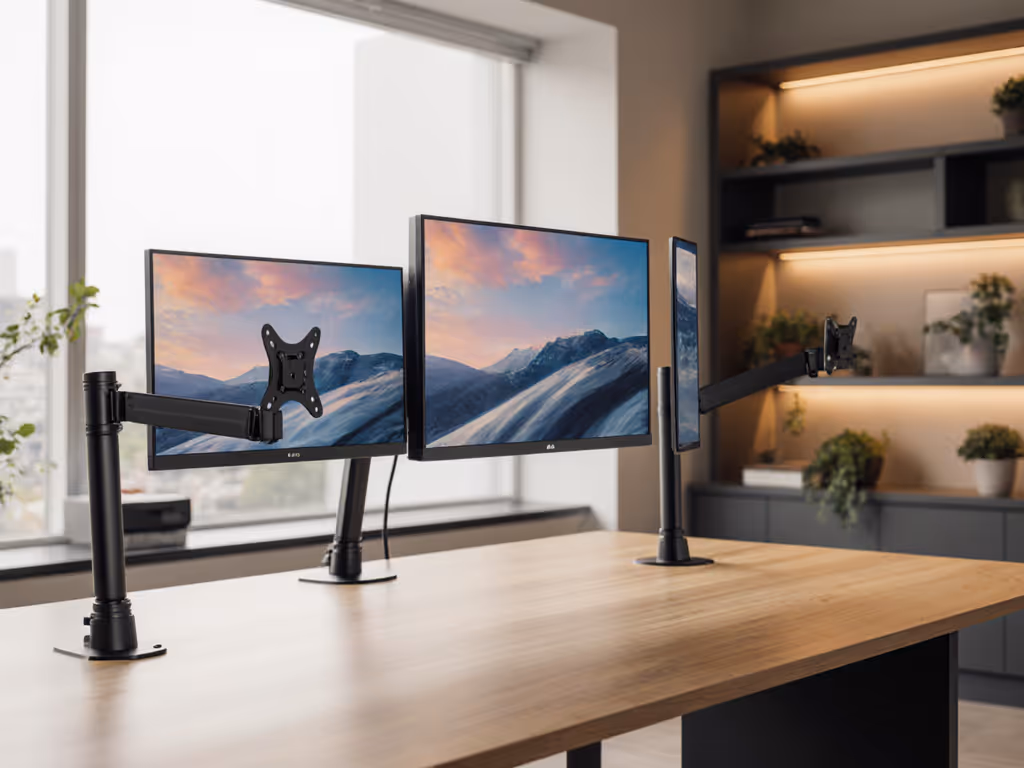
For Triple Monitor Setups
Triple-monitor users often overlook the critical middle display:
- Center monitor should be slightly lower than side displays
- All three should form a gentle curve around your seated position
- Middle display typically needs less height adjustment range
The Mount-It! Triple Monitor Desk Mount solves this with its unique configuration where side monitors have full adjustability while the center focuses on height. This setup aligns with natural eye movement patterns across displays.
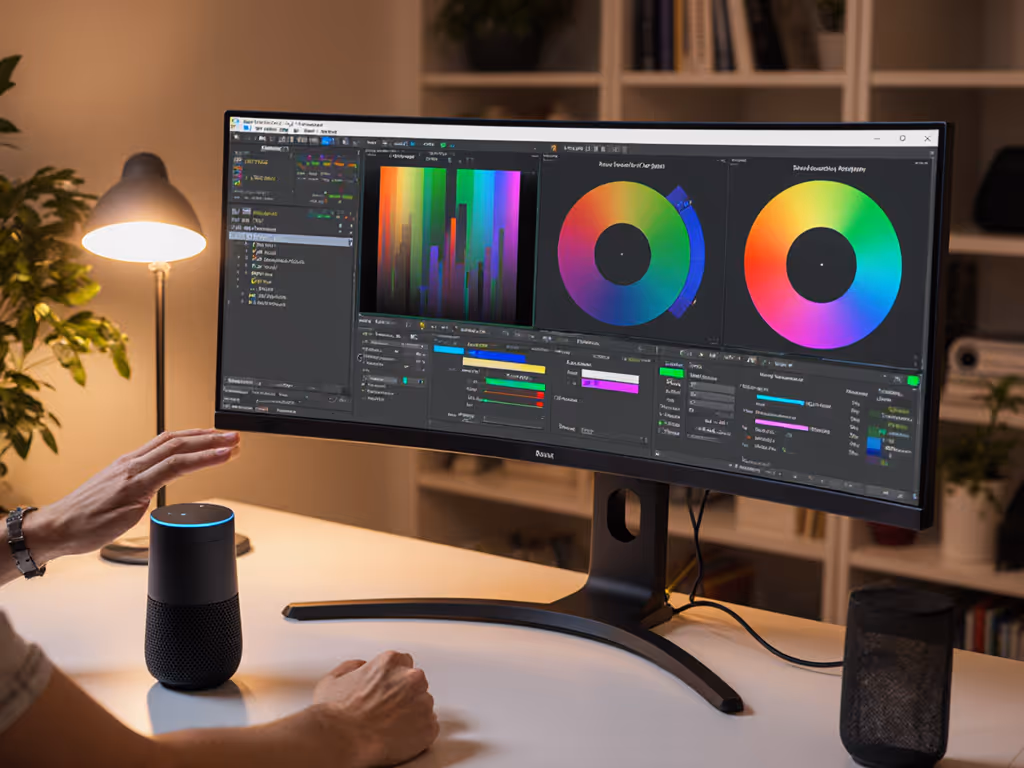
Step 4: Optimize for Visual Comfort and OS Integration
Great operating system ergonomics goes beyond hardware:
- Calibration: Use built-in OS tools (Windows Display Calibration, macOS Display Profile) or dedicated best monitor calibration tools
- Color matching: Ensure consistent color profiles across displays (especially important for creative work)
- Refresh rate alignment: Match all displays to the same refresh rate when possible to reduce eye strain
- Blue light management: Schedule night modes that align across all displays
Position your primary monitor at a slight negative tilt (top slightly farther from you) to reduce glare (this works across all operating systems and prevents the 'screen cave' effect that strains your neck).
Step 5: Fine-Tune Your Setup for Long-Term Comfort
Your perfect ergonomic position isn't static. It evolves with your workflow:
- Every 90 minutes, check if you're leaning or squinting
- After installing a new application, verify it's displaying on your intended monitor
- When switching between sitting and standing, recheck your eye-to-screen distance
- Monthly, clean your monitor surfaces and adjust mounts if they've drifted
Plain-language anatomy check: Your shoulders should rest naturally at your sides (not hunched), your elbows bent at 90 degrees, and your gaze softly downward at about 15 degrees. If you're reaching, craning, or squinting, your mount needs adjustment, not your posture.
Actionable Next Steps for Your Perfect Setup
- Measure your current setup using the parameters in Step 1 (don't assume your measurements match manufacturer specs)
- Identify your primary OS pain point (e.g., Mac menu bar positioning, Windows scaling inconsistencies, Linux refresh rate issues)
- Test potential mounts by simulating your daily workflow before final installation
- Start with your primary monitor before adding secondary displays, get your core setup perfect first
Your monitors shouldn't dictate your posture, your body should dictate your monitor placement. When you've found that perfect alignment, you'll work longer, focus deeper, and create more, without the constant distractions of physical discomfort.
Posture first, furniture second. Your perfect ergonomic setup is just one thoughtful adjustment away.
Related Articles