Portable Monitor Accessories Bundle Under $250
By Mina Okafor • 31st Mar
Building a portable monitor accessories bundle under $250 requires more than shopping for the cheapest components, it requires understanding how each piece aligns with your body, your workflow, and your space. A digital nomad workspace under $250 starts with a foundation of ergonomic consideration: viewing angle, arm reach, desk stability, and visual comfort. This guide walks you through the anatomy of a complete, balanced portable monitor setup that keeps you productive whether you're at a fixed desk, a coffee shop, or a standing workstation. For environment-specific tips, see our home office vs cafe portable monitor accessories comparison.
Why Portable Monitor Bundles Matter for Mobile and Hybrid Work
A portable monitor isn't just a second screen, it's an anchor for posture and attention. Early in my career, I inherited three mismatched monitors stacked at different heights and angles. Within a week, my neck ached and my workflow dragged. Once I repositioned each screen around neutral posture (considering arm weight, focal distance, and reach arcs), comfort and speed returned. That taught me that small adjustments, big outcomes: a $30 stand or arm applied correctly often matters more than screen resolution alone.
The research confirms this. Workers using aligned, properly positioned multi-monitor setups report measurable gains in task switching speed and reduced eye strain. Yet many remote workers and gamers assemble portable monitor kits haphazardly, stacking screens on books or propping them against walls. A structured bundle (monitor, stand, protective case, cable management, and optional arm) eliminates that friction. If you prefer a pre-tested travel kit, start with our 5 tested portable monitor accessories under $250.
Comfort measured in millimeters beats power measured in watts. This principle guides every recommendation in this guide.
The Anatomy of a Sub-$250 Bundle: Core Components
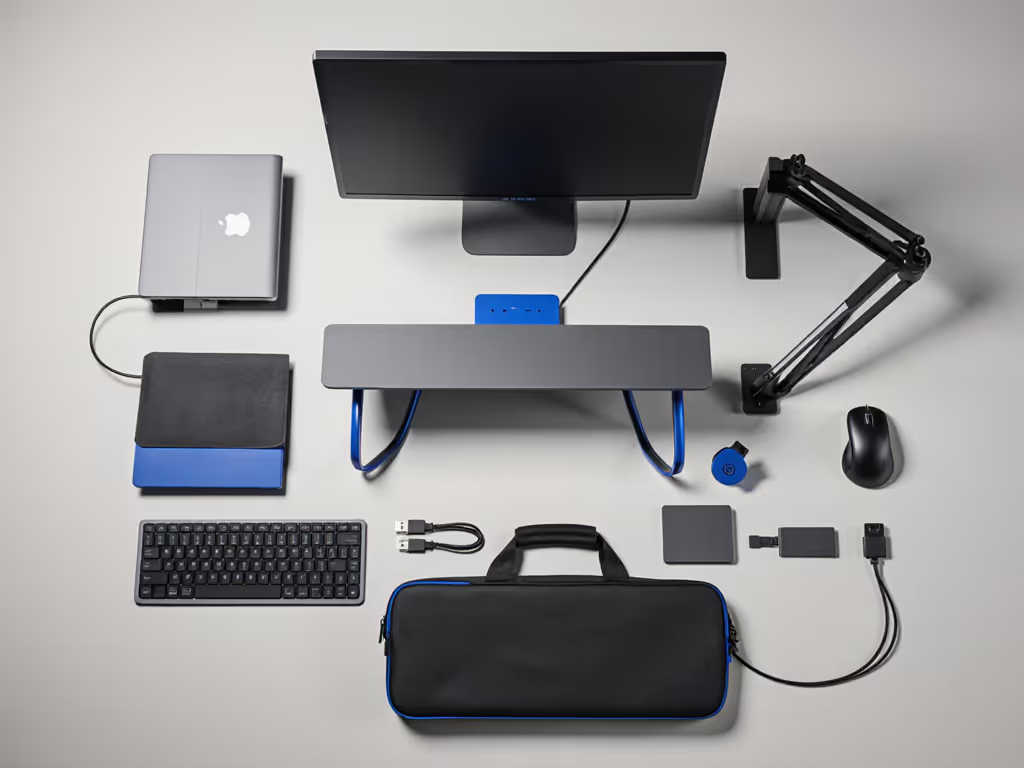
A complete portable monitor bundle sits across five functional roles:
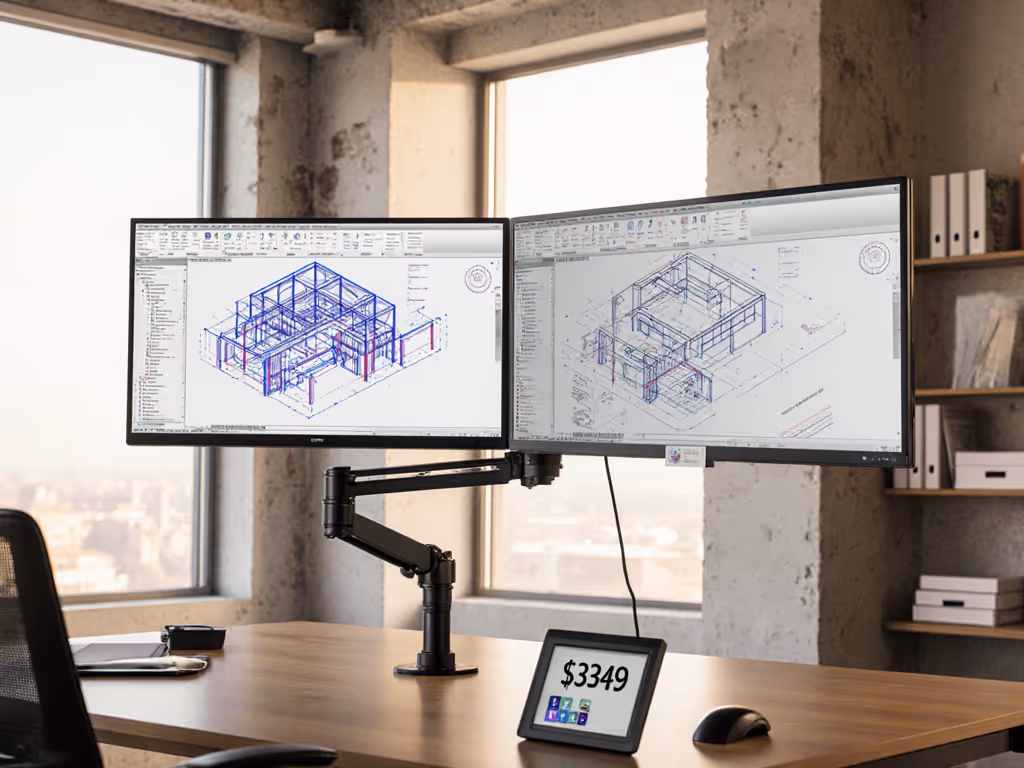
Display Unit (typically $65-150) A 14 to 15.6 inch IPS panel, 1080p or 1440p, with USB-C and HDMI input. Portable monitors in this range offer 60 Hz refresh rates (adequate for work and light gaming) and built-in kickstands for basic angle adjustment.
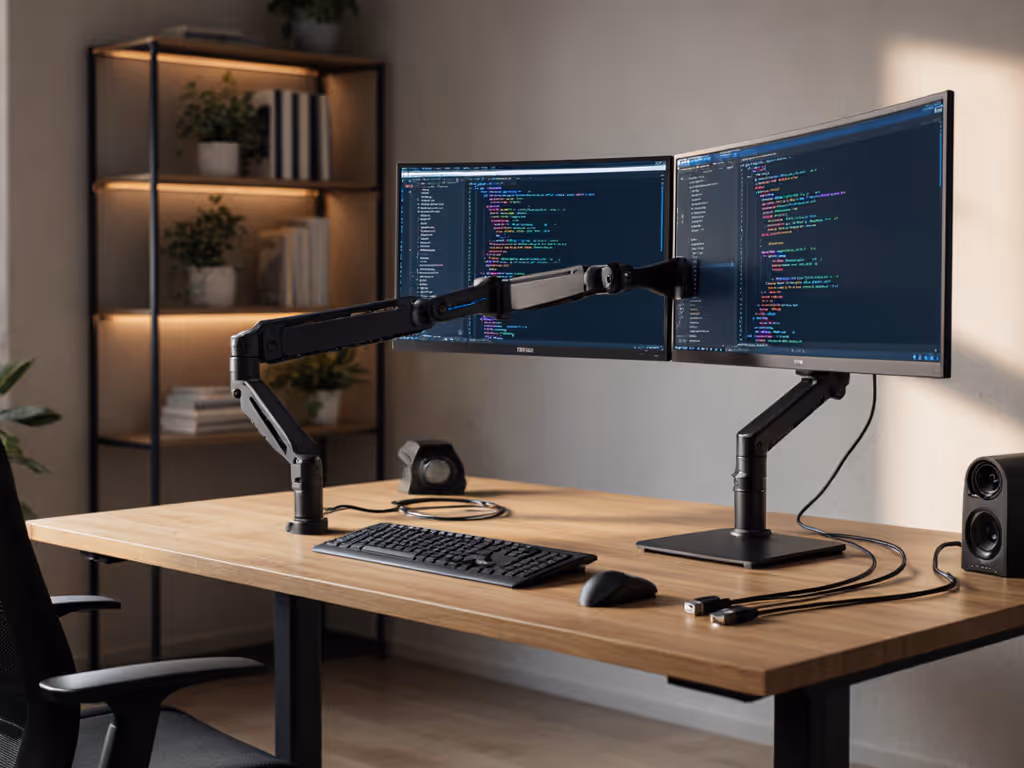
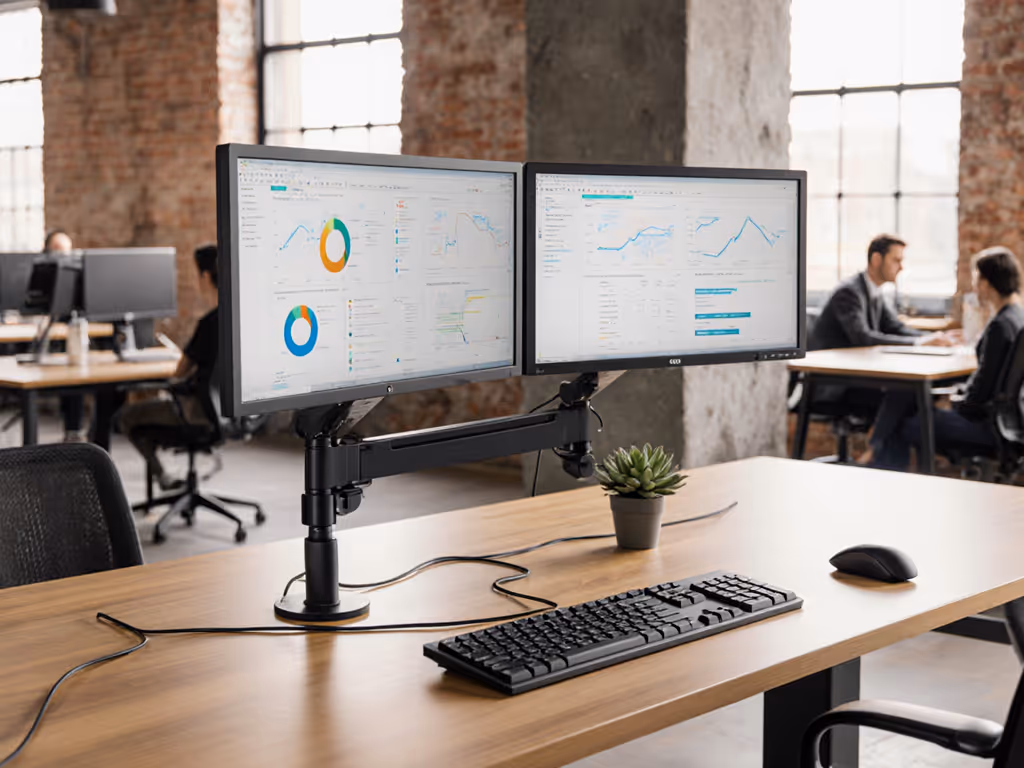
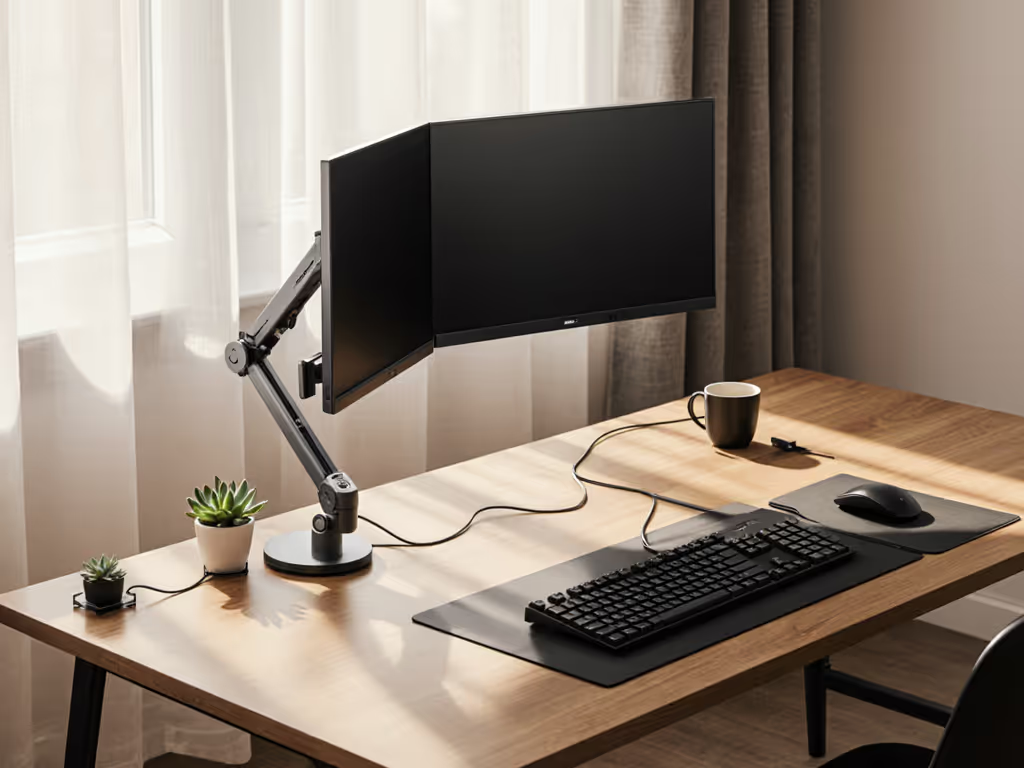
Physical Stand or Arm Adapter ($15-60) Moving beyond the built-in kickstand into a dedicated stand or clip arm gives you reach arc control and height adjustment. Neutral posture requires the screen center at or slightly below eye level when sitting, and your arms should rest at 90 degrees to access peripherals without shoulder shrug.
Protective Case or Sleeve ($20-50) Transport safety directly affects setup longevity. A quality sleeve absorbs shock and keeps dust out, extending display lifespan and reducing the risk of pixel defects from thermal cycling or drops.
Cable Management Kit ($5-20) USB-C and HDMI cables bundled with clips, Velcro straps, or small organizers. Tidy routing prevents snagging and reduces cognitive load; a cluttered cable mess drains focus as much as poor ergonomics.
Optional: Privacy Screen or Webcam Mount ($0-40) For home offices in open apartments or co-working spaces, a privacy screen reduces viewing angles and glare. A small clip mount for a webcam or light bar leverages the monitor's top bezel efficiently.
Step-by-Step Assembly: Building Your Portable Monitor Workspace
Step 1: Choose Your Core Display Unit
Start with the display, not the accessories. Measure your desk depth and the distance from your chair to where the screen will sit. Ideal focal distance for a 14 to 15.6 inch monitor is 16-20 inches (41-51 cm) from your eyes. If your desk is shallower than 24 inches (61 cm), a 14 inch monitor reduces eye strain and keeps the screen at a comfortable arm's reach.
Consider:
- Resolution: 1920×1080 (Full HD) supports 15.6 inch without text scaling hassles; 1440×900 or higher on 14 inch screens improves clarity.
- Panel Type: IPS offers wider viewing angles (85-89°) than TN, critical if you move your head side to side or work with others.
- Connectivity: USB-C with power delivery (60W minimum) lets you charge your laptop while displaying; dual HDMI and USB-A ports add flexibility for gaming consoles or older laptops.
- Built-in Speakers: Some portable monitors include dual 2W speakers (not studio quality, but functional for calls and media without external speakers).
Example: The Nnoc 15.6 inch IPS portable monitor at $65-75 delivers 1080p resolution, IPS color accuracy, and USB-C power passthrough. This leaves room in your $250 budget for a premium stand and accessories.
Step 2: Select a Stand or Mounting Solution
The built-in kickstand on most portable monitors offers two or three fixed angles, typically 30° and 45°. This works in a pinch but doesn't optimize for neutral posture at your specific desk height and arm length.
Choose one approach:
Tabletop Stand ($20-45) A dedicated portable monitor stand raises the screen 4-8 inches (10-20 cm) above the desk surface. The stand spreads the monitor's weight across a larger footprint, reducing desk wobble when you type or use a stylus. Look for stands with:
- Tilt range of at least 0-60°, allowing you to dial in your focal line.
- Non-slip feet or rubber pads (prevents micro-shaking when moving your mouse or keyboard).
- Built-in cable routing channels (keeps USB-C and HDMI from dangling).
- Foldable or detachable design (reduces packed volume for travel).
Mounting Arm or C-Clamp ($30-60) If your desk space is tight or you need height range beyond a stand's limits, an adjustable monitor arm uses a desk clamp or grommet mount. Verify:
- The arm's weight rating exceeds your monitor weight (most 15.6 inch portables are 1-1.5 lbs / 450-680 g; arms rated 2-5 lbs / 1-2.3 kg work safely).
- VESA compatibility: 75×75 mm is standard for smaller portables.
- Rotation range (0-90° tilt, 180° pan, 360° rotate) to match your workflow.
- Cable routing underneath or through the arm stem (keeps your desk cleaner).
Step 3: Select Protective Transport and Storage
A portable monitor's value erodes quickly if it's cracked or water-damaged. Allocate $20-35 for a dedicated case or sleeve.
Soft Sleeve ($15-25) A padded fabric sleeve fits inside a laptop backpack or carry-on. Check:
- Interior padding thickness (at least 0.25 inches / 6 mm on all sides).
- Access design: top-loading or side-loading zippers affect grab-and-go speed.
- Exterior material: water-resistant nylon is preferable to bare cotton.
Hard Shell Case ($30-50) If you travel weekly or expose the monitor to extreme temperature swings or airport baggage, a semi-rigid or hard shell case justifies the cost. Features:
- Custom foam inserts with monitor cutout and accessory pockets.
- TSA-friendly latch designs (if flying frequently).
- Carry handle or attachment loop for backpack integration.
Step 4: Organize Cables and Power Distribution
Cable routing seems trivial but directly impacts ergonomic efficiency. For step-by-step desk routing ideas, follow our monitor cable management guide. A tangled cable can pin your arm at an awkward angle when reaching for the stand base or can catch your hand when adjusting monitor tilt.
Bundle these into your sub-$250 total:
- USB-C Cable (2-3 meters / 6-10 feet): allows you to position your laptop or dock up to 3 meters away. Verify it supports your monitor's power draw (most portable 60 Hz models draw 10-15W; 100W-rated cables future-proof for higher-refresh portables).
- HDMI Cable (1.8-3 meters / 6-10 feet): if your primary device lacks USB-C video output. Confirm HDMI 2.0 rating to support 1080p@60Hz at longer distances without signal degradation.
- Velcro Cable Ties or Adhesive Clips: $5-10 for a pack. Route cables behind the stand or along the desk edge, keeping your arm sweep area clear.
- Power Adapter Organizer ($3-8): a small pouch or cable box keeps USB bricks and loose cables from rolling under the desk.
Step 5: Add Ergonomic Refinements
With $20-50 remaining in your budget, consider:
Desk Mat or Monitor Pad ($10-20) A textured rubber or felt mat anchors the stand or arm base, preventing it from sliding when you lean forward or adjust the screen. Also protects your desk finish from clamp feet.
Webcam or Light Bar Bracket ($15-35) If you use video calls or stream, a clip mount for a small 1080p webcam attaches to the top of the monitor frame, positioning your camera at eye level. This eliminates the "talking to your chin" effect and feels more natural to call participants. Verify the mount's grip pressure doesn't damage the monitor bezel (silicon pads are safer than plastic clamps).
Privacy Screen Filter ($20-40) For open-plan homes or co-working spaces, a privacy screen reduces your display's viewing angle to about 30° left and right. This keeps your spreadsheets and chat windows private in shared spaces. Check that the filter's thickness doesn't interfere with your stand's tilt range.
Comparing Configurations Within Your Budget
Scenario A: The Minimalist Remote Worker ($140-180)
- Display: Nnoc 15.6 inch IPS 1080p USB-C monitor: $70
- Stand: Basic tabletop tilt stand with cable channels: $25
- Case: Padded neoprene sleeve: $20
- Cables: USB-C 3m and HDMI 2m with velcro ties: $15
- Refinement: Desk mat: $15
Total: ~$145
Best For: Home office workers, single-desk setups, occasional travel.
Ergonomic Profile: The tilt stand provides 30-60° adjustment; position it so the screen center sits at eye level when seated. The 16 inch focal distance aligns with recommended office ergonomics, reducing accommodation strain (eye-muscle fatigue from refocusing between near and far objects).
Scenario B: The Hybrid Nomad ($200-240)
- Display: Tlscon 14 inch IPS triple-screen-extender setup (or equivalent portable): $90
- Mount: Adjustable desk clamp arm with dual-hinge system: $55
- Case: Water-resistant semi-rigid sleeve with carry handle: $35
- Cables: USB-C 3m, HDMI 2m, plus small hub for USB-A passthrough: $25
- Refinement: Velcro clips and adhesive cable organizer: $10
Total: ~$215
Best For: Consultants, remote developers, creatives splitting time between home and client sites.
Ergonomic Profile: The arm allows you to position the 14 inch screen at your eye level without occupying desk surface, freeing space for a keyboard and mouse at the ergonomic 90° elbow angle. The arm's reach arc (typically 15-25 inches / 38-64 cm from desk edge) lets you pull the screen closer when focusing (e.g., reading code) and push it away during video calls.
Scenario C: The Content Creator or Gamer ($230-250)
- Display: Nnoc 15.6 inch IPS 1080p or equivalent with high-wattage USB-C pass-through: $75
- Mount: Premium tabletop stand with integrated cable management and rotation: $45
- Case: Hard-shell travel case with custom foam: $45
- Cables: Premium USB-C 3m (100W certified) and HDMI 2.1 cable: $20
- Refinement: Webcam clip mount or privacy filter: $30
Total: ~$215
Best For: Streamers, video editors, gamers using portable displays with console or PC.
Ergonomic Profile: The premium stand's ball-joint tilt and rotation let you adjust pitch (forward/back), yaw (left/right), and roll (portrait mode) for content review or color-critical work. The hard case protects against studio transport hazards. The high-wattage USB-C cable supports simultaneous video output and 90W+ laptop charging, critical when you're editing 4K video and need sustained processing power.
Assembling Your Setup: Posture and Placement Rules
Once components arrive, follow these steps to dial in neutral posture:
1. Desk Height Baseline Sit naturally in your chair. Your forearms should rest at 90° when your hands are on the keyboard. If your desk is too high, your shoulders will shrug; too low, you'll hunch forward. Adjust your chair or desk to this baseline.
2. Screen Distance Place the stand or arm so the monitor's center is 16-20 inches (41-51 cm) from your eyes, roughly arm's length. This distance minimizes accommodation strain and keeps your neck in a neutral 0° forward gaze. Portable monitors' smaller screens (14 to 15.6 inches) naturally sit closer than large office monitors, which is ergonomic.
3. Screen Height and Angle The screen center should sit at or slightly below eye level (0° to -15° downward tilt). A downward gaze engages your neck's natural posture without compression. Use the stand or arm's tilt range to dial this in. If the monitor is above eye level, you'll extend your neck backward, creating posterior chain fatigue over 8+ hours.
4. Arm Reach and Keyboard Placement Your keyboard and mouse should sit directly in front of you, not rotated or offset. Your elbows should hang at 90°, with forearms parallel to the floor. If the monitor is too far left or right, you'll twist your torso, a leading cause of lower-back fatigue in remote work.
5. Arm Stability Check With the stand or arm positioned, place your hand on the monitor edge and gently push it side to side. It should move minimally (less than 0.5 inches / 1 cm). If it wobbles, tighten clamps, adjust the base footprint, or add a desk mat underneath to anchor it. If your arm still drifts or sags, tune it using our monitor arm maintenance guide. Micro-shakes amplify when typing or using a stylus and erode focus over time.
Cable Routing for Movement and Flexibility
After positioning, route your cables to support posture changes. If you alternate between sitting and standing, cables should have enough slack (2-3 inches / 5-8 cm of loop) to prevent the monitor or arm from being pulled as you rise. Thread cables:
- Behind the stand's vertical stem or through the arm's routing channel.
- Along the desk's rear edge, using adhesive clips to keep them off your leg or rolling chair wheels.
- Into a cable box or pouch mounted underneath the desk, grouping USB power, HDMI, and Ethernet for quick identification.
This routing also simplifies packing: when you travel, you disconnect a single USB-C and HDMI, coil them in your case, and move the monitor as a unit. Less fiddling, more focus.
Multi-Device Compatibility: Extending Your Bundle's Lifespan
Your sub-$250 bundle should work across laptops, tablets, and gaming consoles without adapter chaining. Verify:
- USB-C Video and Power Output: Most modern Windows laptops, MacBooks, and tablets support video-out over USB-C. Confirm your device supports DP Alt Mode (DisplayPort over USB-C). Gaming laptops often support this; some gaming tablets do not.
- HDMI for Older Devices: If you use an older laptop, gaming console (Nintendo Switch, PlayStation, Xbox), or desktop with only HDMI, the HDMI port on your portable monitor ensures compatibility.
- Hub or Dock Compatibility: If you prefer a single-cable connection, some USB-C hubs include an HDMI port, allowing your monitor to share a dock with external keyboards or drives. Check that the hub's video bandwidth is sufficient (USB 3.0 hubs often have bottlenecks; USB 3.1 hubs are safer).
Common Pitfalls and How to Avoid Them
Pitfall 1: Choosing a Stand That's Too Lightweight A flimsy stand under a 15.6 inch monitor creates wobble when you type or adjust the mouse. Allocate the extra $15-20 for a stand rated for 3-5 lbs (1.4-2.3 kg), even if your monitor weighs only 1.2 lbs (544 g). The extra stability margin compounds over a full workday.
Pitfall 2: Forgetting Cable Length During Setup A 1 meter USB-C cable looks sufficient in product photos but may force your laptop or dock too close to the monitor, reducing your viewing distance. Invest in a 2-3 meter (6-10 foot) cable. The extra length costs only $5-10 more and gives you positioning flexibility.
Pitfall 3: Neglecting a Protective Case for Frequent Travel If you move your portable monitor more than once a week, a $20-30 sleeve is cheaper than a cracked display panel (replacement cost: $50-100). The case also keeps your cables organized and reduces mental friction when packing.
Pitfall 4: Stacking Multiple Accessories Without Ergonomic Consideration Adding a webcam mount, privacy screen, and cable organizer can add 4-6 inches of height or depth to your setup. Before buying everything at once, mock up your desk layout with tape or cardboard to verify nothing blocks your reach arc or forces your arm to bend unnaturally.
Pitfall 5: Assuming "VESA-Compatible" Means Universal While 75×75 mm VESA is standard for portable monitors, some arm or stand models have tolerance issues or shallow mounting threads. Always check the product listing for explicit "portable monitor" or "14-15 inch" compatibility, not just "VESA 75×75."
Actionable Next Steps: Building Your Bundle
Your path forward depends on your immediate need:
If you work primarily from one desk:
- Choose your display (Scenario A baseline or better).
- Buy a tabletop stand offering at least 0-60° tilt and cable routing.
- Add a protective sleeve and essential cables.
- Test the ergonomic setup using the posture rules above. Adjust stand angle and monitor distance until your neck feels neutral and your eyes relax after 30 minutes of focused work.
- If you feel strain, raise or lower the stand by 1-2 inches (2.5-5 cm) and reassess. Small adjustments, big outcomes.
If you split your work between office and home:
- Prioritize a hard-shell case or semi-rigid sleeve to protect the monitor in transit.
- Select an adjustable arm or a stand with quick-release mounting, so you can adjust screen height and angle to match each location's desk height and seating.
- Use a cable organizer pouch to bundle USB-C and HDMI so they're always with the monitor, reducing forgotten cables on return trips.
- Test the ergonomic setup in both locations and photograph the stand angles and cable routing. This reference saves time on future moves.
If you're a gamer or content creator:
- Choose a display with high refresh-rate support (120 Hz is becoming standard for portable gaming panels) and USB-C power pass-through rated for your laptop's maximum wattage.
- Invest in a premium stand with ball-joint articulation or an arm system that lets you rotate the monitor to portrait mode (useful for video editing timelines or streaming chat overlays).
- Add a webcam mount if you stream; a privacy filter if you work in a shared space.
- Verify your display and all accessories fit inside your travel case with room for cables and adaptors. This prevents last-minute packing stress.
Conclusion: Comfort as a Measurable Investment
Building a portable monitor accessories bundle under $250 isn't about assembling the cheapest parts, it's about engineering a workspace that respects your body and compounds focus. A well-positioned monitor, a stable stand, organized cables, and protective transport eliminate friction. You'll notice the difference within the first week: fewer neck aches, fewer eye refocuses, more sustained concentration, and faster task switching.
Your setup is a reflection of your work's importance. Treat it as such. Measure twice, position once, and adjust by millimeters. The effort pays dividends in comfort and productivity over months and years of remote or hybrid work.
Related Articles