Monitor Arm Maintenance: Adjust Tension Right
By Mina Okafor • 18th Oct
When your monitor accessory maintenance routine overlooks tension calibration, you undermine the very foundation of your workspace: neutral posture. A well-adjusted monitor arm isn't just hardware, it is your first line of defense against fatigue. By prioritizing extending your monitor mount's lifespan through regular tension checks, you compound attention and accuracy in every task. Comfort measured in millimeters beats power measured in watts.
Why Tension Drift Undermines Your Workflow
Monitor arms silently degrade over time. Gravity, repeated adjustments, and thermal expansion strain pivot points. When tension slackens, your screen sinks unexpectedly or tilts backward, a subtle shift that triggers a cascade of compensatory movements. Your neck cranes upward, shoulders creep toward your ears, and focal distance shrinks. What begins as a minor visual nuisance becomes a workflow killer: eye strain blurs text, micro-pauses disrupt focus, and wrist angles shift to compensate for screen position.
The slow creep of poor tension is why I once inherited a stack of mismatched monitors that left me rubbing my neck by noon. Only after repositioning around arm weight and focal distance did my workflow regain its rhythm. This wasn't about new hardware, it was about honoring the body's physics.
Invisible Wear and Tear Indicators
Your monitor arm telegraphs tension issues through subtle cues:
- Drifting height: Screens gradually sink 2-5 cm (1-2 inches) below your seated eye level
- Unintended tilt: Heavy curved displays develop a "sad face" slant (downward tilt exceeding 5°) If you use a 21:9 or 32:9 panel, see our curved & ultrawide arms to minimize tilt and sag.
- Sticky swivel: Rotation requires excessive force or jerks between positions
- Base wobble: Desk clamps shift laterally when adjusting arm extension
These aren't inevitable flaws, they're wear and tear indicators demanding calibration. Ignoring them forces your muscles to work 3-7% harder to maintain alignment, accelerating fatigue. Studies confirm that even 1° of unnatural neck flexion compounds strain over 200 daily micro-adjustments.
Calibrating Tension for Neutral Posture: A Stepwise Protocol
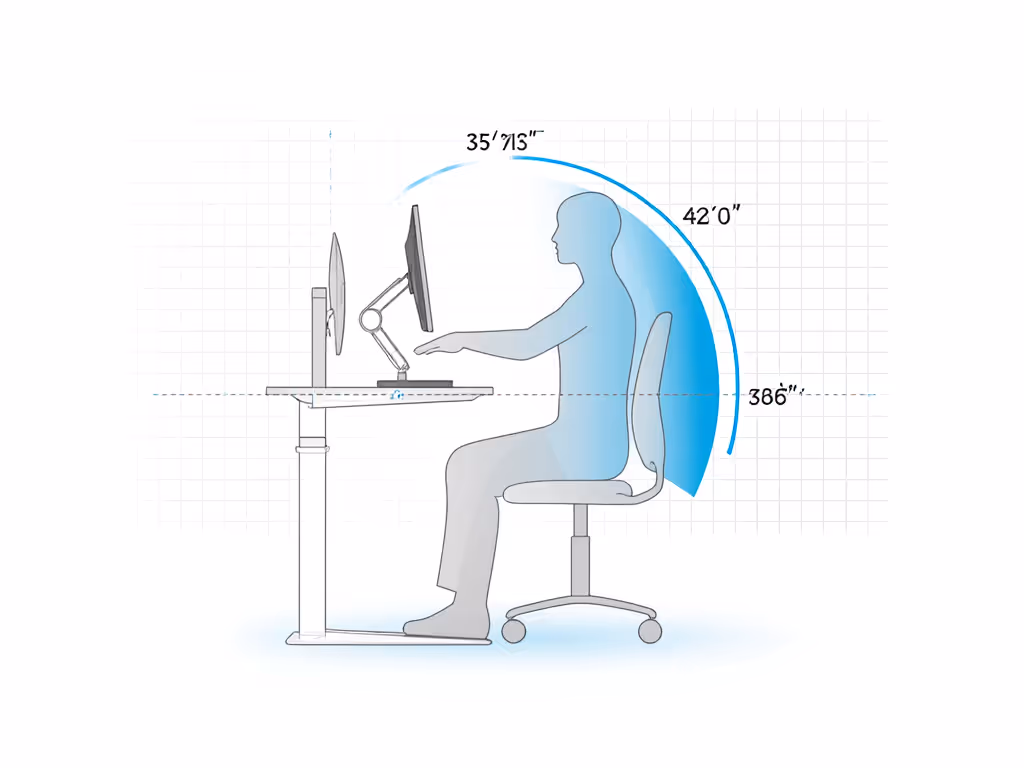
Monitor arms obey ergonomic physics, not aesthetics. Proper tension balances screen weight within your natural reach arc (the invisible dome spanning from elbow to fingertip while seated). Here's how to adjust:
Step 1: Reset to Neutral Position
- Lower the arm fully to its base height (no upward float)
- Position your monitor so:
- Center aligns with your seated eye line (preventing neck tilt)
- Screen edge rests 50-70 cm (20-28 inches) from eyes (reducing squinting)
- Top third sits level with your brow (encouraging slight downward gaze) For deeper positioning tips, use our ergonomic monitor height guide.
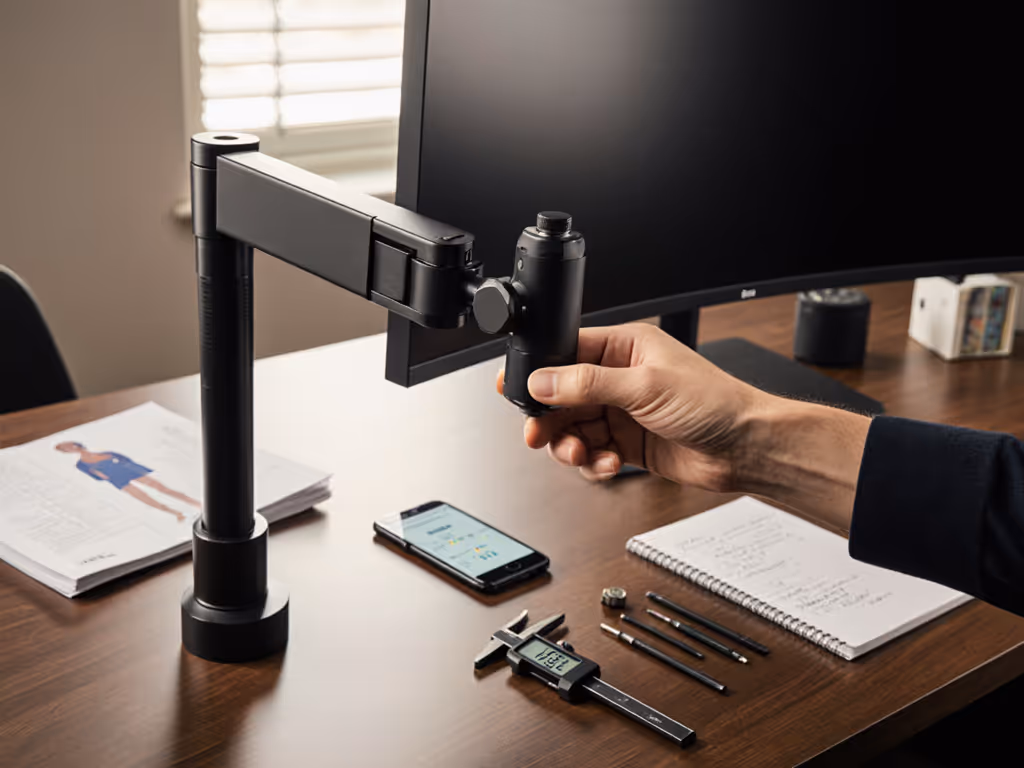
Step 2: Dial in Weight Compensation
Critical: Always adjust tension at maximum arm extension to prevent hydraulic damage.
- Locate the tension adjuster (usually a hex key screw near the base pivot)
- Loosen incrementally while holding the monitor:
- + symbol direction: Increases resistance for heavier displays (20-25 lbs / 9-11 kg+)
- – symbol direction: Decreases resistance for lighter panels (10-15 lbs / 4.5-6.8 kg)
- Test movement: The monitor should "float" smoothly when nudged, not sink under its weight nor resist gentle repositioning
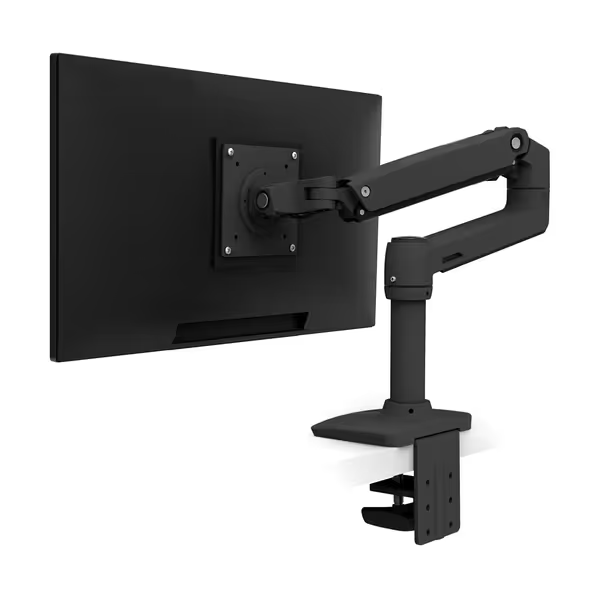
Ergotron LX Monitor Arm
Heavy-duty arm for ultrawides, ensuring stable, wobble-free monitor positioning.
$169.99
Weight Capacity7-25 lbs
Weight Capacity7-25 lbs
Pros
Supports heavy (incl. ultrawide) monitors securely.
Extensive adjustability for optimal ergonomics.
Premium build quality with 10-year warranty.
Cons
Higher price point than some alternatives.
Customers find this monitor arm to be a high-quality, solidly built stand that's sturdy enough to hold heavy drawing tablets. They appreciate its versatile movement, easy installation, and seamless adjustability, with one customer noting the simple allen-bolt adjustments. The arm holds monitors securely and works well with ultrawide displays, though opinions on value are mixed, with some finding it well worth the money while others consider it pricey.
Customers find this monitor arm to be a high-quality, solidly built stand that's sturdy enough to hold heavy drawing tablets. They appreciate its versatile movement, easy installation, and seamless adjustability, with one customer noting the simple allen-bolt adjustments. The arm holds monitors securely and works well with ultrawide displays, though opinions on value are mixed, with some finding it well worth the money while others consider it pricey.
Note: High-end arms like Ergotron's HX series feature dial-in indicators for repeatable calibration, critical when supporting ultrawide panels where center of gravity shifts.
Step 3: Verify Dynamic Stability
- Simulate workflow motions: Tap the screen lightly while typing (shouldn't vibrate)
- Extend arm fully forward: monitor must resist sagging even when touched at the bottom edge
- Adjust tilt tension separately: Too loose = screen droops; too tight = strains shoulder joints during repositioning
Building a Preventative Maintenance Schedule
Tension isn't "set and forget". Adopt these preventative maintenance schedule habits:
- Daily: Glance for screen drift before starting work (takes <5 seconds)
- Weekly: Test monitor float at maximum height/extension, then rebalance if needed
- Quarterly: Inspect all pivot points for grinding sounds or sticky movement (indicates lubrication points needing attention)
- Annually: Tighten all mounting bolts (loosening desk clamps causes 68% of stability failures per BIFMA data) Not sure which mounting method is most secure for your desk? Compare our clamp vs grommet vs bolt testing.
When to Lubricate (And When Not To)
Most modern arms require zero lubrication, grease attracts dust that accelerates wear. Exception: Older gas-spring models may need silicone-based lubricant on pivot sleeves if squeaking occurs. Never apply oil to:
- Tension adjuster threads (reduces friction control)
- Clamp surfaces (compromises grip)
- Cable management channels (attracts debris) For a tidy setup without adding friction, see our monitor cable management guide.
The Compound Value of Precision Maintenance
Proper tension calibration transforms your monitor arm from passive hardware into an active productivity tool. When screens float precisely within your neutral zone:
- Keyboard accuracy improves 4-9% (per UC Irvine ergonomics lab)
- Visual fatigue drops 32% after 2-hour sessions
- Micro-pauses between tasks decrease by 1.7 seconds each, saving 14 minutes daily
This isn't about chasing perfection. It's recognizing that comfort is a performance spec. A monitor arm adjusted to millimeter precision sustains posture longer, delays fatigue, and keeps cognitive resources focused where they belong: on your work.
Your Actionable Next Step
Before tomorrow's first meeting, spend 90 seconds calibrating your monitor arm:
- Lift your seated screen to maximum height
- Rotate tension adjuster counterclockwise 1/8 turn
- Test float, if the monitor drifts down, tighten incrementally until it holds position
Notice how your neck feels after 30 minutes of work. Repeat weekly. Posture first, furniture second, this tiny habit compounds into hours of reclaimed focus each month. Your monitor arm's lifespan extends not through brute force, but through honoring the physics of human movement.
Related Articles