Understanding your VESA mount on a monitor is the non-negotiable first step before installing any monitor mount (a truth I learned the hard way early in my career). When mismatched screens stacked like unstable Jenga blocks strained my neck and eroded my focus, I realized comfort measured in millimeters beats power measured in watts. Today, I approach every setup with the mantra: Posture first, furniture second. This guide cuts through compatibility confusion so you can anchor your screens where your body thrives, not just where hardware fits. Let's translate technical specs into ergonomic reality.
Why VESA Compatibility Matters Beyond Screws and Holes
VESA (Video Electronics Standards Association) isn't just a random array of holes: it is a universal mounting language ensuring your monitor arm supports your posture, not fights it. When your screen floats at eye level with neutral cervical alignment, errors drop and attention compounds. But get the mounting wrong, and even premium arms sag under mismatched weight or force you into compromised angles. The standard defines four critical elements:
Hole pattern spacing (measured in millimeters, center-to-center)
Screw size and depth (M4/M6 metric threads)
Mounting plate position (centered minimizes torque)
Weight tolerance (directly tied to ergonomic stability)
Comfort is a performance spec. Good ergonomics compounds attention and accuracy.
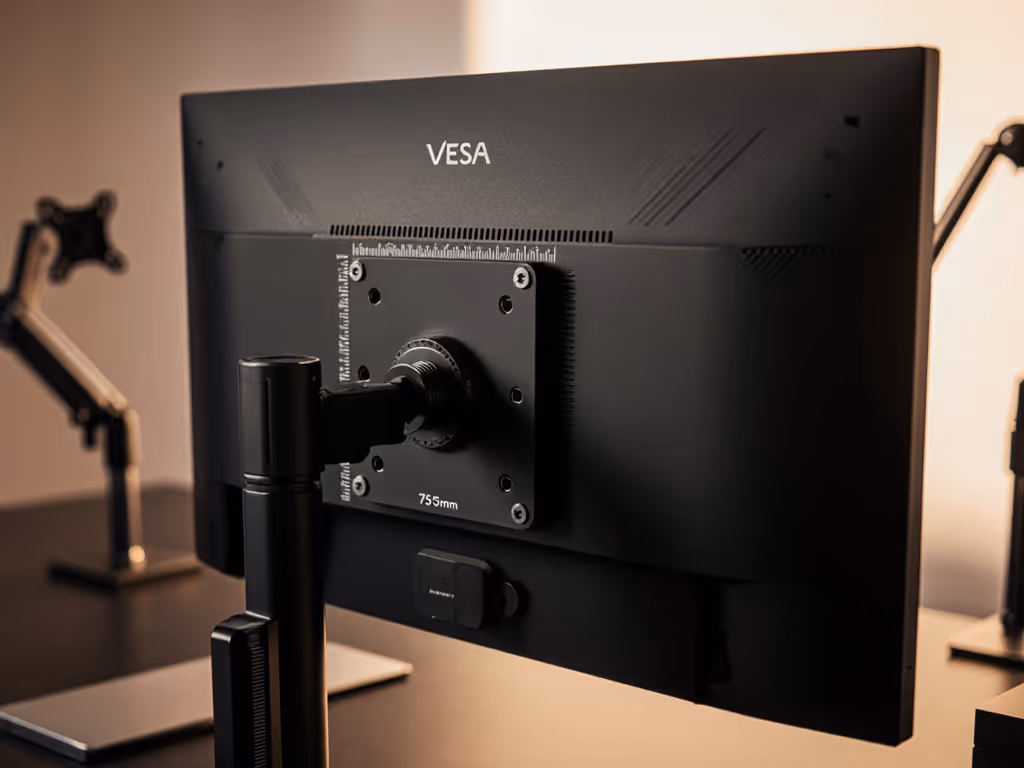
Most monitors use one of four square patterns: 50x50mm (older/smaller screens), 75x75mm, 100x100mm (most common for modern 24"-32" displays), and 200x200mm (for large/professional panels). For a visual reference of 75x75 and 100x100 patterns, see our visual VESA pattern guide. While 75x75mm and 100x100mm cover 90% of current setups, VESA pattern sizes vary by manufacturer and era. BenQ standardized on 100x100mm in 2018, while gaming displays often deviate.
How to Identify Your Monitor's VESA Pattern (Step-by-Step)
Don't trust product specs alone. Many brands list "VESA compatible" without specifying the pattern. Here's how to verify physically:
Locate the mounting plate: Remove your monitor's stand. You'll see either:
Four screw holes forming a square (ideal for centered mounting)
A single threaded insert (requires adapter plate)
A proprietary connector (e.g., Apple Studio Display's VESA adapter)
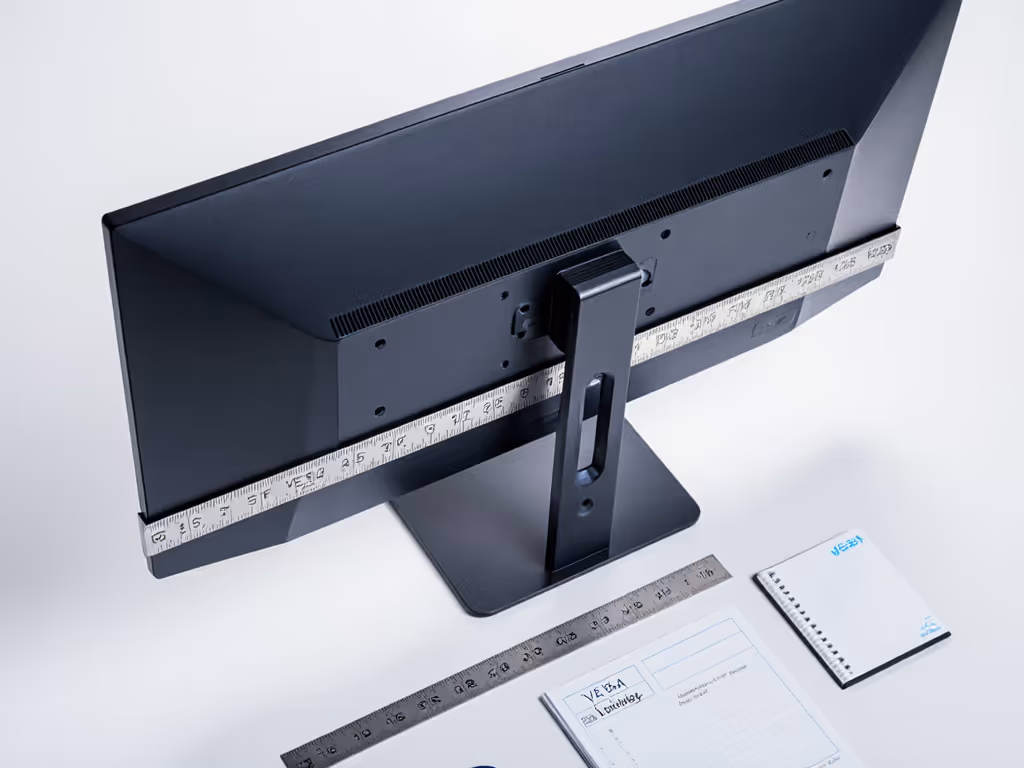
Measure precisely:
Use a metric ruler or caliper (imperial: 75mm ~ 3", 100mm ~ 4")
Measure center-to-center between horizontal holes
Repeat vertically. Some displays use rectangles like 200x100mm
Check depth and recess: Press a finger against the holes. If your knuckle sinks deeper than 10mm (0.4"), you have a recessed VESA mount. Many arms won't clear this depth without spacers.
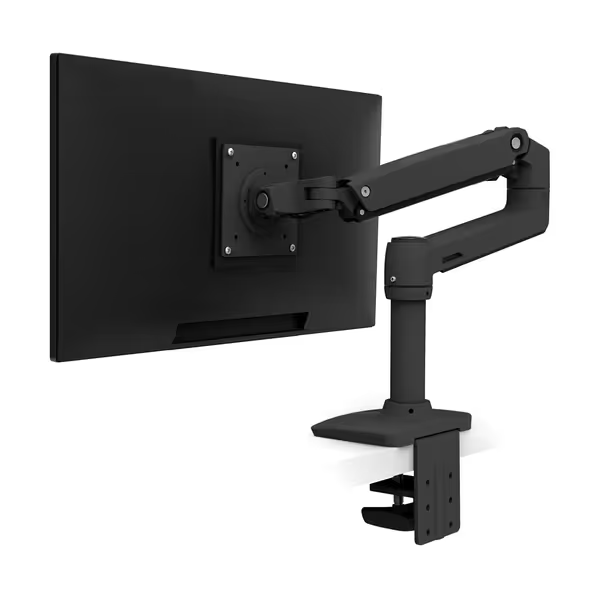
Ergotron LX Monitor Arm
Heavy-duty arm for ultrawides, ensuring stable, wobble-free monitor positioning.
Supports heavy (incl. ultrawide) monitors securely.
Extensive adjustability for optimal ergonomics.
Premium build quality with 10-year warranty.
Cons
Higher price point than some alternatives.
Customers find this monitor arm to be a high-quality, solidly built stand that's sturdy enough to hold heavy drawing tablets. They appreciate its versatile movement, easy installation, and seamless adjustability, with one customer noting the simple allen-bolt adjustments. The arm holds monitors securely and works well with ultrawide displays, though opinions on value are mixed, with some finding it well worth the money while others consider it pricey.
Customers find this monitor arm to be a high-quality, solidly built stand that's sturdy enough to hold heavy drawing tablets. They appreciate its versatile movement, easy installation, and seamless adjustability, with one customer noting the simple allen-bolt adjustments. The arm holds monitors securely and works well with ultrawide displays, though opinions on value are mixed, with some finding it well worth the money while others consider it pricey.
Critical Compatibility Exceptions That Sabotage Ergonomics
Even verified VESA patterns can fail your posture goals. Watch for these hidden traps:
Gaming and Curved Monitors
High-end displays like the Samsung G9 often use non-standard offsets. What looks like a 100x100mm pattern may sit 20mm off-center, shifting the center of gravity. This strains arms during tilt adjustments, causing drift that pulls your neck out of alignment. Always pair these with adapter plates designed for your specific model (universal kits rarely handle the torque).
Apple Ecosystem Limitations
Studio Displays include VESA adapters, but iMacs require third-party kits. Crucially, these adapters often add 15-20mm of depth, turning shallow mounts into recessed nightmares. Measure twice before committing.
Weight and Center of Gravity
Spec sheets list "max weight," but miss the ergonomic reality: a 34" ultrawide's weight concentrates at the bottom edge. An arm rated for 25lbs may sag under a 22lb curved panel if its center of gravity extends beyond the mount's pivot point. Always:
Subtract 15% from listed weight capacity
Prefer arms with counterbalance springs (like the Ergotron LX series)
Verify your monitor's COG in manual diagrams
Making Imperfect Setups Work Safely
Non-VESA monitors (all-in-ones, thin bezel designs) tempt risky hacks. Never drill into housings or use adhesive mounts (they fail catastrophically under ergonomic adjustments). Instead:
For Apple Studio Display: Use the official VESA adapter (no modifications needed)
For recessed mounts: Install 10mm spacers (included with arms like Ergotron's LX) to protrude the plate
For off-center patterns: Locate model-specific adapter plates (e.g., "ASUS ROG PG32UQX VESA kit")
Your arm's stability directly impacts your posture. If screens drift downward during typing, cervical strain follows within hours.
Actionable Next Steps: Build Your Error-Proof Mounting Checklist
Before purchasing any monitor mounting hardware, complete this 5-minute verification:
Physically measure your VESA pattern (don't rely on manuals)
Weigh your monitor with stand removed (use kitchen scale)
Calculate effective weight: Add 10-15% for cables/brackets
Check recess depth with a coin (if >10mm deep, confirm arm spacer compatibility)
Cross-reference with your monitor's service manual for COG diagrams
Arms built for the universal mounting system like the Ergotron LX series handle 75x75mm/100x100mm patterns with integrated spacers, but always match weight tolerances to your screen (not the max spec). Remember: an arm pushing its limits will slowly sag, forcing you into forward-head posture within months.
True compatibility isn't just about attachment; it is about sustaining neutral posture through 10,000+ adjustments. When your monitor mount moves with fluid precision, your eyes stay level, your neck stays relaxed, and your focus deepens. Measure once, mount ergonomically, and reclaim the physical ease that compounds your best work. Your next step? Grab that ruler and verify your VESA pattern today; your posture will thank you tomorrow.
Learn the precise, research-backed settings for monitor height, viewing distance, and mount stability to cut neck strain and protect color accuracy. Apply simple lighting, cable, and desk-preset checks to maintain a stable, reproducible workflow.
Learn to identify 75x75 and 100x100 VESA patterns, measure without tools, and match mounts by weight and thread to prevent sagging and strain. Get practical tips for ultrawides and adapter solutions plus a quick checklist to mount confidently and protect posture.
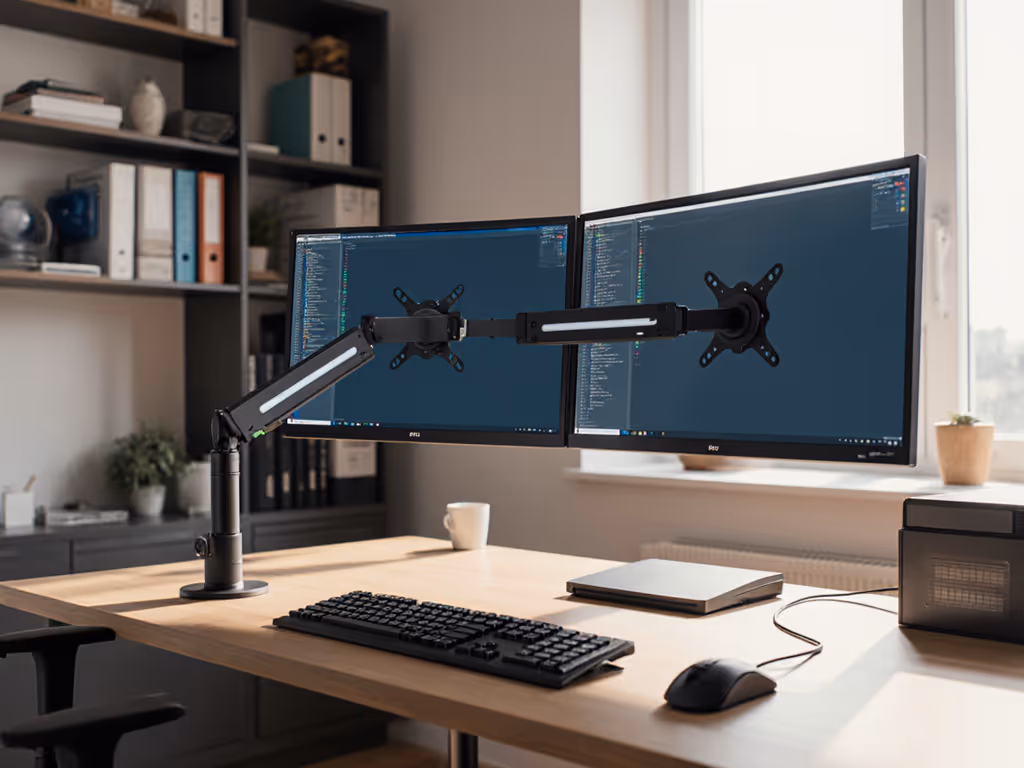
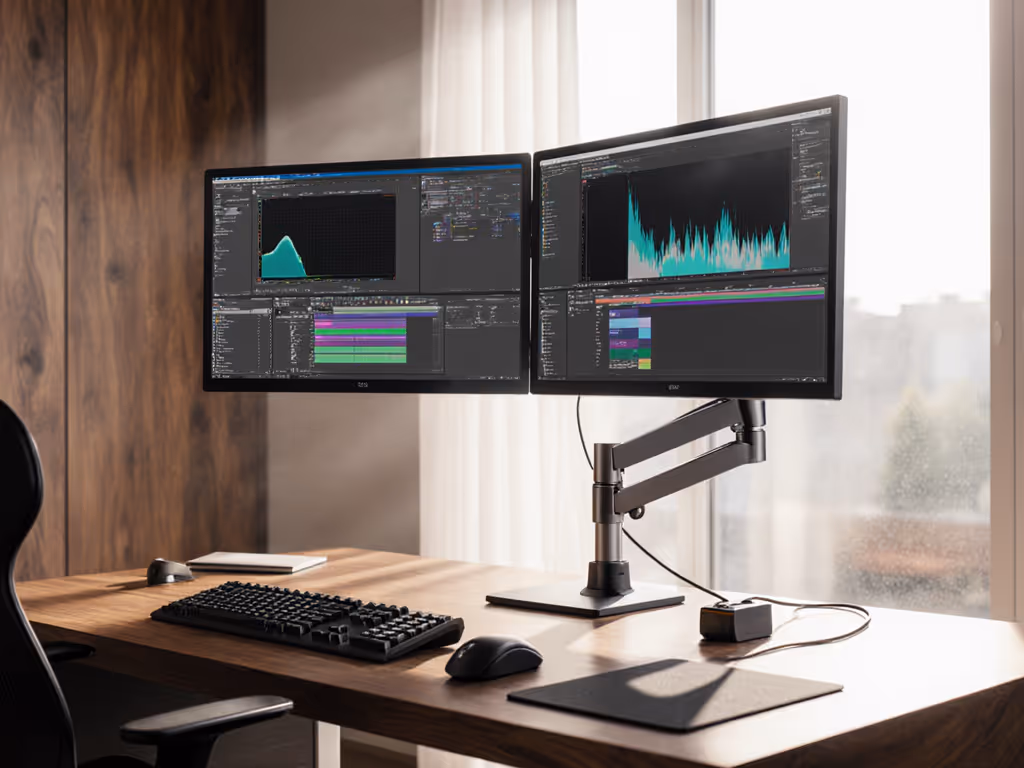
Set up dual monitor arms for color-critical work by focusing on stability: center of gravity, arm rigidity, strain-free cabling, and physics-based alignment. Verify with quick tests to eliminate drift, glare, and micro-vibrations so calibration holds longer.