If you've ever bought a monitor arm only to discover it won't attach to your display, or worse, watched your prized ultrawide sag dangerously off-center, you've felt the frustration of unclear VESA patterns. Getting VESA mounting hole patterns right isn't just about hardware compatibility, it's the non-negotiable starting point for ergonomic comfort. I've seen too many brilliant remote workers and creatives strain their necks wrestling with poorly mounted screens because they skipped this foundational step. Today, we'll demystify the two most common standards (75x75 and 100x100) so you can mount with confidence.
Why Your VESA Pattern Matters More Than You Think
Early in my career, I inherited a workspace with three mismatched monitors stacked like a Jenga tower. By week two, my neck screamed and my productivity plummeted. The culprit? Ignoring VESA standards while chasing "clean desk" aesthetics. When I repositioned them using neutral posture principles (focal distance, natural arm weight, and safe reach arcs), both comfort and speed returned. Comfort measured in millimeters beats power measured in watts.
VESA (Video Electronics Standards Association) isn't a brand, it's a global language for monitor mounts. If you want a deeper primer, read our VESA mounting basics. When your display and arm speak the same VESA dialect, you avoid:
Dangerous torque that strains hardware
Micro-adjustments that waste your morning
Wasted returns from incompatible purchases
Most importantly, correct mounting lets you focus on body alignment, not hardware guesswork. Remember: comfort is a performance spec. Your posture compounds your attention and accuracy all day.
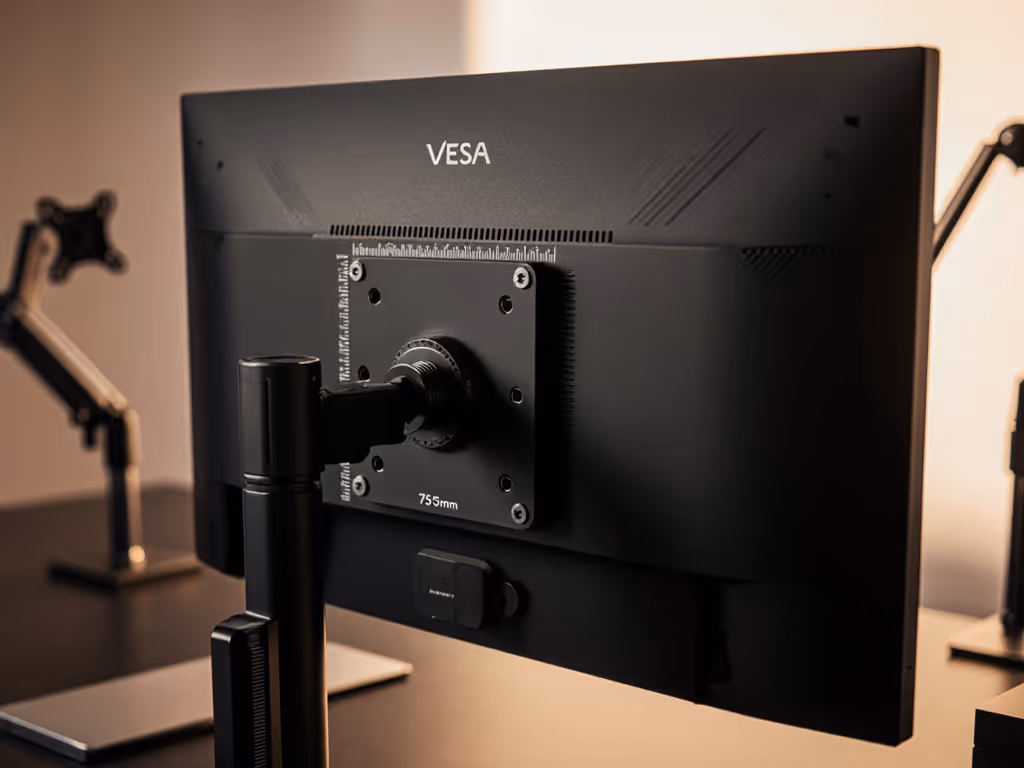
Decoding 75x75 vs. 100x100: Your Visual Guide
These square patterns dominate home offices and creative studios. Here's how to spot them:
75x75 mm Pattern
Appearance: Four screw holes forming a small square (7.5 cm x 7.5 cm / 3" x 3")
Weight limit: <=30.8 lbs (14 kg) (critical for ultrawide safety)
Screw type: M4 x 10 mm (thin silver screws)
100x100 mm Pattern
Appearance: Slightly larger square (10 cm x 10 cm / 4" x 4")
Common in: 24 to 27" productivity/gaming displays, many curved monitors
Weight limit: Same <=30.8 lbs (14 kg)
Screw type: M4 x 10 mm
Reset your mindset: VESA standards aren't about screen size alone, they are about weight distribution and force alignment. Measure your hardware, not just the inches.
Notice how both patterns use the same weight limit? That's why a heavy 27" ultrawide might use 75x75, while a lighter 32" could need 100x100. Never assume, always verify. This prevents the dreaded "sagging arm" scenario that ruins your focal distance and strains your trapezius muscle.
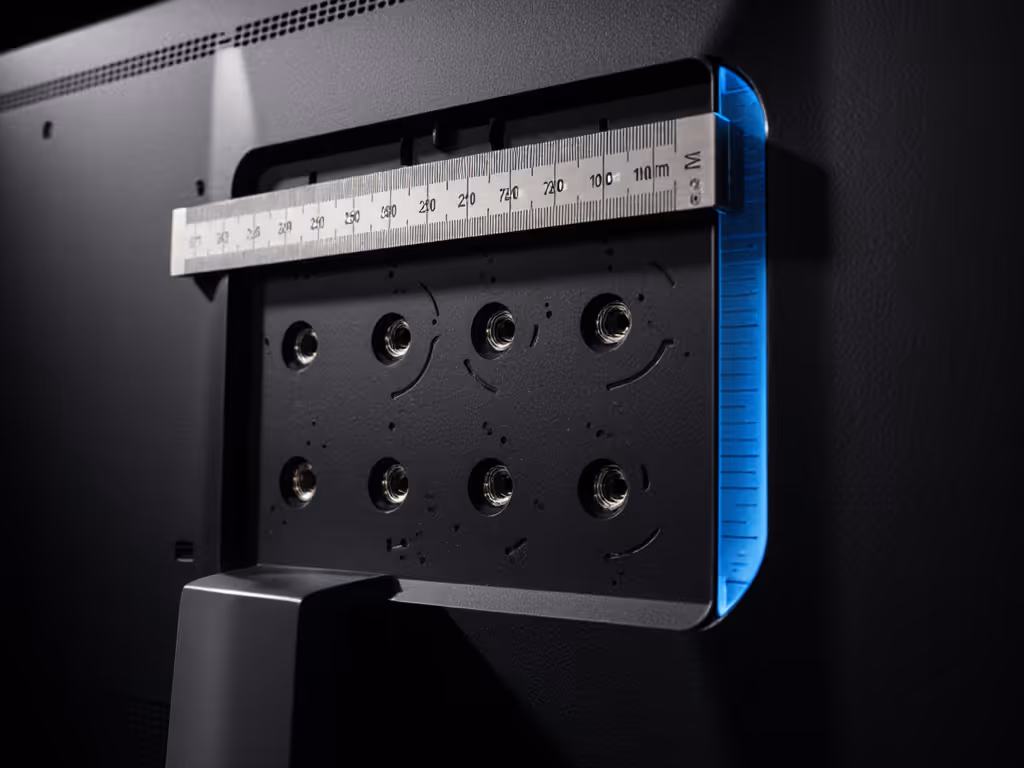
How to Measure Your VESA Pattern (No Tools Needed)
Skip the tape measure scare. Try this stepwise approach:
Flip your monitor (safely, use both palms under the base)
Locate the screw holes (remove the existing stand if needed)
Identify the pattern shape (square = 75x75 or 100x100; rectangle = 200x100 for larger screens)
Measure center-to-center:
For metric users: Stretch your thumb and index finger, 75 mm ≈ width of a credit card. 100 mm ≈ palm width.
For imperial users: 75 mm = 3 inches (width of a standard Post-it). 100 mm = 4 inches (length of a AA battery).
Confirm weight compatibility (we'll cover this next)
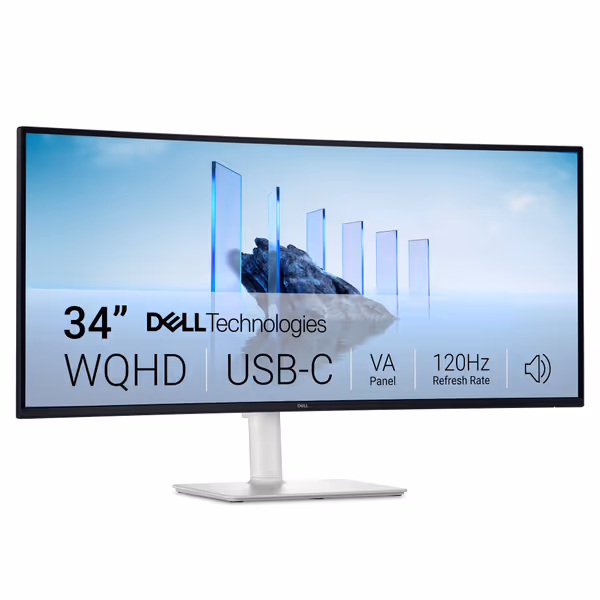
Dell 34 Plus USB-C Curved Monitor - S3425DW
Curved UWQHD monitor with high refresh, rich color, and single-cable connectivity.
Smooth 120Hz with FreeSync Premium & 0.03ms response
Single USB-C with 65W PD declutters your desk
Cons
VA panel may have narrower viewing angles than IPS
Customers find this 4K monitor to be great for work, praising its sharp picture quality and 120 Hz refresh rate. The monitor offers good value for money and features surprisingly good built-in speakers, with one customer noting they don't need external speakers.
Customers find this 4K monitor to be great for work, praising its sharp picture quality and 120 Hz refresh rate. The monitor offers good value for money and features surprisingly good built-in speakers, with one customer noting they don't need external speakers.
When I tested a recent Dell 34 Plus ultrawide (20.7 lbs), its 100x100 pattern held firm on a dual-arm setup because the weight stayed under VESA's 30.8 lb limit. But many heavier ultrawides flirt with this threshold, making ultrawide VESA compatibility a critical checkpoint. Always check your monitor's specs sheet for actual weight, not just screen size.
The Ultrawide Trap: Why Your Curved Display Might Fail
Ultrawides (34"+) often push VESA limits. Here's what I see clients miss:
Center of gravity: Curved screens shift weight forward, straining arms designed for flat panels
Adapter plate risks: Non-VESA all-in-ones (like iMacs) need adapter plate options, but cheap plates flex under weight
Pattern misidentification: A 32:9 ultrawide (e.g., 49" LG) may use dual 100x100 points, not a single pattern
Pro tip: Place your palm flat against the monitor's back. If the curve creates >1 inch of gap between your hand and the screen edge, demand adapter plate options rated for 50% more than your monitor's listed weight. Better safe than sagging.
When Your Monitor Doesn't Play Nice (Adapter Solutions)
Not all displays are VESA-ready. Here's how to adapt safely:
Non-VESA LCDs: Use a VESA adapter plate (like those from Ergotron). Crucial: Ensure screws penetrate >=10 mm into the monitor's chassis. Surface-level mounts fail under arm torque.
All-in-ones: iMacs or HP Envy desktops need specialized brackets. Verify thread depth matches your arm's screws (M4 vs. M6).
Glass or thin-bezel monitors: Avoid adhesive plates! Opt for frame-clamping adapters to prevent pressure cracks.
Comfort measured in millimeters isn't just poetic, it's physics. A 2 mm misalignment in screw depth can compound into 10 degrees of tilt drift over time, forcing your neck into unnatural rotation.
Never force incompatible hardware. If your monitor lacks screw points, measuring VESA pattern becomes irrelevant. Seek professional mounting solutions. Your cervical spine doesn't negotiate with poorly fitted brackets.
Take Action: Your VESA Checklist Before Buying
Save yourself analysis paralysis and return fees. Before purchasing any arm:
Flip and photograph your monitor's back panel
Measure center-to-center in mm (convert to inches: 75 mm = 3")
Weigh your monitor (don't trust manufacturer specs alone)
Confirm arm compatibility for both pattern and weight (e.g., "100x100 up to 33 lbs")
Test reach at your standing/sitting height before final mounting
I've watched clients gain 15% more focus time just by nailing this sequence. One architect told me he stopped getting afternoon headaches after realizing his 38" ultrawide needed custom adapter plates, not the "universal" mount he'd bought.
Final Thought: Mount Once, Work Comfortably Forever
Your monitor's VESA pattern is the silent foundation of your entire workflow. Get it right, and you'll compound attention, accuracy, and comfort all day. Get it wrong, and you'll pay in neck strain and wasted hours.
Take this actionable next step today: Flip your monitor right now. Photograph the back. Measure one pattern. Compare it to your arm's specs. Fewer than 60 seconds could save you months of discomfort. Then share your discovery in the comments, I'll help troubleshoot! Because when your hardware aligns with your body, work stops feeling like work.
Remember: Comfort measured in millimeters beats power measured in watts. Every time.
Learn the precise, research-backed settings for monitor height, viewing distance, and mount stability to cut neck strain and protect color accuracy. Apply simple lighting, cable, and desk-preset checks to maintain a stable, reproducible workflow.
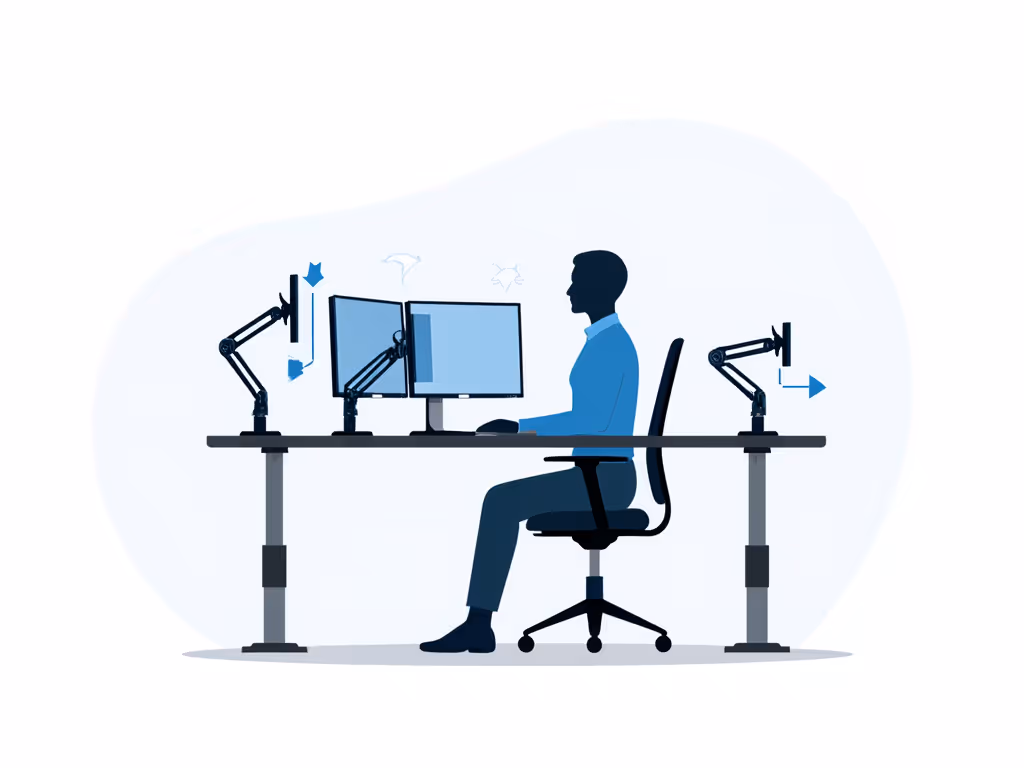
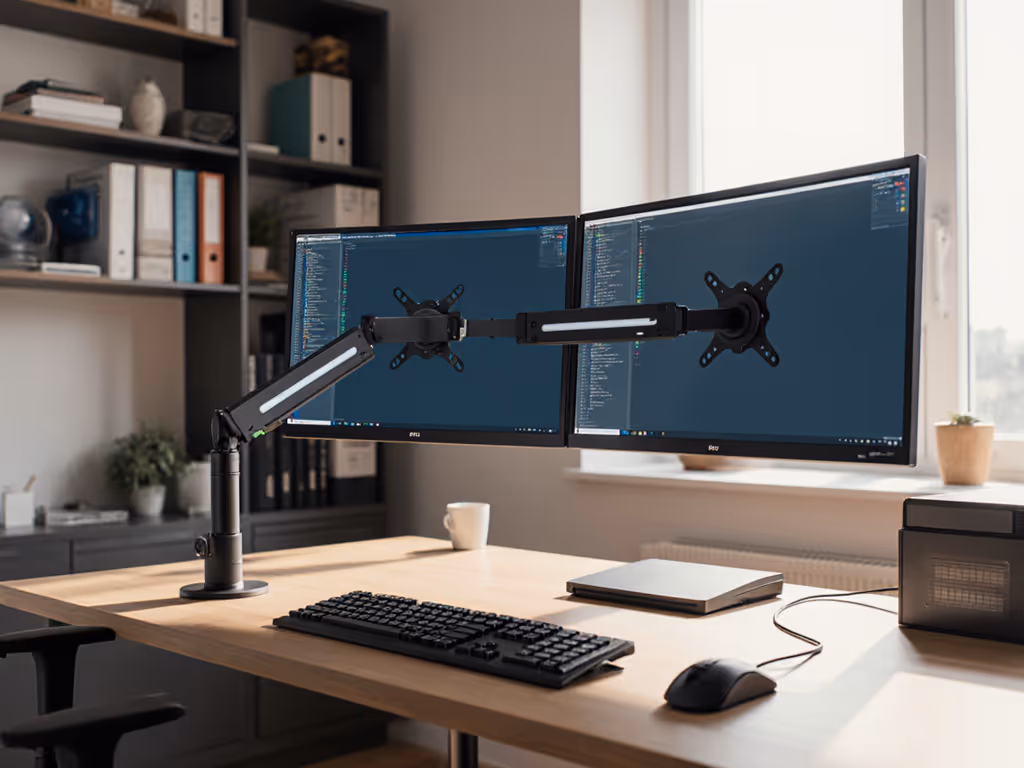
Set up dual monitor arms for color-critical work by focusing on stability: center of gravity, arm rigidity, strain-free cabling, and physics-based alignment. Verify with quick tests to eliminate drift, glare, and micro-vibrations so calibration holds longer.
Learn how to verify VESA compatibility - pattern, screw size, recess, weight, and center of gravity - and pair it with the right arm or adapter. Avoid sag, drift, and neck strain with a quick measurement checklist and model-specific fixes.