Dual-Boot Monitor Setup: Consistent Color & Ergonomics
By Mina Okafor • 6th May

Working across operating systems introduces a hidden ergonomic and color-management layer that many overlook. A dual-boot monitor setup and cross-OS monitor configuration demand more than simply plugging in a display and switching systems. For deeper strategies on cross-platform color profiles and workflow alignment, see our cross-OS color and workflow guide. The monitor sits between your body and your work; if its position, calibration, and color profile shift with each boot, you lose both postural consistency and visual accuracy, two pillars that compound attention and speed over time.
This guide translates the physical and technical demands of multi-OS display work into actionable steps. By approaching color profile synchronization and multi-OS display calibration as a unified workflow rather than isolated troubleshooting, you'll create a dual-boot workspace ergonomics system that feels seamless and performs reliably.
The Body-First Principle: Why Ergonomics Comes First
Early in my career, I inherited three mismatched monitors stacked at different heights and angles. By week two, my neck ached constantly and my workflow had slowed by half. The issue wasn't the monitors themselves; it was that I had optimized for hardware aesthetics rather than postural consistency. Once I repositioned each display around neutral spine alignment, shoulder reach, and focal distance, comfort returned and productivity surged.
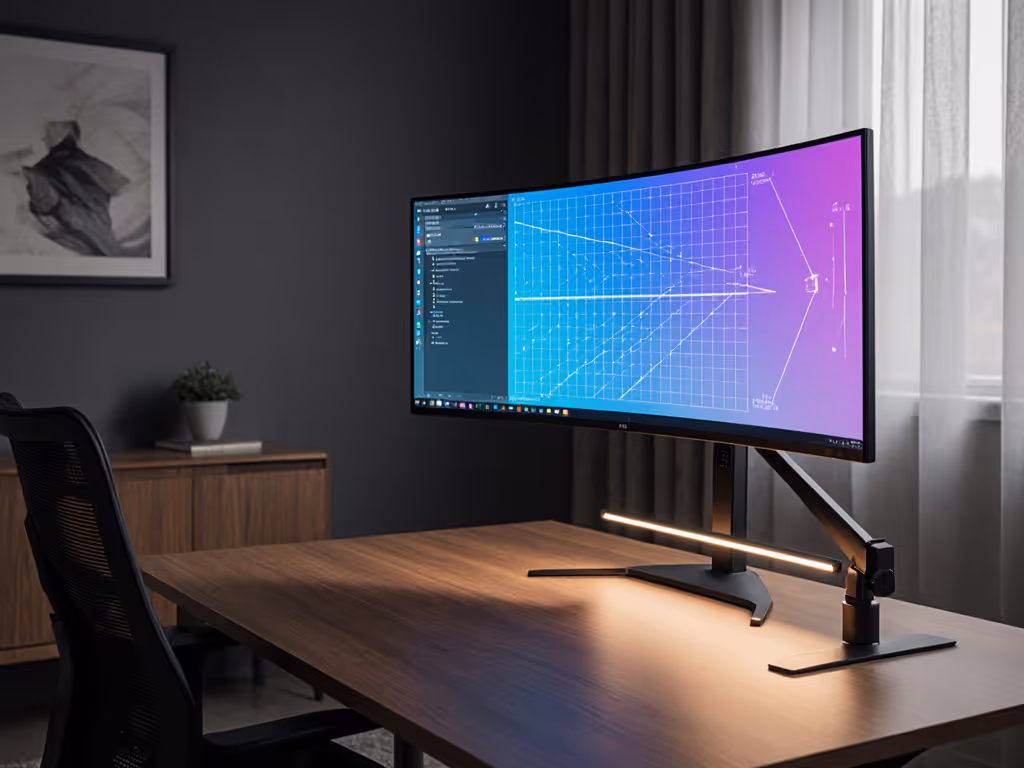
When you dual-boot, the temptation is to focus immediately on color accuracy. Resist it. Begin with the body. A monitor in the wrong position (too high, too far, or at a poor angle) will strain your neck and shoulders regardless of how perfectly calibrated the colors are. Your ergonomic setup must remain identical whether you're running Windows, macOS, or Linux. This means your monitor arm, stand height, viewing distance, and eye-line angle stay fixed. If you need a refresher on optimal measurements, our ergonomic monitor height guide covers eye-line targets and distance in detail.
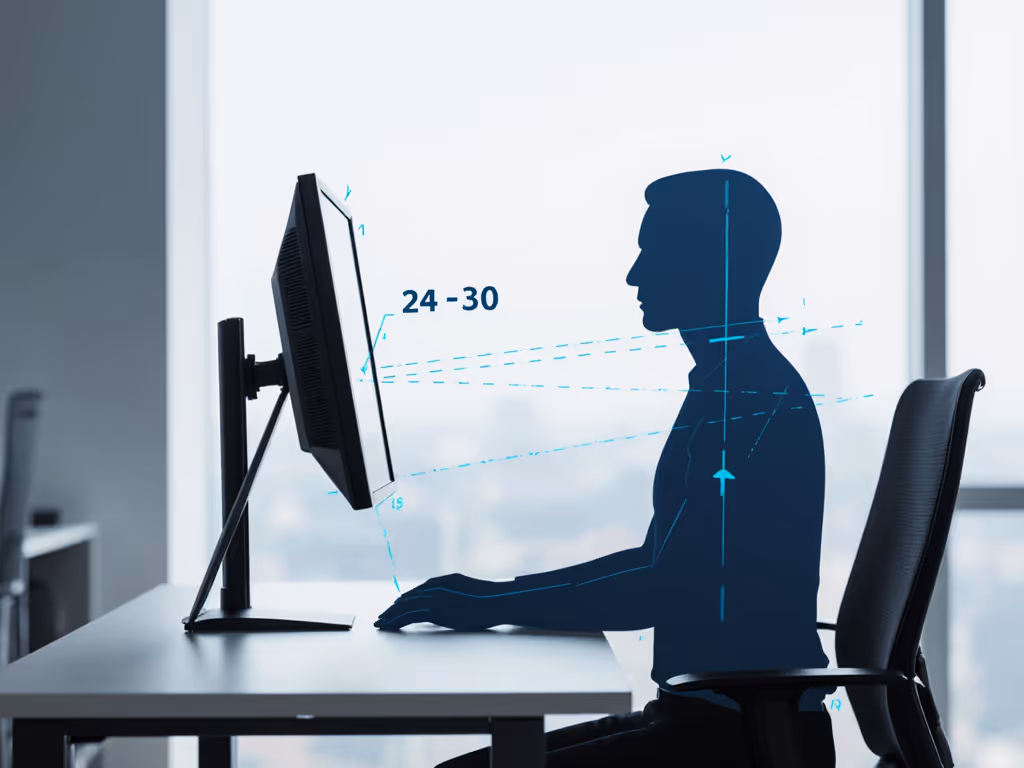
Establish Your Baseline Posture
Sit upright with your shoulders relaxed and your elbows at roughly 90 degrees. Your eyes should land on the upper third of the monitor (about 15 to 20 degrees below horizontal) when you look straight ahead without tilting your head. Measure the distance from your eyes to the screen: arm's length (60 to 75 cm or 24 to 30 inches) is the starting point. Adjust your monitor arm or stand until this baseline is met. These millimeters matter. Comfort measured in millimeters beats power measured in watts.
Document this position: take a photo of your posture from the side, note the height of the monitor's bottom bezel, and record the distance from your chair back to the screen. This becomes your reference when you boot into another OS.
Step 1: Verify Mechanical and Electrical Consistency
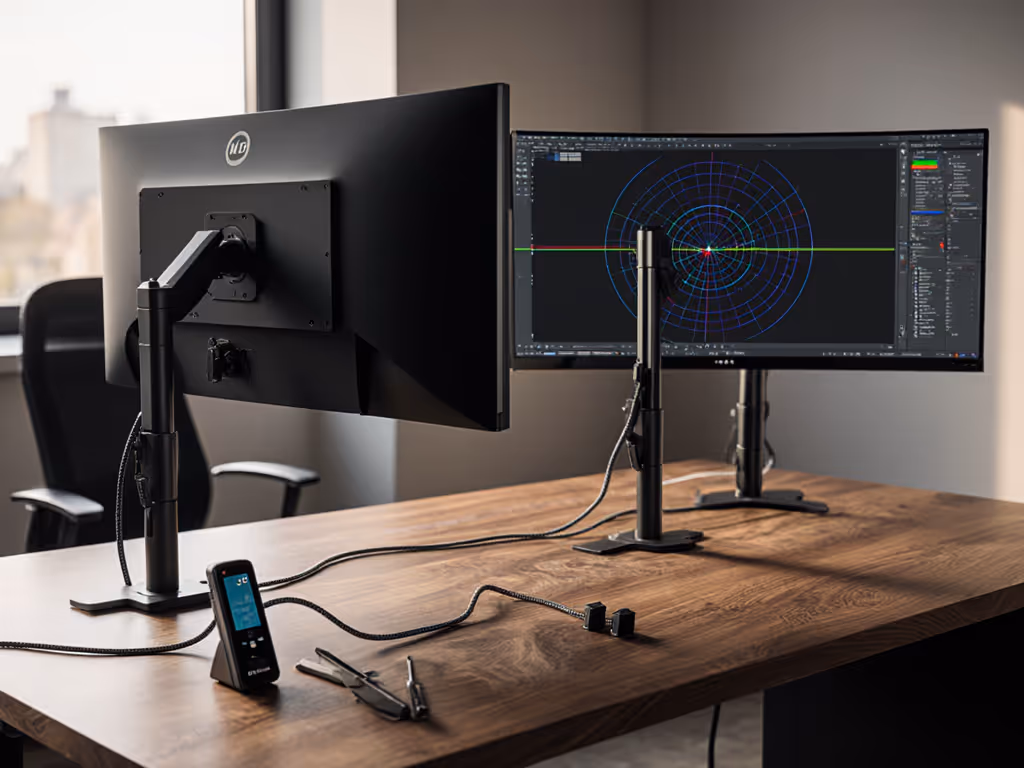
Before any color or OS work, ensure your monitor hardware remains mechanically stable and electrically consistent across all systems you'll use. For tidy, repeatable cabling that prevents connector strain, follow our monitor cable management guide.
Check Mounting and Power
- Mount type: Whether your monitor is on a VESA arm, integrated stand, or aftermarket bracket, verify it's secured with equal pressure and tightness each time you set it up. A sagging arm (even by 2 to 3 cm, about 1 inch) throws off both ergonomics and your color-reference geometry.
- Cable routing: Route all video and power cables in the same path each time you move between systems or after updates. Ensure no cables pinch or strain the monitor's input connectors; loose connections can trigger EDID (Extended Display Identification Data) handshake failures, causing unexpected color shifts or display detection delays.
- Power cycling: Allow 10 seconds after powering off before powering back on. This resets the monitor's internal LUT (Look-Up Table) cache and ensures firmware consistency.
Step 2: Calibrate Each Operating System Independently
Multi-OS consistency starts with understanding that each operating system manages color differently. Windows uses ICC profiles stored in system folders; macOS uses ColorSync; Linux uses a mix depending on your desktop environment. Calibrate once per OS with the same hardware profiler, then validate cross-system consistency.
Configure the Monitor's Native Settings
Access your monitor's on-screen menu (OSD) and confirm these settings are identical each time you boot:
- Brightness: Set to 100 nits (cd/m²) if you're doing color-critical work (photography, design, video). For general use, 120 to 150 nits. Consistency in brightness is a prerequisite for color accuracy.
- Contrast: Leave at the monitor's factory default (usually 50%) unless your profiler recommends otherwise.
- Color temperature: Set to 6500 K (daylight standard). If your monitor lacks this option, use the "Warm2" or manufacturer preset closest to D65.
- Response time / overdrive: Set to OFF or "Standard." Gaming modes or overdrive settings can introduce color shifts.
- Any dynamic contrast or adaptive color features: Turn off. These interfere with profiling.
Do not adjust these settings in the OS color menu; do them in the monitor's hardware OSD. Small adjustments, big outcomes, but only if they persist across reboots.
Profile with a Hardware Device (If Available)
If your workflow demands color accuracy (design, photography, video), use a hardware profiler (colorimeter or spectrophotometer) to generate a monitor-specific ICC profile for each OS. Not sure which device to use? See our monitor calibration tools guide for reliable colorimeters and spectrophotometers.
- Profile in a controlled lighting environment (no direct sunlight, consistent ambient illumination at ~500 lux).
- Allow the monitor to warm up for 15 minutes before profiling.
- Save the ICC profile with a descriptive name that includes the date and OS: e.g.,
Monitor_Main_Win11_2026-05.iccandMonitor_Main_macOS_2026-05.icc. - Store both profiles in each OS's dedicated color management folder:
- Windows:
C:\Windows\System32\spool\drivers\color - macOS:
~/Library/ColorSync/Profiles - Linux:
~/.local/share/color/icc(path varies by desktop environment).
- Windows:
Step 3: Configure Color Management in Each Operating System
Windows: Apply Default Color Profile
- Open Settings → Display → Advanced Display.
- Scroll to Color Profile and select your saved
Monitor_Main_Win11_*.iccfile. - Check Use Windows Display Driver Color Management if available.
- Verify the profile applies to all users if shared workstations are involved.
macOS: Assign Profile to Display
- Open System Preferences → Displays → Color.
- Click the + button to add a custom profile.
- Select your saved
Monitor_Main_macOS_*.iccfile. - Ensure this profile is marked as the default for the display (it may auto-select).
Linux: Set Color Profile in Your Desktop Environment
Steps vary. For GNOME:
- Open Settings → Color.
- Click the monitor and add the ICC profile.
- For session persistence, also configure via
~/.config/monitors.xmlor your compositor's color management settings (depending on your display server).
Step 4: Test Consistency and Document Results
Boot into each OS and visually inspect a reference image - a photograph or a design file with known colors you've previously verified. Check for:
- Neutral grays: Do they appear neutral or do they skew warm/cool?
- Skin tones: Do people look natural or sallow/florid?
- Black point and white point: Do pure blacks feel true and whites feel crisp without crushing or bloom?
If colors differ noticeably between OS instances, re-run the profiling step or verify that each profile file is correctly assigned in its respective OS settings. A 2 to 3 delta-E (ΔE) shift between systems is normal and imperceptible; anything above 5 ΔE warrants investigation. Also confirm you're viewing the panel at its optimal angle—our panel-specific viewing angle guide explains IPS, TN, and VA differences that can mimic color mismatches.
Step 5: Create a Setup Reference Sheet
Document and store:
- Monitor OSD settings (a photo of each menu screen)
- Mounted position: height, angle, distance from chair
- Operating system and OS build version for each profile
- Ambient lighting conditions when profiling was done
- Profiler used and profile date
- Color temperature target (usually 6500 K)
This reference sheet ensures that if your monitor ever loses power, gets moved, or receives a firmware update, you can quickly restore consistency.
Actionable Next Step
Start with your current monitor and OS. Photograph your posture and measure your viewing distance. Set your monitor's OSD brightness to 120 nits and temperature to 6500 K; these two adjustments alone create immediate baseline consistency. Then, install or validate your OS's default color profile in the system settings. Boot into your secondary OS and repeat. You will not need expensive profiling hardware to see an immediate improvement in stability; you will notice reduced eye strain and faster color perception once the fundamentals align. Document each step with a photo or note. This record becomes your setup's firmware, your reference when anything shifts.
Related Articles