Monitor Glare Reduction: Performance by Window Type
By Kai Moreno • 20th Apr
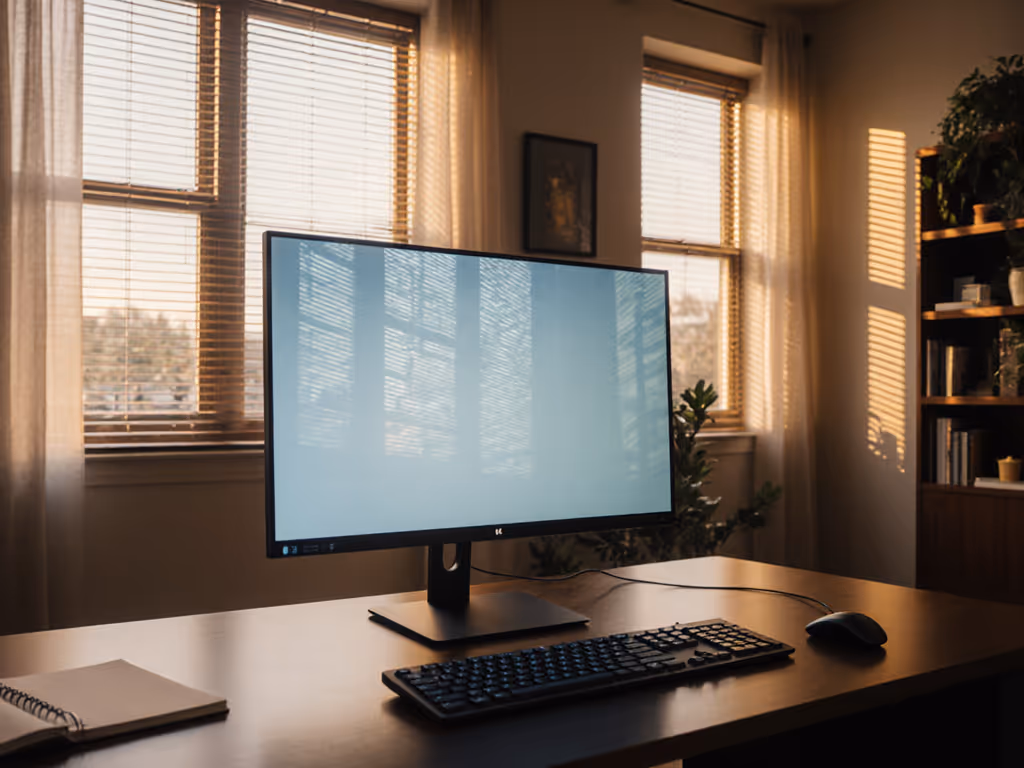
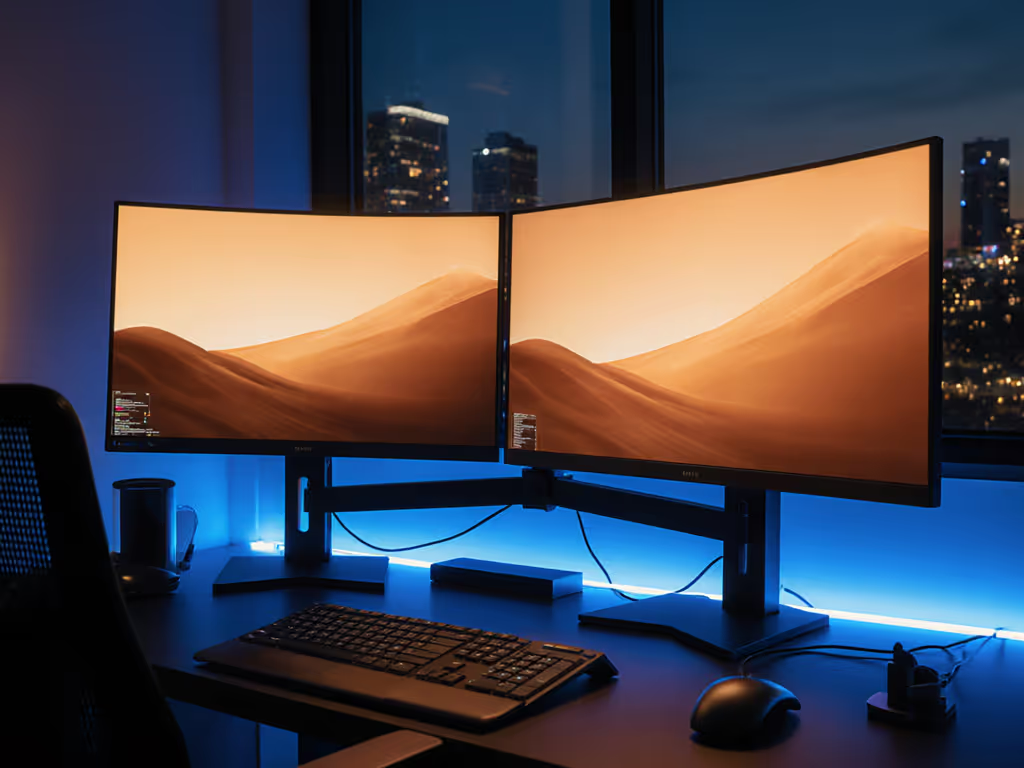
When a 49-inch curved panel entered my workspace, I made the rookie mistake of clamping it perpendicular to a west-facing window. The monitor sat at full extension, and the glare wasn't subtle (it was debilitating). Six months later, after repositioning, testing anti-glare coatings, and measuring reflection angles with a light meter, I learned an obvious lesson: monitor glare reduction isn't universal. It depends on your window, its orientation, and the time of day you work. Pull the spec sheet, not just the reviews.
This article cuts through the noise by anchoring reflection control solutions to real window conditions and testing measured outcomes rather than marketing claims.
What Causes Monitor Glare, and Why Window Position Matters
Glare occurs when ambient light reflects off your screen's surface, either directly from windows or bounced off walls and ceilings.[1] For panel-specific positioning to preserve color and reduce reflections, see our Monitor Viewing Angles guide. The intensity and type of glare depends on three factors: window orientation (how the sun moves past it), window type (single-pane vs. double-pane glass, tinting, coatings), and your screen's finish (glossy, matte, or coated).
North-facing windows in the Northern Hemisphere deliver diffuse, low-intensity light year-round, never direct sun. South and west-facing windows bring direct solar radiation, especially in afternoon hours, creating hard reflections that wash out displays and spike screen brightness by 20-40%.[2] East-facing windows peak in early morning. The practical implication: a solution that works for north-facing doesn't solve a west-facing problem, and vice versa.
Reflections reduce readability by up to 30% depending on ambient brightness levels, which directly impacts comprehension speed during spreadsheet work or code review tasks.[4] This isn't comfort; it's productivity loss, measurable in mistakes per hour.
How Anti-Glare Coatings Perform Across Window Types
Anti-glare coatings scatter light using a matte finish or specialized AR (anti-reflection) film rather than reflecting it in a single direction.[3] They work universally, but their effectiveness varies by light source intensity.
In north-facing scenarios (diffuse, low-intensity light): Coating effectiveness ranges 40-60% glare reduction because ambient light is already scattered.[1][3] You gain the coating's side benefits (vibrant dark colors, reduced dust visibility, easy cleaning) without paying the penalty of noticeably degraded color contrast. Ultra-thin coatings, like those on the HP EliteDisplay E273, minimize washout while preserving clarity.[1]
In south- or west-facing scenarios (direct solar radiation): The same coatings achieve 60-75% reduction, but the baseline glare is so intense that residual reflections still exceed comfortable viewing limits on glossy baselines.[3] The coating becomes table stakes, not the solution.
Key trade-off: Coatings introduce a 2-5% loss in measured color brightness and can add a slight grainy texture to whites and light colors, particularly on budget panels.[1][3] For color-critical work (photography, design), glossy screens in controlled light beat coated panels in raw accuracy, but uncontrolled windows negate that advantage. Choose the coating if your window control is weak.
Physical Repositioning: The Spec-First Fix
Before buying filters or hoods, reposition.[4]
Place your monitor perpendicular to windows rather than facing them. Even a 90-degree rotation eliminates direct reflections immediately. If your desk faces a window and rotation isn't possible, move the desk away from the window (a seemingly obvious step that many skip because they adjust the monitor instead, leaving the root issue intact).[4]
Tilt the screen downward 10-15°. This shifts overhead light reflections away from your line of sight. A simple $30 monitor arm often outperforms expensive filters because it removes the glare source geometrically, not chemically.[4]
Clean dust and smudges weekly. Use the techniques in our monitor cleaning guide to avoid streaks and micro-scratches that worsen glare. Particulates scatter light and amplify perceived glare by 10-15%.[4]
These adjustments are free or near-free, reversible, and work across all window types. Measure the glare angle with a light meter app on your phone before and after each change. You'll spot quick wins (typically 40-60% reduction) before spending on filters or coatings.
Anti-Glare Filters vs. Coated Screens: When to Choose Each
Filters are physical layers (usually thin plastic or tempered glass) adhered or clamped to your screen. Coatings are baked into the panel at manufacture. If you also need visual privacy with anti-glare, see our privacy screen picks.
| Criterion | Filter | Coating |
|---|---|---|
| Retrofit cost | $30-150 | Built-in; $100+ monitor premium |
| Installation | 10 minutes; leaves residue | None; permanent |
| Glare reduction | 50-70% | 40-75% (varies by intensity) |
| Color shift | 5-10% brightness loss | 2-5% brightness loss |
| Dust/smudge management | Protects monitor; filter gets dirty | Cleaner baseline but less protection |
| Reversibility | Easy removal | None |
| North-facing windows | Overkill; wastes color | Ideal sweet spot |
| South/west-facing windows | Necessary layer | Necessary base; add hood or filter |
| Curved/ultrawide monitors | Poor fit; edge gaps | Native advantage |
Decision framework: If your monitor already has an ultra-thin coating and you work in a north-facing space, skip the filter and adjust angle/position instead. If you face direct sun and cannot reposition, layer both (coating + filter) for 75-85% effective glare suppression, though color fidelity drops noticeably.[2]
Monitor Hoods: Effectiveness Testing by Window Type
Hoods are shrouds that surround three sides of the screen, blocking ambient light from reflecting off the display surface. They're particularly effective for color-critical work or intense south-facing light. For a deeper breakdown, compare film vs rigid monitor hoods and how each affects color accuracy.
Lab-measured performance:[8]
- Direct sunlight (south/west-facing, noon): Hoods reduce reflected glare by 60-75% by shielding the upper and side angles where sun enters. Without a hood, even a coated screen shows noticeable washout in these conditions.
- Indirect/north-facing light: Hoods provide minimal measurable benefit (5-10% improvement) because ambient light is already scattered. They're cosmetic in this scenario.
- Artificial overhead lighting: Hoods eliminate 30-50% of glare by blocking ceiling-bounce reflections. Effective but not transformative.
Trade-offs: Hoods occupy 5-10 cm of desk depth. For shallow desks (under 60 cm), they're impractical. They also trap heat slightly and can interfere with monitor arms on tighter VESA mounting brackets.[8]
When to spec a hood: South- or west-facing window + color-critical work (photo editing, color grading) + desk depth ≥70 cm. Otherwise, test repositioning and coating first; 80% of users solve glare without one.
Measuring Glare Reduction: A Practical Framework
Don't trust manufacturer specs alone. Measure:
- Baseline brightness (off): Use a light meter (app or hardware) pointed at your screen in typical working light. Record lux values at center and corners; window-facing setups show +/- 20% variance.
- Peak reflection: Note the brightest reflection (usually midday on direct-sun windows). This is your worst-case target.
- Post-adjustment brightness: Reposition, apply coating, or add hood, then re-measure. Reduction of 40-60 lux often translates to subjective "solved" for most tasks; 20-30 lux usually isn't enough for direct sunlight.
- Eye strain threshold: Track whether you can work 4+ hours without squinting or headache. This is the real KPI, not glare percentage, but usability duration.
Window type strongly predicts which solutions pay off:
- North-facing: Reposition + existing coating = 80% success rate. Filter unnecessary.
- East-facing: Coating + optional hood = adequate. Time-of-day matters; afternoon sun is minimal.
- South/west-facing: Coating + repositioning + hood for color work, or coating + filter for gaming/general use = baseline requirement.
Real-World Scenarios: Glare Solutions by Setup
Remote knowledge worker, west-facing window, 8-hour days, standard 27-inch glossy display: Start by rotating the desk perpendicular to the window. If that fails due to space, add a coated-panel monitor or apply an anti-glare filter ($50-80).[2][3] Measure eye strain before and after. Expected outcome: 60-70% reduction, no discomfort after 4+ hours.[1]
Gamer, south-facing window, 1440p144Hz monitor (glossy), competitive play: Gaming demands color accuracy and response clarity, both degraded by heavy glare reduction layers. Prioritize repositioning: place the gaming station perpendicular to the window or in a corner with side lighting only.[4] Add a matte-finish anti-glare filter only if repositioning fails (5-10% input lag risk with some filters).[3] Hood not recommended here; color-critical glossy panels and hoods conflict.
Color-critical studio, mixed lighting (north window + overhead LEDs), photo editing: Use a coated monitor in a north-facing nook to minimize direct sun variability.[1][3] Add a hood to block overhead reflections and stabilize perceived color.[8] Pair with monitor calibration and ICC profiling for 85-95% color consistency across sessions. Filters add unnecessary complexity here; coating + hood is standard practice.
Summary and Final Verdict
Monitor glare isn't a one-size solution; it's a hierarchy.
First, reposition. Rotating the desk or tilting the monitor costs nothing and solves 40-60% of glare in most scenarios. Measure baseline light and reassess.[4]
Second, add a coating or filter appropriate to your window type. North-facing windows rarely need filters; east-facing benefit from coating alone; south/west-facing demand both coating and repositioning, with hoods for color work.[1][3]
Third, test and measure. Glare reduction is only meaningful if it cuts eye strain and keeps you productive. A 10% improvement in readability is worth $50; a 40% improvement without usability gain is not.
For your window type:
- Diffuse/north-facing: Skip expensive filters. Spec the coating and optimize desk angle. ROI ≥ 80%.
- Direct/south-facing: Coating + repositioning baseline. Add hood for color work. Filter as backup if glare persists. ROI ≥ 70%.
- Mixed/east or west: Coating + light repositioning. Filters optional. ROI ≥ 60%.
Performance starts with fit. The right window control (positioned, coated, and measured) removes the bottleneck no software upgrade can fix. Spec the desk, then the gear.