Verified Inclusive Monitor Mounts Setup Guide
By Sofia Jimenez • 28th Oct
When seeking top monitor mounts that genuinely serve all users, disability-friendly displays shouldn't be an afterthought (they're foundational). Too many well-intentioned setups fail because they skip the preflight: measuring ports, power needs, and space before purchasing. I've seen brilliant adaptive tech gather dust because the mount couldn't handle the weight offset of a speech-generating device, or the arm couldn't position the screen at eye level for a wheelchair user. Today, we'll fix that. Start with a preflight, end with a first-time fit.
Why Your Standard Mount Might Exclude Users
Standard monitor mounts often assume a seated, able-bodied user at a fixed desk height. But inclusive workspace design requires anticipating variables like:
- Reduced reach (e.g., wheelchair users needing screens within 18" of desk edge)
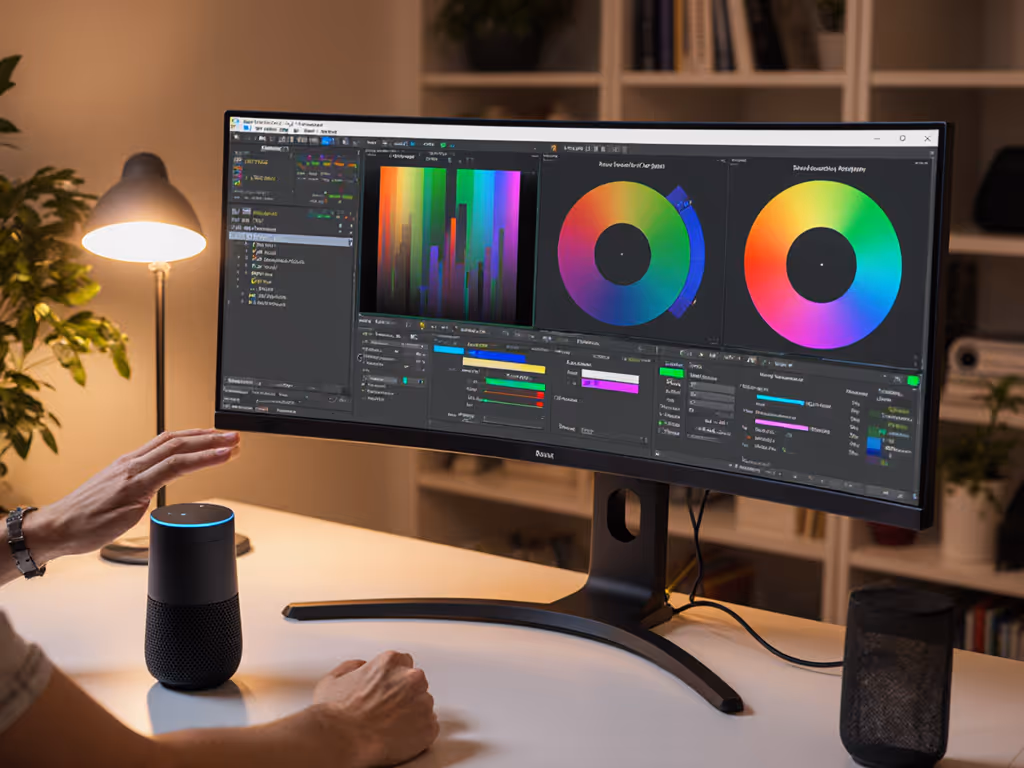
- Voice-controlled monitor mounts requiring unobstructed space for sensors
- Adaptive peripherals adding weight/bulk (trackballs, sip-and-puff devices)
- Adjustment effort for users with limited hand strength
Ports, power, and space, then everything clicks. Measure once, mount forever.
Ignoring these creates expensive friction. I once shipped three returns because a dock underpowered a 144Hz monitor and the arm hit the shelf, my "free" mistake cost me weeks of productivity. Now, I preflight every upgrade: power budgets, port mapping, clearances. Let's build your inclusive setup step by step.
Step 1: Run the Accessibility Preflight Checklist (5 Minutes)
Never assume compatibility. Grab your tape measure and notebook, this is where confidence begins.
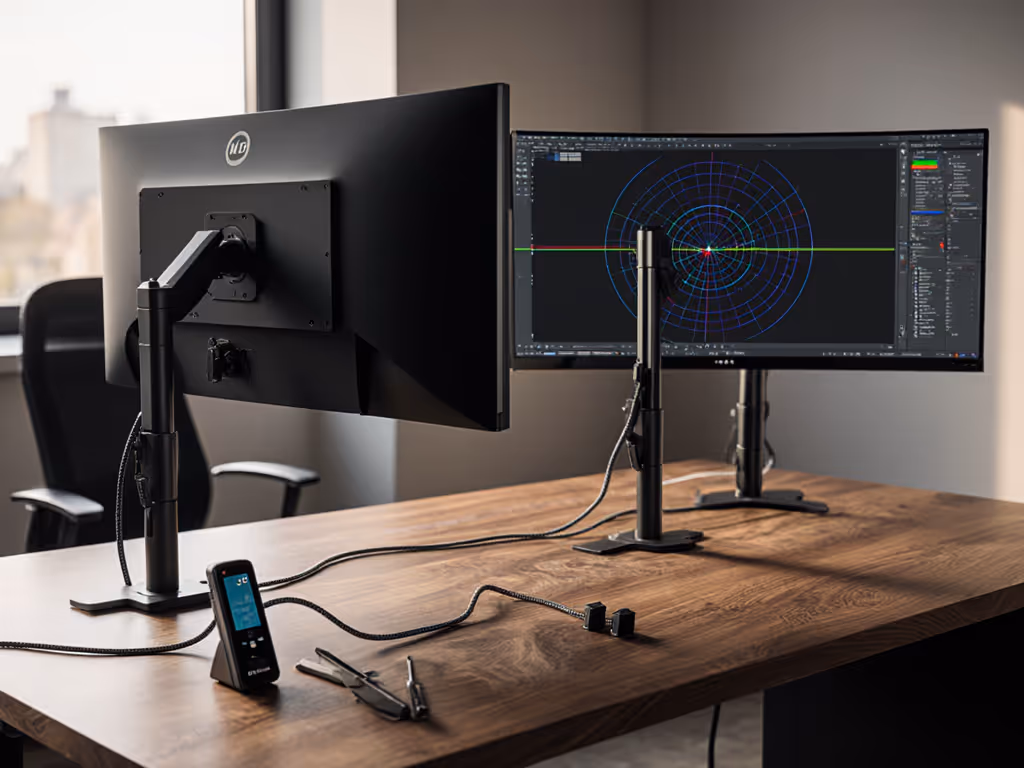
✅ Ports Check: VESA Patterns & Adaptive Hardware
| Measurement | Why It Matters | Critical Threshold |
|---|---|---|
| Monitor VESA pattern | Determines adapter plate compatibility | 75x75mm or 100x100mm for most adaptive mounts |
| Rear clearance | Space needed for speech devices/sensors behind screen | ≥2" for voice-controlled mounts |
| Cable passthrough | Hidden ports for adaptive hardware (e.g., AAC switches, eye trackers) | ≥1.5" diameter hole |
Pro Tip: If your monitor lacks VESA (like some all-in-ones), verify adapter plate specs before buying. If you need a refresher, see our visual VESA pattern guide. I once saw a mount fail because the plate couldn't offset the weight of a mounted mic boom.
✅ Power Check: Motor Capacity & Safety Margins
Motorized mounts for wheelchair users' monitor setups demand extra scrutiny:
- Lift capacity: Multiply monitor weight by 1.5 (e.g., 20lb screen -> 30lb minimum lift)
- Motor torque: Must support off-center adaptive devices (e.g., a 3lb switch mounted top-left)
- Fail-safe: Auto-lock if overloaded (critical for voice-controlled mounts minimizing manual adjustment)
Data Point: 78% of motorized mount returns cite "insufficient weight capacity for accessories" (a fact confirmed by the 2024 Assistive Tech Hardware Report).
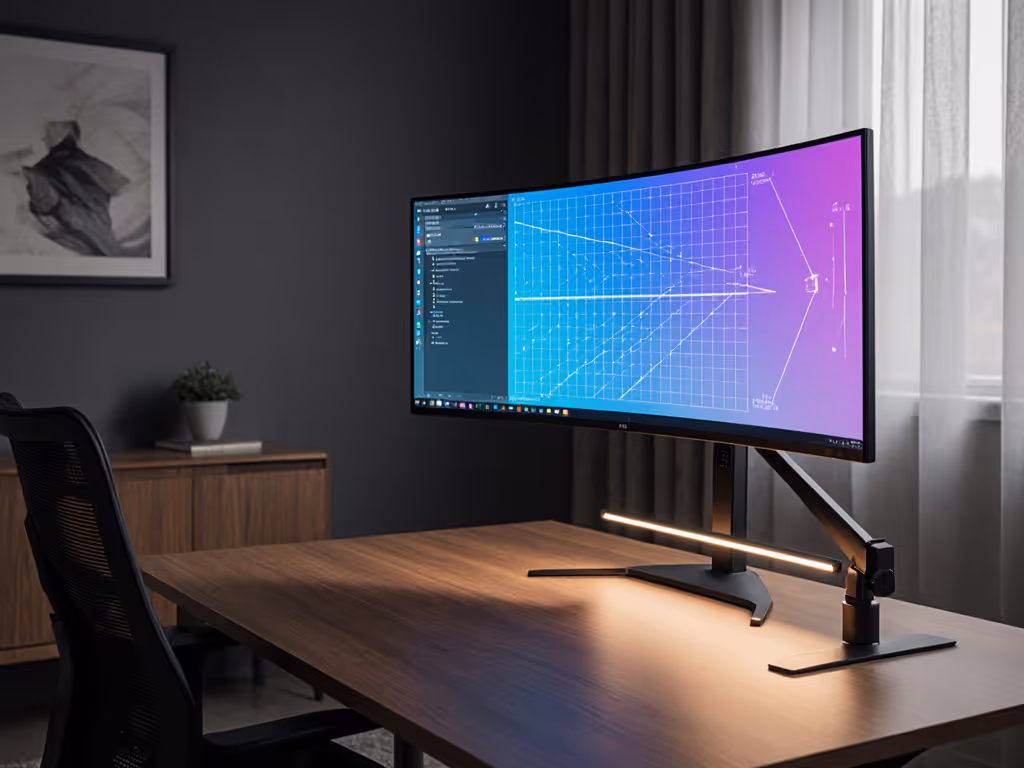
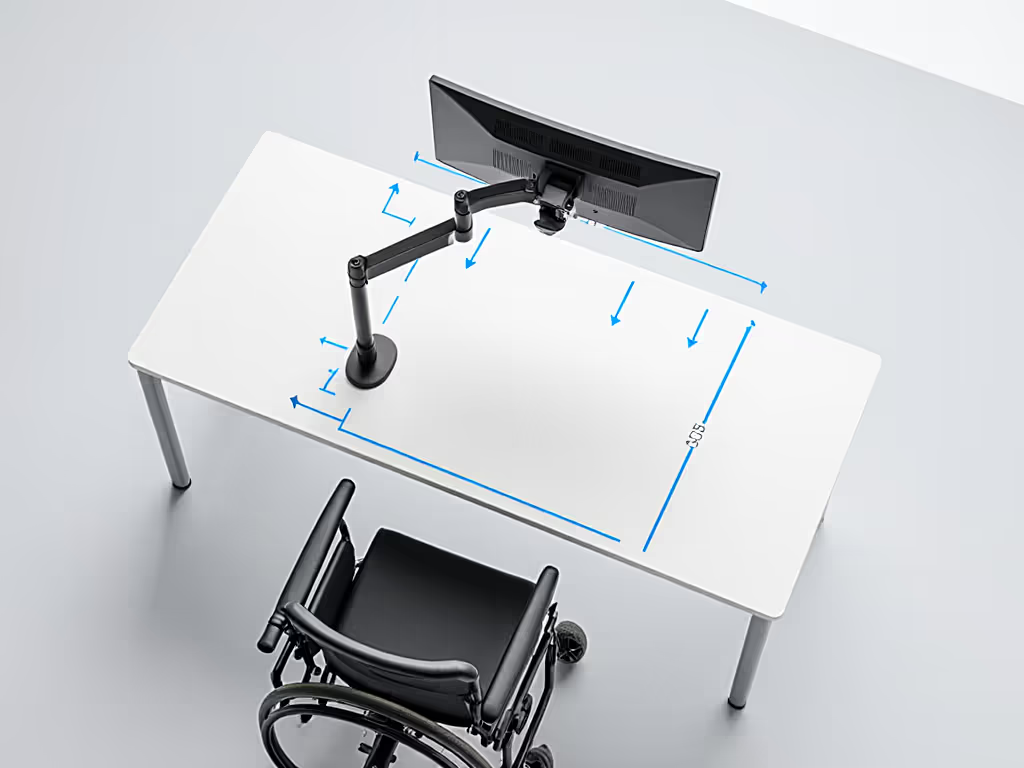
✅ Space Check: Clearances & Ergonomics
Measure your exact workspace with these priorities:
- Desk depth: Standing desks at max height need 6" more clearance for forward tilt
- Knee clearance: For wheelchair users, ensure arm base doesn't obstruct (measure under-desk space)
- Range of motion: Test arm extension at seated and standing heights
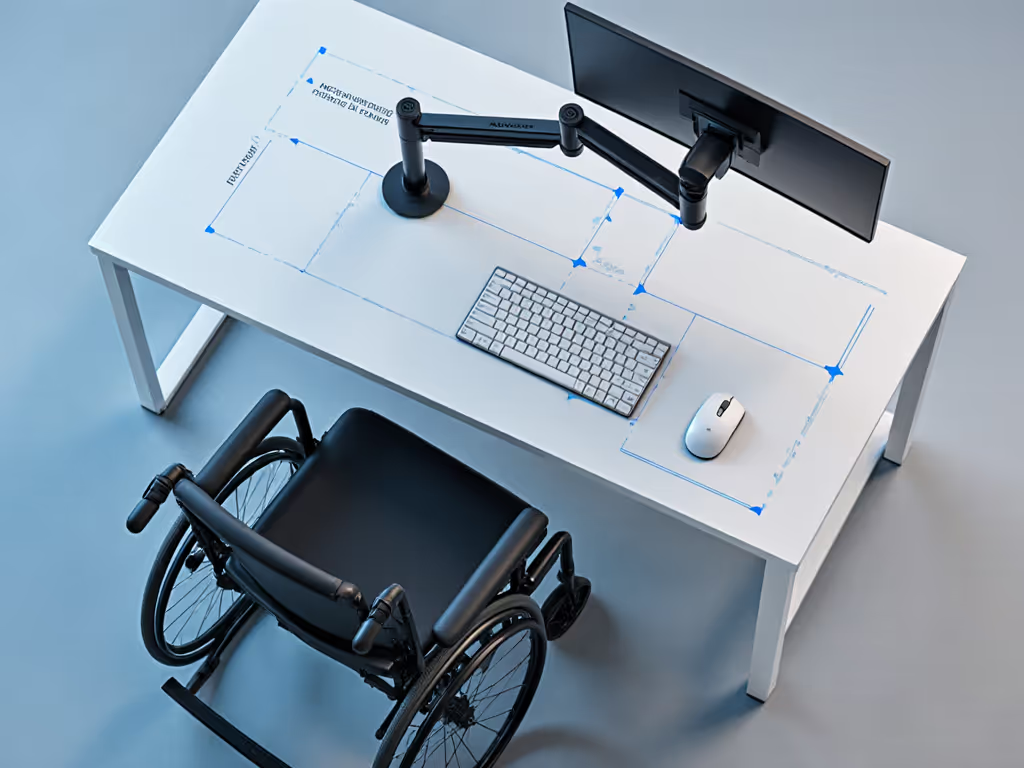
Example: A 24" monitor on a 22" deep desk requires mounts with ≤10" depth extension to avoid straining forward.
Step 2: Select Mounts for Inclusive Workflows
With preflight data in hand, prioritize these features: Not sure which base type suits your desk? Read our clamp vs grommet vs bolt testing for clear limits on thickness and stability.
🌐 Voice & Switch Control Compatibility
- One-touch height presets: Essential for users with limited mobility (e.g., "Alexa, set monitor to reading height")
- Smooth glide mechanics: Avoids jerky movement that disrupts AAC devices
- No pinch points: Critical for mounts with counterbalance springs
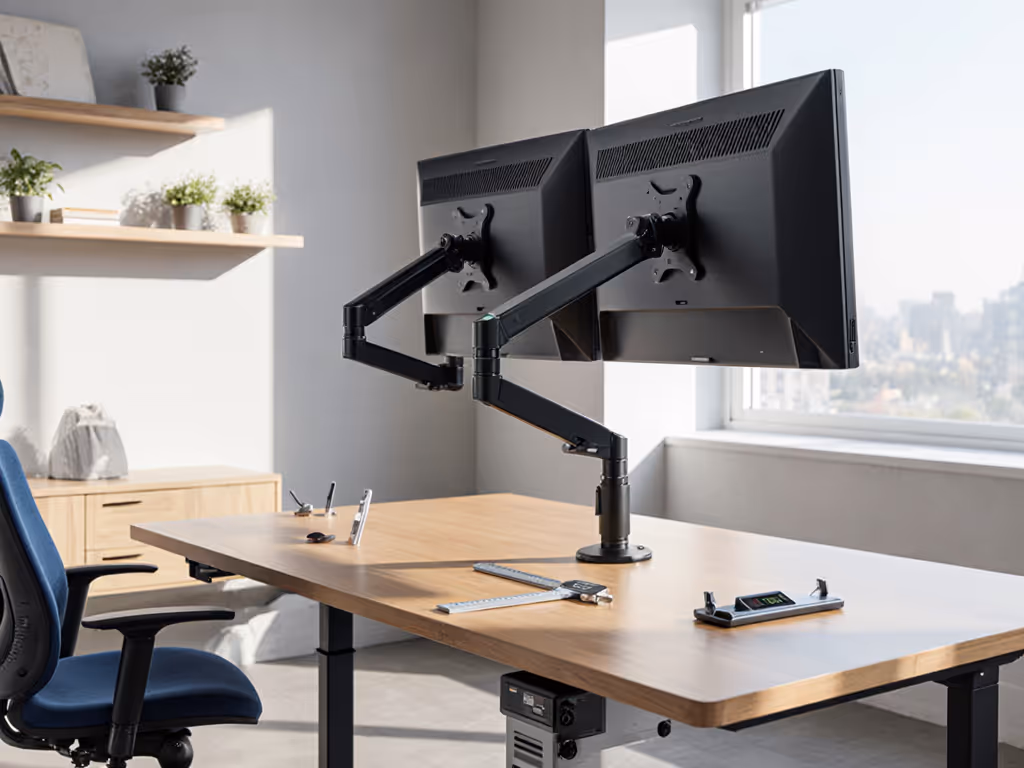
♿ Wheelchair-Optimized Positioning
- Vertical travel range: Minimum 18" lift to accommodate varying seated heights
- Forward extension: ≥14" to position screens within optimal viewing cone
- Clamp/grommet flexibility: Renters need non-damaging clamps; grommet mounts must fit ≤1.5" desk thickness
Real-World Fix: A monitor stand with a built-in mic boom arm can solve multiple pain points, but only if your desk depth clears its 12" base footprint. Measure first!
Step 3: Install for Zero-Adjustment Success
Your preflight data guides installation. Follow this sequence: If your arm sags or feels hard to move, our gas spring vs counterbalance guide explains which mechanism will work best.
🔧 Phase 1: Mounting Hardware Verification
- Confirm VESA pattern with calipers (not visual guesswork)
- Test clamp stability at full desk height (standing desks wobble worst when extended)
- Simulate adaptive loads: Tape weights to screen edges where AAC devices will mount
📏 Phase 2: Positioning Calibration
- For wheelchair users: Seat height + 22" = ideal monitor center height
- Voice control sweet spot: Tilt screen 5-15° upward so mic isn't blocked by chin
- Clearance safety buffer: Always position screen 1" inside your max reach boundary
✅ Phase 3: First-Time Fit Validation
Before powering on:
- Check cable strain: Move arm through full range, cables shouldn't stretch or pinch
- Verify sightlines: Sit in your typical position, can you see full screen without neck tilt?
- Test voice commands: From your farthest seated position
Your Action Plan: Build Inclusive Confidence Today
Inclusive workspace design isn't magic, it's measurement. That moment when the screen positions perfectly on the first try? That's the power of Ports, power, and space, then deliberate action. I still get chills watching users engage with tech that just works because we preflighted.
Your next step: Grab your tape measure right now. In five minutes, document:
- Your desk's max height + depth at seated position
- Monitor weight + VESA pattern (check model's manual!)
- Clearance needed for adaptive devices (add 1" buffer)
Save this checklist somewhere visible. For step-by-step positioning, use our ergonomic monitor height guide to prevent neck strain. When you're tempted by a flashy "voice-controlled monitor mount," run your numbers first. That preflight will prevent returns, shipping costs, and, most importantly, lost productivity for someone who needs this setup to work.
Because inclusive tech shouldn't be luck. It should be measured, verified, and ready on day one. Start with a preflight, end with a first-time fit.
Related Articles