Thunderbolt 5 8K@144Hz Docks: Performance Tested
By Mina Okafor • 19th Feb
Thunderbolt 5 monitor accessories and 8K@144Hz docking stations represent a fundamental shift in how professionals approach desktop connectivity. For the first time, a single cable can deliver not only pristine multi-display video but also the bandwidth headroom, power delivery, and peripheral throughput that modern creative and technical workflows demand. Yet choosing the right dock requires understanding both the hardware limits and the real-world setup constraints that determine whether your workstation delivers comfort or creates new friction.
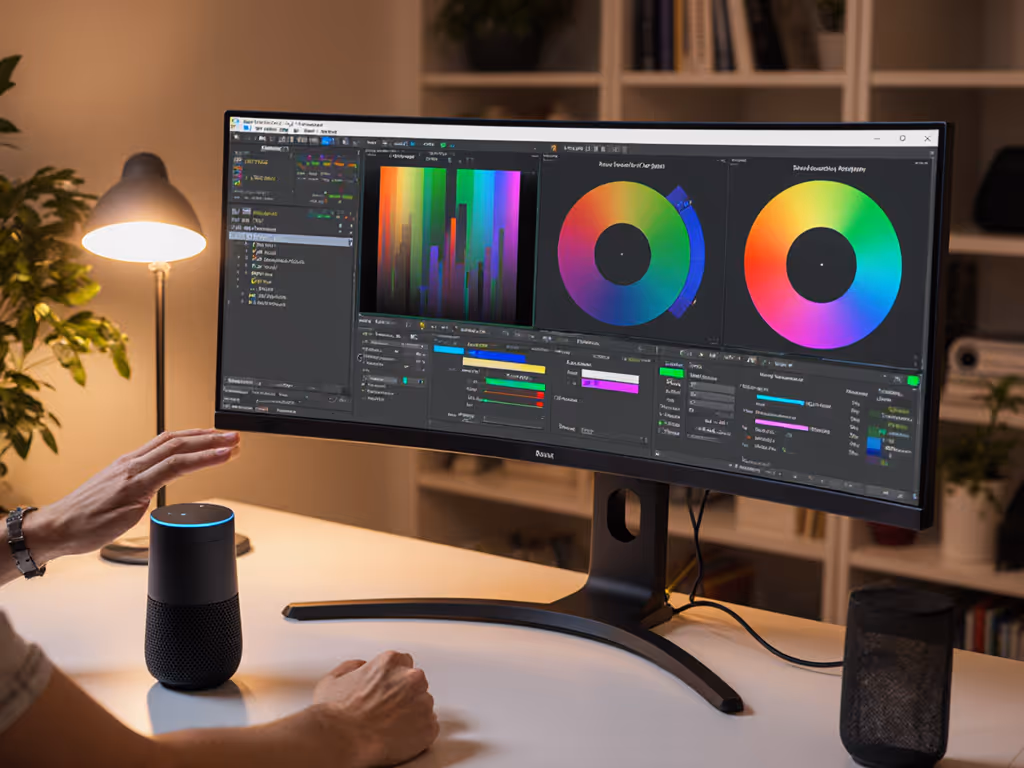
I learned this lesson early: three mismatched monitors stacked on a desk tower, a tangle of cables, no unified power management. By the second week, my neck ached, my workflow stalled, and my setup was a source of frustration rather than precision. Repositioning around neutral posture (starting with display height, focal distance, and arm reach) revealed that the hardware wasn't the problem; the system design was. Now, when I evaluate a dock, I ask first: Will this support a body-centered, distraction-free setup? The spec sheet follows. That principle applies here. A dock isn't just a port multiplier; it's the foundation of ergonomic comfort and performance headroom. Small adjustments, big outcomes.
This article walks you through the selection, specification, and validation steps needed to confidently deploy a high-bandwidth video transfer dock that drives 8K displays at high refresh, charges your laptop fully, and keeps your desk tidy.
Step 1: Verify Your System's Thunderbolt 5 Readiness
Before evaluating docks, confirm that your laptop or desktop supports Thunderbolt 5. Not all machines with Thunderbolt ports have Thunderbolt 5; many still ship with Thunderbolt 4 or USB4. Check your device's specifications for the exact port generation and confirm it is rated for 80Gb/s bi-directional data (or 120Gb/s with Bandwidth Boost for video).[1][3]
Thunderbolt 5 docks will work with USB4 and USB4 v2 hosts and can support PCIe over USB4, but performance will be limited to USB4's 40-80Gb/s ceiling.[1] For how USB-C standardization is reshaping compatibility and upgrade paths, see our USB-C monitor accessories guide. If your machine maxes out at USB4, you can still use a Thunderbolt 5 dock; you'll simply forfeit the bandwidth headroom that Thunderbolt 5 unlocks. For professional workstation docking solutions, this distinction matters: Thunderbolt 5's 80Gb/s native bandwidth (and 120Gb/s Bandwidth Boost for video streams) gives you room to stack multiple 8K displays, high-speed storage, and peripherals without throttling.[3]
Macs with M4 Pro and M4 Max chips support Thunderbolt 5; on Windows, support is device-dependent. Verify your specific model before purchasing.
Step 2: Map Your Display Configuration and Bandwidth Needs
Understanding 8K video editing setup requirements begins with knowing what your displays demand. An 8K 60Hz signal consumes roughly 40-48Gb/s of Thunderbolt bandwidth; an 8K 120Hz signal consumes more, depending on color depth and whether Display Stream Compression (DSC) is used.[3] At 4K 144Hz, you're looking at 32-40Gb/s per display.
Thunderbolt 5 docks allocate bandwidth dynamically via Bandwidth Boost: when you plug in high-refresh or multi-display setups, the dock prioritizes video traffic, allocating up to 120Gb/s to displays and leaving 40Gb/s for storage, Ethernet, and USB devices.[1][4] This is critical. A dock that shares bandwidth evenly will starve either your SSDs or your displays.
Common configurations on Windows:
- Single 8K 120Hz display: Fully supported. Leaves 40Gb/s+ for storage and peripherals.[2]
- Dual 8K 120Hz displays: Supported on docks with Bandwidth Boost (e.g., Plugable TBT-UDT3, Kensington SD5000T5).[2][4] Requires Thunderbolt 5 host and DSC (Display Stream Compression) on some models.
- Triple 4K 144Hz displays: Supported on select docks (CalDigit TS5 Plus, OWC, Kensington).[1][3][4]
- Dual 4K 240Hz displays: Achievable on TS5 Plus and OWC models with sufficient Thunderbolt 5 bandwidth.[1]
Macs are more constrained by macOS's MST (Multi-Stream Transport) limitations. Check the dock manufacturer's compatibility matrix for Mac OS versions, as some configurations (triple displays) are not supported on Apple devices.
Comfort measured in millimeters beats power measured in watts, and precision in your display count directly impacts your viewing distance and posture. If you're squinting at triple 8K displays because they're stacked too close to maintain a neutral head and neck position, that dock has failed its core job.
Step 3: Compare Charging Power Delivery Against Your Workload
Most Thunderbolt 5 docks deliver 140W of USB Power Delivery (PD), which is sufficient for 16-inch MacBook Pros and most high-end Windows laptops.[1][2][3][4] The Dell Pro Thunderbolt 5 Smart Dock is an outlier, offering 300W, designed for ultra-high-power workstations and dual-laptop setups.[7]
For a single professional laptop, 140W is the practical ceiling you need. Check your laptop's charger wattage (usually printed on the power brick). If your machine needs 96W or 140W, a 140W dock will charge it fully while under load. If you're daisy-chaining storage, SSD arrays, or running a monitor array and a sustained compute task, ensure the dock's 140W budget isn't oversubscribed: video and peripherals draw from that same power pool.[1]
For a professional workstation docking solution, calculate your actual peak load: laptop charging, monitor backlighting (if LED), and any powered USB peripherals (external SSD enclosures, audio interfaces). If the sum approaches or exceeds 140W, you risk slowdowns or thermal throttling.
Step 4: Evaluate Port Diversity and USB Standard
Thunderbolt 5 docks vary widely in port count and USB generation. The CalDigit TS5 Plus provides 20 simultaneous ports, including 5× USB-C 10Gb/s, 5× USB-A 10Gb/s, and two Thunderbolt 5 downstream ports for daisy-chaining storage or additional docks.[1] The Plugable TBT-UDT3 is more compact with 11 ports, including microSD and SD 4.0 UHS-II slots, ideal for offloading video and photo media directly.[2] The OWC dock similarly emphasizes media card readers and audio in/out for creative workflows.[3]
For Thunderbolt 5 cable performance and high-bandwidth video transfer, check that the dock includes at least two Thunderbolt 5 downstream ports (80Gb/s each) and multiple USB 10Gb/s ports. This lets you connect high-speed NAS enclosures or RAID arrays without bottlenecking. If your workflow involves 4K or 6K video ingest, dual USB 10Gb/s or USB4 CFexpress card readers can deliver over 3,300MB/s read speeds, reducing ingest time from cameras and drones.[3]
Ethernet is another differentiator. Most docks include 2.5Gbps Ethernet (10× faster than standard 1Gbps).[1][3][4] The CalDigit TS5 Plus includes 10Gbps Ethernet, which is 4× faster than 2.5Gbps and valuable for cloud sync, NAS workflows, and remote collaboration.[1]
Step 5: Validate Display Output Port Types and Adapter Needs
Thunderbolt 5 docks connect displays via one or more of these standards:
- Thunderbolt 5 ports: Can drive displays natively or accept downstream Thunderbolt-to-DisplayPort or HDMI adapters.
- DisplayPort 2.1: Native, supports 8K 120Hz and higher.
- HDMI: Limited to HDMI 2.0 (4K 60Hz) or HDMI 2.1 (8K 60Hz on most docks).
- USB-C with video support: Can output to USB-C displays or adapters.
Many professionals already own 8K displays with HDMI 2.1 ports, so check whether your dock has an HDMI 2.1 output or requires an adapter.[5] Passive adapters (DisplayPort-to-HDMI via a simple converter) often drop to HDMI 2.0 standards, losing refresh rate. Active adapters are more reliable but add cost and latency concerns for gaming.
For a true 8K@144Hz docking station setup, prioritize docks with native DisplayPort 2.1 or multiple Thunderbolt 5 ports that can drive Thunderbolt-compatible displays or use active DisplayPort adapters.[3][4]
Step 6: Test Real-World Setup and Cable Management
Once you've selected a dock, validate the physical fit on your desk. Measure the dock's footprint, its cable routing (rear vs. side exits), and the length of the included Thunderbolt cable. For cleaner runs and fewer snags, use the tips in our monitor cable management guide. If your desk is shallow or your monitor arm obstructs cable runs, a compact 11-port dock (Plugable) may be better than a sprawling 20-port unit (CalDigit).[1][2]
Plug the dock into your Thunderbolt 5 port and connect one display at a time. Confirm resolution and refresh rate in your OS display settings (Windows: Settings > System > Display; macOS: System Preferences > Displays). If you don't see 8K 120Hz or 4K 144Hz, check for firmware updates on the dock, your GPU drivers, and your monitor.
Connect your NAS or external SSD to a Thunderbolt downstream port and verify transfer speed: you should see sustained rates above 2,000MB/s for modern NVMe arrays.[1][3] If speeds drop below 1,000MB/s, the Bandwidth Boost algorithm may be prioritizing displays over storage, or a cable is loose.
Final posture check: Once your displays are positioned, adjust your monitor arm so that your eyes rest at the top third of each screen, your shoulders are relaxed, and your wrists are neutral on your keyboard and mouse rests. For precise height and distance targets, follow our ergonomic monitor height guide. If you find yourself craning forward or tilting your head, reposition the dock or arm before concluding your build is "done."
Product Comparison: Leading Thunderbolt 5 8K Docks
CalDigit TS5 Plus: Maximum Port Density
The CalDigit TS5 Plus delivers 20 simultaneous ports and prioritizes connectivity breadth.[1] It supports three 4K 144Hz displays or dual 4K 240Hz displays, and offers 5× USB-C and 5× USB-A 10Gb/s ports. The 64Gb/s PCIe bandwidth doubles that of prior-gen docks, enabling external SSD arrays with write speeds exceeding 6,000MB/s. The 10Gbps Ethernet port is also exceptional for remote teams syncing to NAS or cloud infrastructure.[1]
Tradeoff: The dock is physically large, best suited for users with spacious desks who prioritize port count over compactness.
Plugable TBT-UDT3: Compact Creativity Focused
The Plugable Thunderbolt 5 Dock (TBT-UDT3) is an 11-in-1 unit designed for creative professionals.[2] It supports dual 8K 120Hz (Windows) or dual 6K 60Hz (Mac) via Bandwidth Boost, and includes microSD and SD 4.0 UHS-II readers. The 140W charging and 2.5Gbps Ethernet cover professional workflows, while the reduced port count keeps the footprint modest.
Tradeoff: Fewer USB ports and no 10Gbps Ethernet, but media card readers justify the trade-off for photographers and videographers.
OWC Thunderbolt 5 Dock: Display Flexibility
The OWC Thunderbolt 5 Dock supports up to three Thunderbolt 8K HDR displays at 60Hz on Windows (or two 6K displays on Mac).[3] It includes SD and microSD card readers, 3.5mm audio in/out, and a fanless aluminum enclosure. The 140W charging and 2.5Gbps Ethernet are standard; the dual USB4 CFexpress Type B readers deliver up to 3,330MB/s for professional media ingest.
Tradeoff: At three 8K 60Hz (not 8K 120Hz), this dock prioritizes resolution and multi-display support over ultra-high refresh rates.
Kensington SD5000T5: Balanced Mid-Market
The Kensington SD5000T5 bridges single-dock simplicity with professional features: triple 4K at 144Hz or dual 8K at 60Hz, 140W charging, and Bandwidth Boost.[4] It's a solid choice for teams rolling out standardized setups because of its documented specs and broader compatibility matrix.
Tradeoff: Mid-range positioning means fewer exotic ports (no SD card slot or 10Gbps Ethernet), but strong reliability for office and remote deployments. For vetted picks and bandwidth proofs, check our top Thunderbolt 5 docks for multi-monitor workstations.
Step 7: Set Up Bandwidth Boost and Finalize Your Workflow
Once your dock, displays, and peripherals are connected, enable Bandwidth Boost (if your dock supports it and your displays are bandwidth-heavy). On Windows, this typically happens automatically when Thunderbolt drivers detect high-refresh displays. On Mac, check the Thunderbolt dock settings in System Preferences to confirm Bandwidth Boost is active.[1]
Run a final media ingest test: copy a 4GB video file to your external SSD via the dock's Thunderbolt or USB-C ports. Confirm the write speed is at least 1,500MB/s sustained. If speeds are lower, reseat all cables, update dock firmware, and verify your SSD is NVMe-based, not a slower SATA drive.
Lastly, measure your workspace comfort. Stand and work for 30 minutes. Check that:
- Your eyes rest comfortably on each display without neck rotation.
- Your shoulders and wrists are relaxed.
- Your monitor arm is stable and silent during typing.
- All cables are routed away from your movement path.
If any of these fail, adjust the dock placement or arm height before considering the setup complete. This is where ergonomic alignment and technical performance converge: a dock that powers your displays but forces you into a strained posture has not solved your problem.
Actionable Next Steps
1. Inventory your current system: List your laptop model (with Thunderbolt generation), your display count and target resolution/refresh, and your SSD and Ethernet requirements.
2. Cross-reference the compatibility matrix: Visit the dock manufacturer's website and confirm your laptop OS, GPU, and display models are explicitly tested. Avoid "should work" claims; demand "tested with" documentation.
3. Calculate your power envelope: Add your laptop's peak charging wattage, monitor backlighting, and peripheral power draw. Confirm the dock's 140W (or 300W for Dell) covers your peak load with 20% headroom.
4. Measure your desk and cable path: Sketch your desk depth, monitor arm reach, and cable routing before ordering. Small adjustments (moving a dock 15 cm or rerouting a cable) prevent buyer's remorse.
5. Order one dock, test in-house for 14 days: Before deploying to a team or committing to a multi-dock purchase, validate the exact configuration (cables, display order, Ethernet path) in your own setup. Return policies matter for hardware this complex.
6. Document your final configuration: Once stable, create a label or note file: dock model, firmware version, display count/resolution/refresh, SSD enclosure, and Ethernet backend. This record pays dividends if you troubleshoot later or onboard a colleague.
Thunderbolt 5 8K@144Hz docking stations represent the convergence of video performance, power delivery, and connectivity that professional teams have long sought. The right dock is not the one with the most ports or the highest wattage; it's the one that aligns with your body, your displays, your storage, and your workflow without compromise. Start with your system, verify your needs, and validate your choice before you deploy it. Comfort measured in millimeters beats power measured in watts, and a well-chosen dock will compound your attention and accuracy for years.
Related Articles