AI Monitor Accessories: Future-Proof Your Workspace Setup
By Sofia Jimenez • 19th Oct
When you're researching AI monitor accessories, you're not just browsing for shiny add-ons, you're making a strategic investment in your daily productivity. The right top monitor mounts and supporting gear can transform your workstation from a frustrating puzzle into a seamless extension of your workflow. But let's be honest: one wrong choice means returns, restocking fees, and weeks of interrupted work. I've been there (my most expensive mistake was free: shipping three returns because I skipped the preflight). Now I know: confidence comes from measurement, not hope.
Why AI Monitors Demand Smarter Accessory Planning
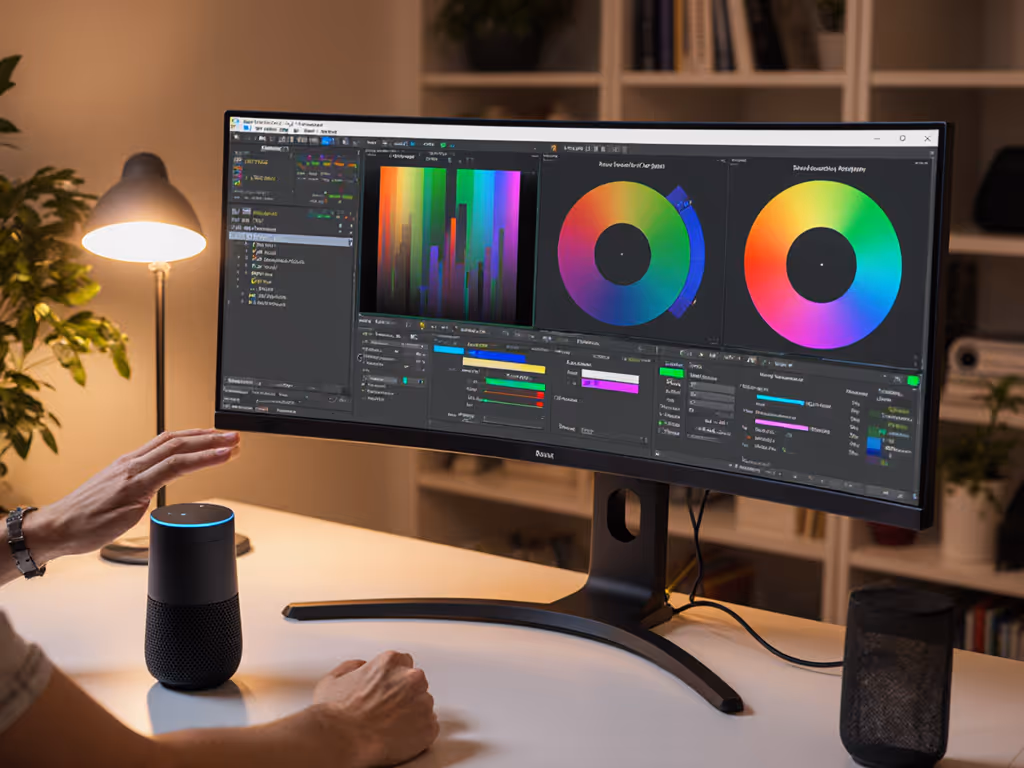
The future of monitor technology is here, and it's intelligent. AI-powered displays aren't just brighter or sharper. They are context aware. They adjust brightness based on ambient light, optimize color for different tasks, and even suggest ergonomic improvements. But their advanced features require equally thoughtful accessories that support both today's needs and tomorrow's upgrades.
Consider these real-world scenarios:
- Your AI monitor's ambient awareness gets confused by uneven lighting, causing distracting brightness jumps
- A poorly positioned arm blocks your webcam's field of view, disabling facial recognition login
- Your cable management system can't accommodate the extra bandwidth needs of AI features
AI-powered workspace optimization starts with understanding your monitor's complete ecosystem, not just the panel itself.
The Five-Minute Preflight Checklist
Before you click "add to cart" on any AI monitor accessories, spend five minutes with this checklist. It has saved me (and hundreds of readers) from compatibility disasters.
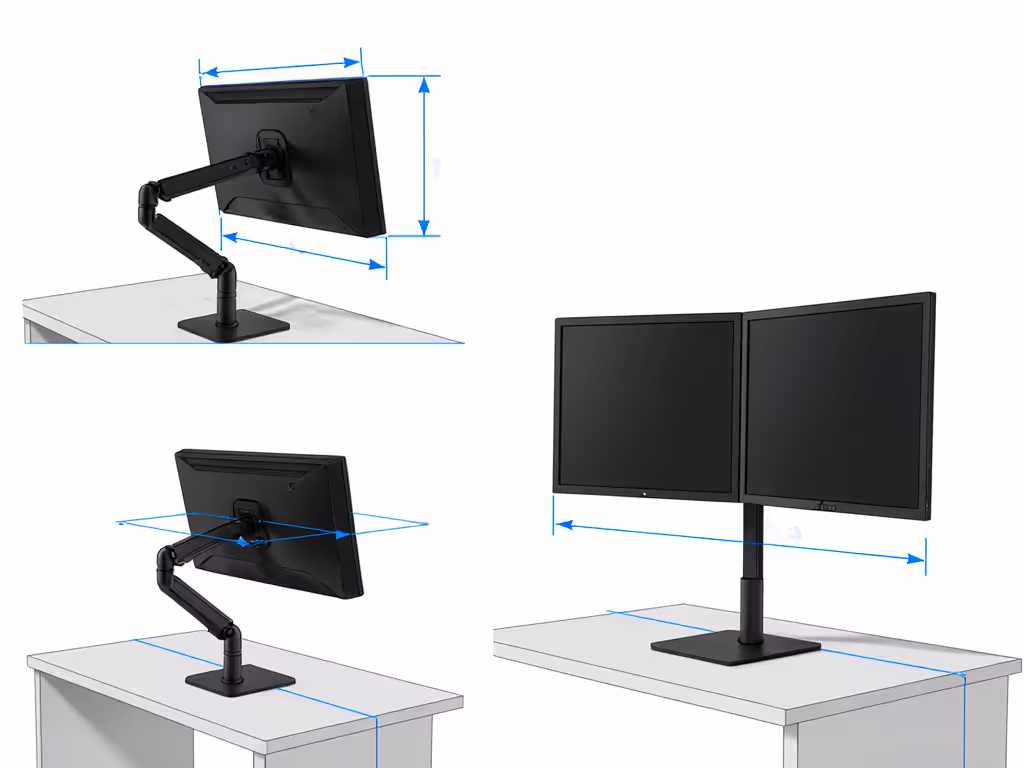
Mount Compatibility Verification
- Measure your monitor's actual mounting pattern. Don't trust manufacturer specs alone. Use calipers to measure VESA hole spacing (typically 75x75mm or 100x100mm, but curved models often differ).
- Weigh your monitor with all attached components. Include any factory-installed webcam bars or speakers.
- Check center of gravity. Curved and ultrawide panels require mounts rated for their specific shape.
Pro tip: If your desk has limited depth (common with standing desks), measure the distance from monitor front to VESA pattern midpoint. This determines how far your mount can extend before becoming unstable. If your desk thickness or mounting location is tricky, compare clamp vs grommet vs bolt mounts to pick the right install.
Cable Reality Check
Don't assume "HDMI" or "DisplayPort" means universal compatibility. AI monitors often require specific bandwidth:
- For 4K@120Hz+ with AI features: You'll need DP 1.4 HBR3 or HDMI 2.1 with FRL
- USB-C power delivery: Verify both wattage (96W+ for AI workstations) AND alternate mode support
- Future-proof path: Look for mounts with integrated cable channels sized for bulky modern connectors
Clearance Mapping
This is where most people fail. Measure:
- Vertical clearance between desk surface and any overhead shelves (minimum 24")
- Horizontal clearance from monitor center to desk edge (crucial for tilt/rotation)
- Peripheral space for keyboard/mouse in both sitting and standing positions
I learned this the hard way when my monitor arm hit the shelf during a standing session, ruining my workflow and nearly ruined my monitor.
Adaptive Monitor Positioning: Beyond Basic Mounts
The next evolution in top monitor mounts isn't just strength, it is intelligence. Look for these features that support true adaptive monitor positioning:
- Weight-sensing arms that automatically adjust tension as you change monitor height
- Integrated power channels that route USB-C cables without kinking
- Modular attachment points for future AI accessories (webcams, sensors, lighting)
For those with space-constrained desks, consider mounts specifically designed for standing desks. These account for the increased wobble at full height and incorporate dampening mechanisms that prevent typing vibrations from affecting your display. It makes a noticeable difference. Ultrawide and curved displays benefit from arms built for 21:9 and 32:9 stability.
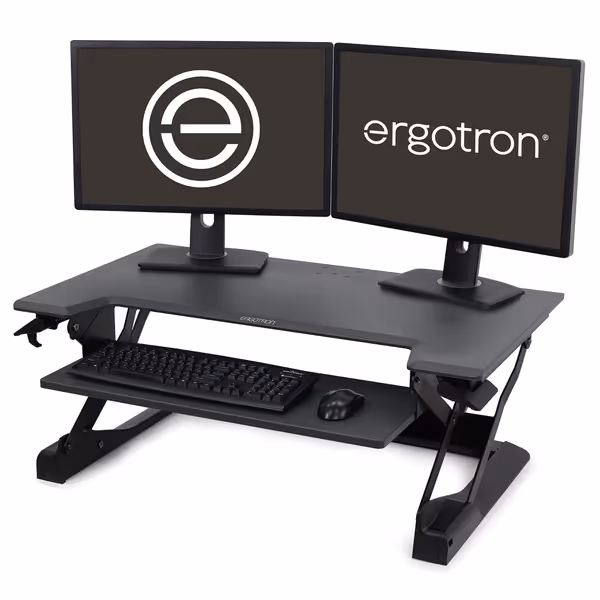
Ergotron WorkFit-TL Standing Desk Converter
Effortlessly transform your desk into an ergonomic sit-stand workstation for dual monitors.
$579
Weight Capacity10-40 lbs
Weight Capacity10-40 lbs
Pros
Supports dual monitors with ample workspace and keyboard tray.
Smooth, stable, 15-inch vertical lift with no swaying.
Arrives fully assembled, ready to use in minutes.
Cons
Requires sufficient desk depth due to its substantial footprint.
Customers find the standing desk converter sturdy and well-balanced, with easy movement up and down. The product is pre-assembled and simple to operate, while providing ample room for two 27-inch monitors and adjustable height options. They appreciate how it promotes proper ergonomics and saves their back from pain, with one customer noting it's particularly suitable for those with joint and back issues.
Customers find the standing desk converter sturdy and well-balanced, with easy movement up and down. The product is pre-assembled and simple to operate, while providing ample room for two 27-inch monitors and adjustable height options. They appreciate how it promotes proper ergonomics and saves their back from pain, with one customer noting it's particularly suitable for those with joint and back issues.
Smart Cable Management for AI Workflows
Cable management monitor solutions must evolve with AI technology. For step-by-step routing ideas, see our monitor cable management guide. Today's tangle isn't just messy, it can cripple your AI monitor's functionality:
- Bandwidth throttling: Kinked or undersized cables limit data flow for AI features
- Power starvation: Daisy-chained USB hubs often can't deliver consistent power
- Signal interference: Unshielded cables create noise in sensitive AI sensors
Your solution should include:
- Separate channels for power and data cables
- Expandable capacity for future high-bandwidth cables (DP 2.0 cables are thicker)
- Quick-access points for troubleshooting connection issues
When I installed my current setup, I dedicated one channel exclusively for my AI monitor's main connection. This simple step prevented countless "why isn't my AI feature working" mysteries.
Future-Proofing Your Investment
The smartest AI monitor accessories anticipate tomorrow's needs:
1. Modular design
- Look for mounts with standardized attachment points (1/4"-20 threads work universally)
- Choose arms with tool-free adjustment for quick reconfiguration
2. Bandwidth headroom
- Even if you don't need 8K today, ensure cables and ports support it
- Verify your mount's cable management accommodates thicker next-gen cables
3. Serviceability
- Can you replace individual components (gas springs, mounting plates)?
- Does the manufacturer provide replacement parts years later?
One client saved hundreds by choosing a mount with replaceable tension mechanisms. If you're unsure which mechanism you have or need, see our gas spring vs counterbalance comparison. When his monitor weight changed after adding a webcam bar, he simply swapped one $20 part instead of buying a whole new arm.
The First-Time Fit Standard
After measuring countless workspaces, I've found one universal truth: the most expensive component isn't the monitor or mount, it is your time. Every return, every hour spent troubleshooting, every compromised workflow costs more than any premium accessory.
Start with a preflight, end with a workspace that works as seamlessly as the AI technology it supports. Your future self will thank you when you power up your system for the first time and everything just... works.
Your Actionable Next Step
This week, measure just one thing you haven't measured before:
- Your monitor's actual weight (with all factory attachments)
- The distance from your desk edge to where you naturally position your keyboard
- The exact thickness of your desk at your preferred mounting location
Document it. Compare it against specifications. Then sleep on the purchase decision. That single measurement could prevent months of frustration, and make your next upgrade feel like magic, because it's measured.
Related Articles