Smart Home Monitor Integration for Workspaces
By Sofia Jimenez • 7th Mar
Smart home monitor integration and automated workspace lighting transform how you work by synchronizing your displays with your environment, but only if you preflight the setup. A dock that can't deliver enough power, ambient sensors that send the wrong signals, or cables rated for yesterday's resolutions will leave you frustrated. I learned this the hard way: three returns because my dock underpowered a 144Hz monitor, the arm hit the shelf, and the cable was the wrong DisplayPort spec. That's when I built a preflight checklist into every upgrade. Now, first-time fits feel like magic, because they're measured.
Smart monitor integration isn't about flashy gimmicks, it's about removing friction. When your lighting adjusts to your display brightness, your presence detector powers your desk, and your dock handles all the bandwidth and power your monitors need, setup friction disappears. This guide walks you through the measurement, planning, and verification steps to make that happen without returns.
Understanding Smart Home Monitor Integration
Smart home monitor integration means connecting your displays to a home automation system (or a simple IoT platform) so they can respond to ambient conditions, calendar events, and presence. This includes:
- Automated workspace lighting that dims when your monitor fills the room or brightens when you step away
- Monitor automation scenarios triggered by motion, time of day, or meeting calendar entries
- Presence detection workspace features that wake peripherals when you arrive and sleep them when you leave
- Ambient light-based monitor adjustments that reduce eye strain by balancing your display's brightness with your room
The appeal is real: fewer manual tweaks, less eye strain, lower energy use, and a desk that feels responsive. But the execution requires clarity on three fronts: power delivery, signal routing, and measurement.
The Three Pillars: Power, Ports, and Placement
Before you buy a single component, measure and map.
Power Budget: The Non-Negotiable Foundation
Every monitor, dock, and desk lamp draws power. Every device that sits between your laptop and your monitor (a dock, a KVM switch, a hub) adds a choke point. A dock rated for 60W of power delivery might look fine on a spec sheet until you plug in a 96W laptop and two displays, then everything stutters.
Your power preflight checklist:
- List your laptop's USB Power Delivery requirement (check the brick or system settings)
- Add the power draw of each external monitor (typically 20-40W for a 27-32" display)
- Add any USB-powered desk lamps or smart lighting controllers
- Total that sum. If your dock's rated power output is lower, stop. Don't buy it.
- Verify the dock supports "pass-through" or "daisy-chain" power if you're chaining multiple hubs
- Test with a power meter app or Kill-A-Watt device before a full day of work
A $40 dock that underpowers your setup is the most expensive mistake because the symptoms (flicker, black screens, slow response) feel like monitor failures, and the returns pile up fast.
Port Mapping: Know Your Cables Before You Unbox
Smart workspace setup requires knowing exactly what cables will carry your signals. DisplayPort, HDMI, and USB-C all have multiple versions, and a cable that looks identical to another might support 4K60 instead of 4K120.
Your port mapping checklist:
- Note your monitor's input: HDMI 2.1 (for high refresh rates), DisplayPort 1.4, or USB-C
- Verify your dock or graphics card output matches and supports the same bandwidth
- If using an older monitor, confirm whether it needs a DP-to-HDMI adapter (adapters can limit bandwidth)
- Check whether your smart lighting controller uses Wi-Fi, Bluetooth, or a wired connection; reserve USB or Ethernet if needed
- Measure cable lengths before routing; long runs at high bandwidth sometimes require active repeaters
- Label your cables. A five-minute labeling session prevents hours of troubleshooting later
Start with a preflight, end with a first-time fit.
Placement: Measure Before You Mount
Presence detection and ambient sensors need a clear sightline. A monitor arm that sags into your keyboard or a light sensor blocked by the monitor bezel makes automation unreliable.
Your placement preflight:
- Measure your desk depth; confirm it can fit your monitor, arm, and a small smart motion detector without cramping
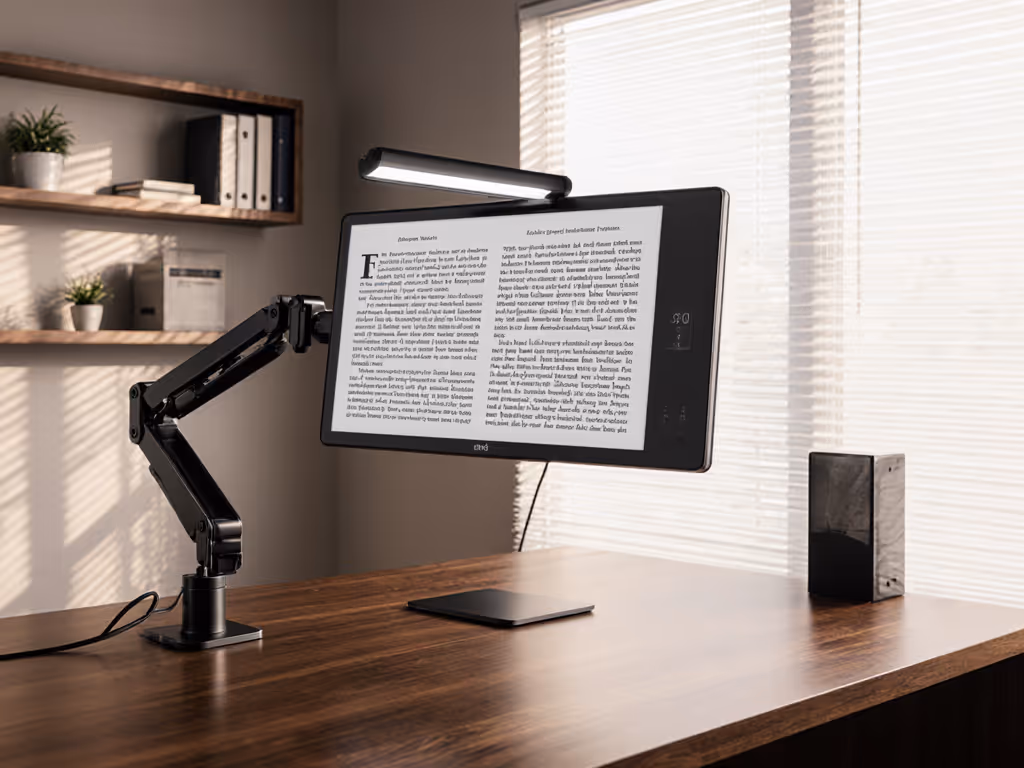
- Verify your monitor arm's weight rating for your display (include the weight of any attached light bar)
- Check that your desired mounting (desk clamp vs. grommet) clears crossbars, glass tops, or monitor stands
- Test presence detector sight lines; ensure it "sees" your seating area without obstruction
- If using smart lighting strips, pre-mark cable routes on the desk undercarriage to avoid pinching or tangling during height adjustments
Step-by-Step Setup: From Measurement to Automation
Step 1: Verify Your Power Budget (15 minutes)
- Unbox your dock and locate the power output spec (usually on the rear label or in the manual)
- Write down your laptop's PD requirement
- Add the power draw of each monitor (check the back panel or spec sheet)
- Compare the total to the dock's output
- If the dock is underpowered, don't proceed, return it and choose one with headroom (at least 20% more capacity than your total draw)
Step 2: Connect and Test Display Bandwidth (20 minutes)
- Connect your laptop to the dock using a high-quality USB-C or Thunderbolt cable
- Plug each monitor into its designated port (HDMI, DisplayPort, or USB-C)
- Power on the dock, laptop, and monitors
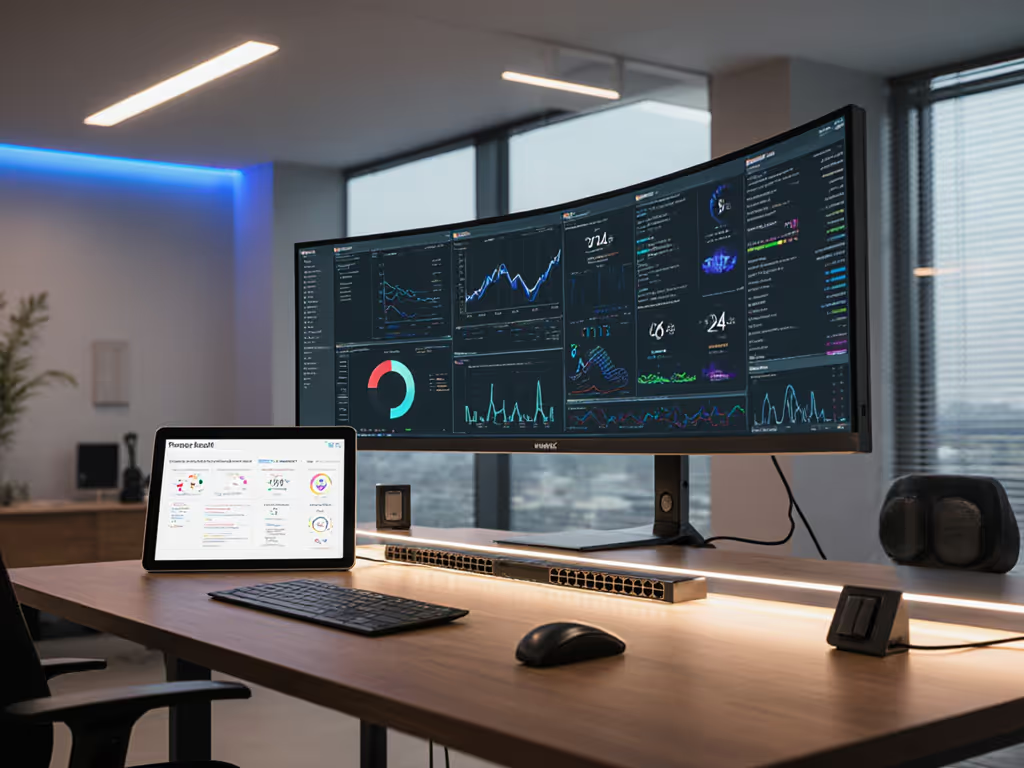
- In your OS settings, verify that both monitors detect at their native resolution and refresh rate For proven high-bandwidth connectivity and ample power delivery, see our Thunderbolt 5 docks for dual 4K workstations.
- If either display shows a lower resolution (e.g., 3840×2160@60Hz instead of @120Hz), check for cable quality or bandwidth bottlenecks
- Open a full-screen video or test pattern and confirm no flickering or black-screen dropouts over 10 minutes
This is where many setups fail silently. A dock that looked good on paper can't deliver the bandwidth advertised if the internal wiring is cheap. A quick verification now saves days of weird display behavior later.
Step 3: Install Presence Detection and Ambient Sensors (10 minutes)
- Choose a small motion detector (802.11 Wi-Fi or Zigbee-based) and an ambient light sensor; verify both integrate with your home automation platform or a unified app
- Mount the motion detector 3-5 feet from your desk seating area, angled toward where you sit
- Mount the light sensor on your desk or monitor arm, away from direct sunlight and shadows
- Power both on and pair them to your network (follow the app's pairing wizard)
- Test by moving to your desk and away; confirm the app logs presence changes within 5 seconds
Step 4: Set Up Automated Workspace Lighting (15 minutes)
- Connect any smart bulbs, light strips, or desk lamps to your automation platform
- Create a "Work" scene that sets lighting to a brightness and color temperature that complements your monitor's peak brightness
- Assign this scene to trigger when your motion detector shows presence
- Create an "Away" scene with dimmer or warmer light, triggering 5 minutes after motion stops
- Test by sitting at your desk (lights brighten), stepping away (lights dim after a delay), and returning (lights restore)
- Fine-tune the delay timer; a 5-minute grace period prevents jittery toggles if you're briefly away
Step 5: Balance Monitor Brightness with Ambient Light (10 minutes)
Most monitors have "ambient light" or "adaptive brightness" settings buried in the on-screen menu (OSD).
- Open your monitor's OSD using the physical buttons or remote
- Navigate to Brightness > Ambient Light Sensor or Smart Brightness
- Enable it and set a target brightness (many monitors default to 50–75% of max)
- Some platforms (like newer iPad or MacBook-integrated systems) allow you to link monitor brightness to the ambient light sensor via your dock or computer settings; enable if available
- Sit in your desk setup and observe over a full work day; if your eyes feel strained, reduce the brightness target slightly
Step 6: Create Monitor Automation Scenarios (20 minutes)
Monitor automation scenarios go beyond lighting. Coordinate your display setup with your calendar and activities:
Deep Work Mode
- Trigger: Calendar block labeled "Focus Time"
- Actions: Dimmed warm lighting (reduced blue light), all notifications silenced, Do Not Disturb active
- Monitor brightness: 60–70% to reduce eye fatigue during long sessions
Meeting Preparation Mode
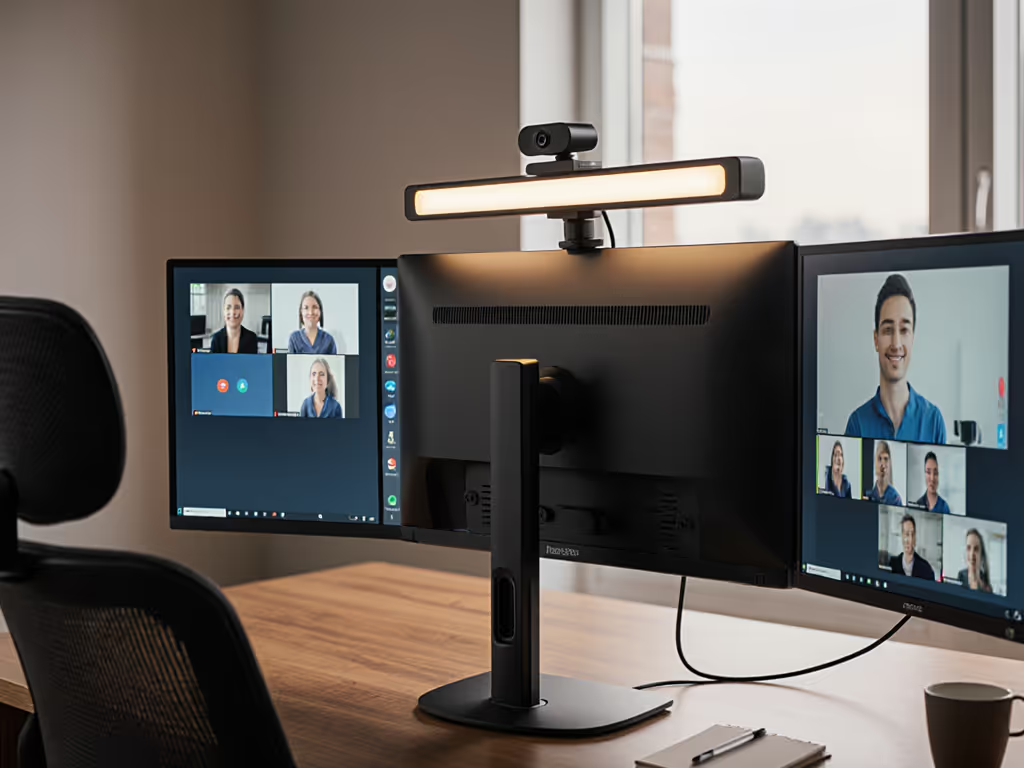
- Trigger: 15 minutes before a video call (pulled from your calendar)
- Actions: Bright, neutral lighting (helps on-camera appearance), ring volume increased, monitor brightness raised to 100%
- Optional: if you have a webcam light bar, synchronize it to turn on
Evening Wind Down
- Trigger: 6 PM (or a calendar "End of Day" block)
- Actions: Lighting shifts to warm color temperature (2700K), monitor brightness reduced to 30%, all work notifications disabled
Away Mode
- Trigger: No presence detected for 10 minutes
- Actions: All displays sleep, lights switch to a low "ambient" brightness, dock goes to low-power state
Optimization Checklist: Fine-Tuning Your Setup
Once your basics are running, refine: For tidy wiring and hidden routing options that won't fight your automations, use our cable management guide.
- Cable management: Use clips or sleeves to route power and video cables along desk legs or arm mounts; prevent snagging during height adjustments
- Sensor placement: If your motion detector triggers false positives (pets, passing hallway traffic), move it closer to your seating area or reduce sensitivity
- Color temperature sync: If your monitors support color temperature adjustment via automation, set cooler (5000-6500K) for morning/afternoon work and warmer (3000-4000K) for evening
- Power scheduling: If your setup is rarely used at night, add a "bedtime" automation that puts the dock into sleep mode at 11 PM, reducing standby draw
- Verify backward compatibility: Test your setup on a day when Wi-Fi is temporarily unavailable; confirm monitors still power on and displays work without the automation layer (they should)
Troubleshooting: When Automation Hiccups
Monitors not detected by the dock after setup:
- Restart both the dock and monitors (in that order)
- Reseat the video cables firmly into the dock
- Confirm drivers are up to date (especially for DisplayLink or Thunderbolt docks)
- If the issue persists, the dock may be underpowered or the cable may be inferior; test with a known-good cable
Presence detection not triggering lights:
- Verify the motion sensor is powered and paired to your home automation hub
- Check the app's automation rule for typos or reversed logic ("if present" vs. "if absent")
- Move the sensor closer to your typical seated position and retest
Monitor flicker or black screens during high-bandwidth usage:
- This usually means the cable or dock can't sustain the bandwidth; swap the cable first
- If it persists, your dock may be underpowered (a symptom disguised as a display problem); test by reducing monitor refresh rate in OS settings; if flicker stops, upgrade the dock
Light sensor reading seems stuck or unresponsive:
- Wipe the sensor lens; dust blocks it effectively
- Move it away from direct sunlight, which can overwhelm ambient readings
- Verify it's not in shadow from your monitor or monitor arm
Your Actionable Next Step
Don't jump straight to shopping. Spend 30 minutes this weekend on a preflight:
- Measure your desk: depth, width, any obstructions
- List your current devices: laptop model, monitor count and specs, any existing smart lighting
- Calculate your power budget: laptop PD wattage + monitor power draw + any desk accessories
- Check your monitor cables: What inputs do your displays have? Are they currently bottlenecked by older cables or adapters?
- Pick your automation trigger: presence detection, calendar-driven, time-based, or a mix To design reliable routines across Alexa, Google, and HomeKit, follow our smart home monitor integration guide.
With those five facts in hand, you'll know whether your current dock is sufficient, what sensors to buy, and how much cable management to budget. That five-minute preflight prevents weeks of back-and-forth and returns. Start with a preflight, end with a first-time fit (and a workspace that responds to you instead of fighting you).
Related Articles