Essential HDR Monitor Accessories: Your Workflow Setup Checklist
By Sofia Jimenez • 13th Dec
When your HDR monitor arrives and the image looks flat, dim, or worse (washed out), it's rarely the display's fault. More often, it's missing critical HDR monitor accessories that unlock true high dynamic range. I've seen creatives revert to SDR workflows after chasing phantom issues: wrong cables, uncalibrated displays, or ambient light drowning out peak brightness. But here's the truth: a flawless high dynamic range workflow setup starts before unboxing. Measure once properly, install once. Let's fix this.
Why Your HDR Setup is Probably Failing (And How to Fix It)
HDR isn't just "brighter." It demands precision: from signal path integrity to environmental control. Skip one accessory, and you compromise the entire workflow. My costliest lesson? Shipping three monitors back because I ignored three silent killers: an underpowered dock, incorrect cable specs, and zero ambient light management. Don't repeat my mistake. Confidence comes from measurement, not hope.
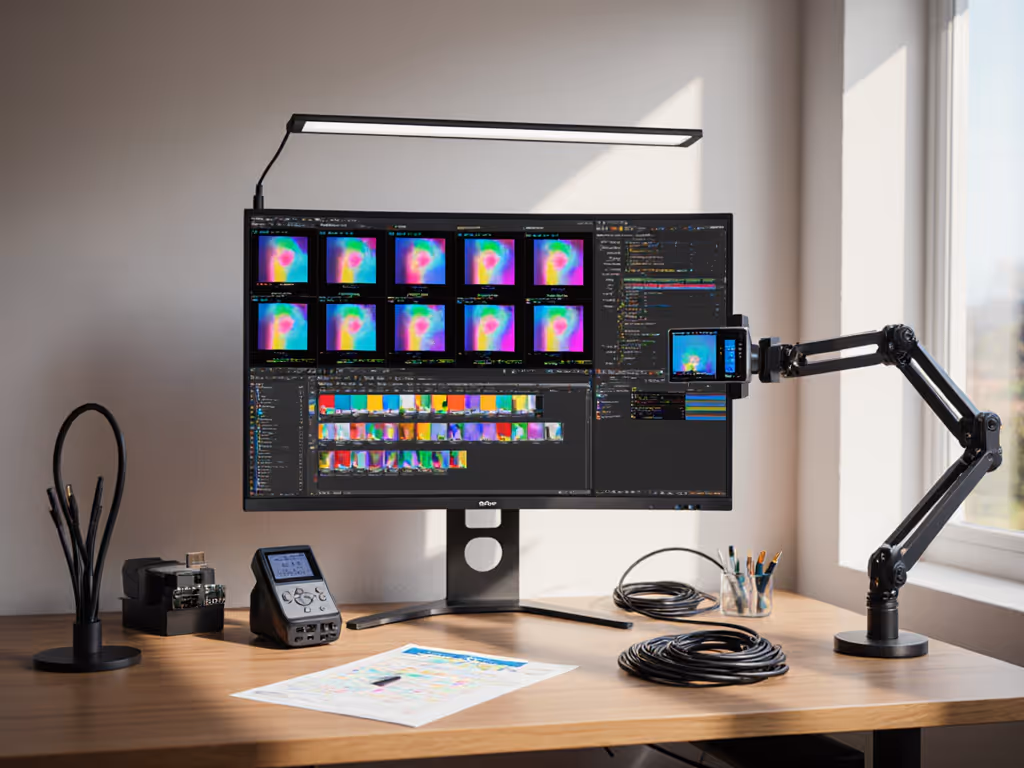
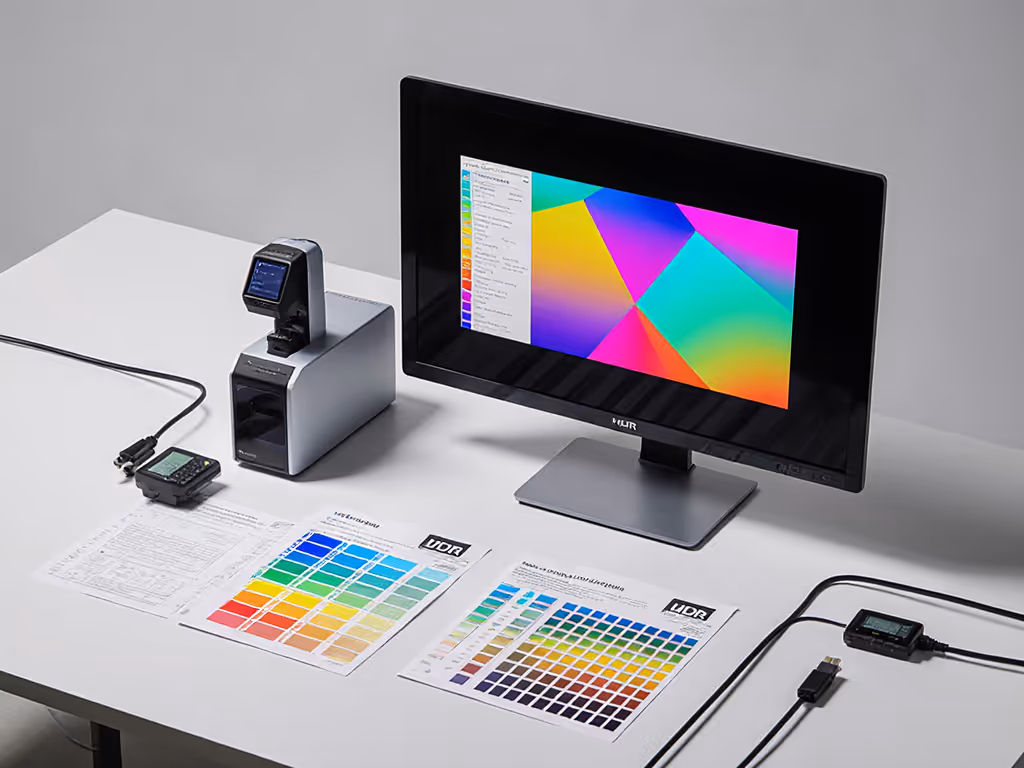
✅ Step 1: Verify Calibration Tools (Beyond Factory Settings)
HDR monitors ship with generic profiles. For true color accuracy, you need calibration tools that speak HDR's language. Skip this, and your "1000 nits" might clip to 300 nits in practice.
- Measure your monitor's actual output: Use a spectrophotometer (like the X-Rite i1Display Pro) to validate peak brightness against specs. Many monitors hit "HDR400" but lack sustained luminance for real grading.
- Check HDR mode behavior: Windows/macOS often default to SDR mode even when HDR is enabled. Verify via Display Settings > HDR toggle, then use calibration tools to force PQ EOTF tracking. (Pro tip: If scopes read "HDR SDR 2084" in Resolve/DaVinci, you're golden.)
- Reject generic ICC profiles: HDR has no standard ICC support, applying one clips everything to SDR. Use hardware LUTs or built-in calibration modes only.
Measure once properly, install once. A $300 calibration tool prevents $2,000 of grading errors.
✅ Step 2: Optimize Peak Brightness (It's Not Just About the Monitor)
HDR's magic lives in highlights: sun glints, specular reflections, neon signs. But without sustained peak brightness, those details vanish. Underestimate this, and you'll blame the monitor for "muddy" HDR.
- Map power delivery: HDR pushes monitors harder. Verify your GPU/port can deliver unlocked bandwidth. If you're docking, our Thunderbolt 5 docks guide shows which models reliably drive dual 4K HDR without dropouts. HDMI 2.1? DP 1.4a with DSC? Check exact specs, not marketing claims. (Example: Some "HDMI 2.1" ports only support 4K60, not 4K120 HDR.)
- Stress-test signal integrity: Run a PQ EOTF test pattern. If highlights clip prematurely, swap cables or shorten runs. Active fiber optic cables often solve long-distance HDR dropouts.
- Monitor heat buildup: Peak brightness strains panels. Ensure 2+ inches of rear clearance for airflow. Overheating throttles luminance. Measured clearance prevents this.
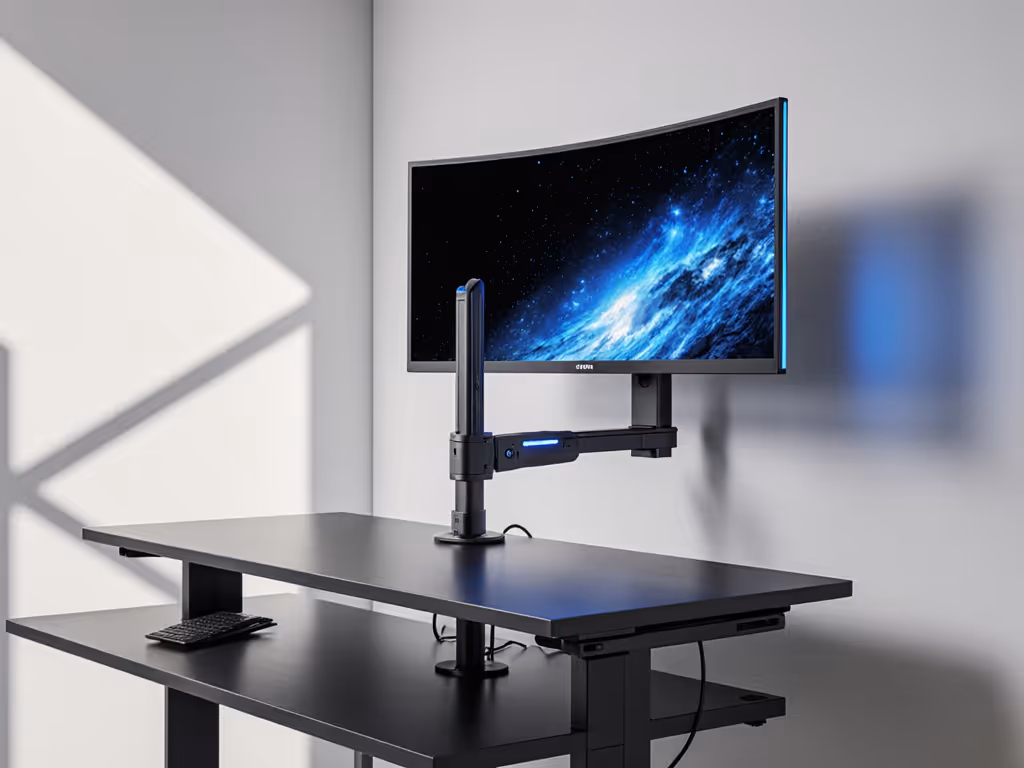
✅ Step 3: Solidify Mounting Solutions (Your HDR's Foundation)
An unstable mount kills HDR immersion. Vibrations blur micro-contrast; sagging shifts your critical viewing angle. This isn't about "looks" — it's physics.
- Calculate center of gravity: Curved/ultrawide HDR monitors shift weight forward. Measure your panel's depth and VESA pattern. Most arms support 30 lbs, but only if centered. Add 20% safety margin for COG shifts.
- Check desk compatibility: Standing desks often have <2" overhang. Clamp thickness must fit under the desk rail. Measure your desk's crossbar height before ordering.
- Prioritize micro-stability: HDR's detail exposes even 0.5mm vibrations. Use counterbalance arms (not gas springs) and rubber grommets where mounts contact desks.
✅ Step 4: Control Ambient Light (The Silent HDR Killer)
HDR's expanded range gets obliterated by ambient light. A 1000-nit monitor in a sunny room performs like a 300-nit SDR display. This isn't opinion, it's photometry.
- Measure lux levels: Use a free phone app (like Lux Light Meter) at your monitor position. For critical HDR work, stay <50 lux. Over 100 lux? You need action.
- Block directional light: Blackout curtains for windows facing your setup. For overhead lights, use monitor hoods or bias lighting (D65 white, 10% monitor brightness).
- Kill reflections: Matte screen protectors reduce glare but sacrifice contrast. For true HDR, position monitors perpendicular to windows and use anti-reflective coatings.
The First-Time Fit Workflow
Stop reacting to failures. Start with a preflight:
- Download your monitor's EDID (via GPU control panel) to verify HDR signal paths.
- Measure your desk depth and clamp clearance, then shop for arms.
- Map ports on your source device (PC/console) against monitor inputs. No guesswork.
- Test ambient light at 9 AM, 12 PM, 3 PM: HDR work happens at real-world times.
I built this checklist after returning three monitors. One fit perfectly on the first try. Now my clients ship zero returns. Because when you de-risk with measurement, magic happens: seamless HDR, no pixel corruption, no "why is this dim?" panic. Start with a preflight, end with a first-time fit.
Your Actionable Next Step
Grab a tape measure and phone light meter right now. In 5 minutes:
- Measure your desk's clamp zone (thickness + overhang)
- Record ambient lux at your monitor position
- Note your GPU's exact HDMI/DP version (not the box label!)
Related Articles