Monitor Arm Cable Management vs Power Delivery
By Kai Moreno • 27th Feb
The monitor arm conversation rarely separates two parallel problems: routing data and power through the same structure. One concern keeps your desk tidy and your display connected; the other eliminates the desk-sprawl of power bricks and charging adapters. Bottlenecks hide in mounts and cables, and conflating cable management with power delivery leads to undersized solutions.
This deep dive isolates the trade-offs, measured constraints, and decision matrix you need to spec a setup that actually works - not one you'll rebuild in six months.
Why Do Cable Management and Power Delivery Get Conflated?
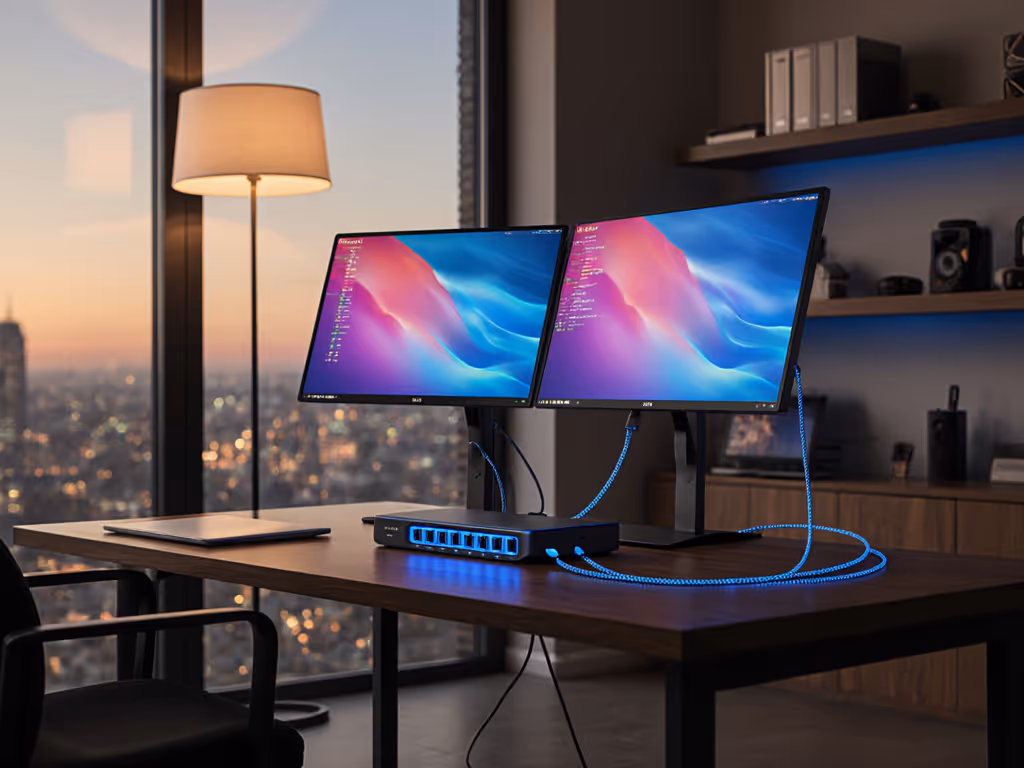
Most monitor arms bundle "cable management" and "power delivery" as a single feature. Lenovo's definition lumps both together: clips, channels, and routing for HDMI, USB, and power. But they solve different problems at different scales.
Cable management routes video (HDMI, DisplayPort), USB data, and occasionally low-power USB passthrough. A clamp or channel costs you 50-200 grams and no electrical engineering.
Power delivery means the arm itself (or an integrated dock) routes mains power or high-wattage USB Power Delivery (PD) to peripherals and laptops. This requires:
- Heavy-gauge wiring inside the arm column
- Certified connectors and voltage regulation
- Thermal dissipation if delivering >60W continuous
- Compliance with UL or CE standards
They're not interchangeable. A nice cable clip doesn't power your laptop; a power conduit adds cost, weight, and failure modes. For a deeper comparison of arm channels and add-on sleeves, see built-in vs external cable management.
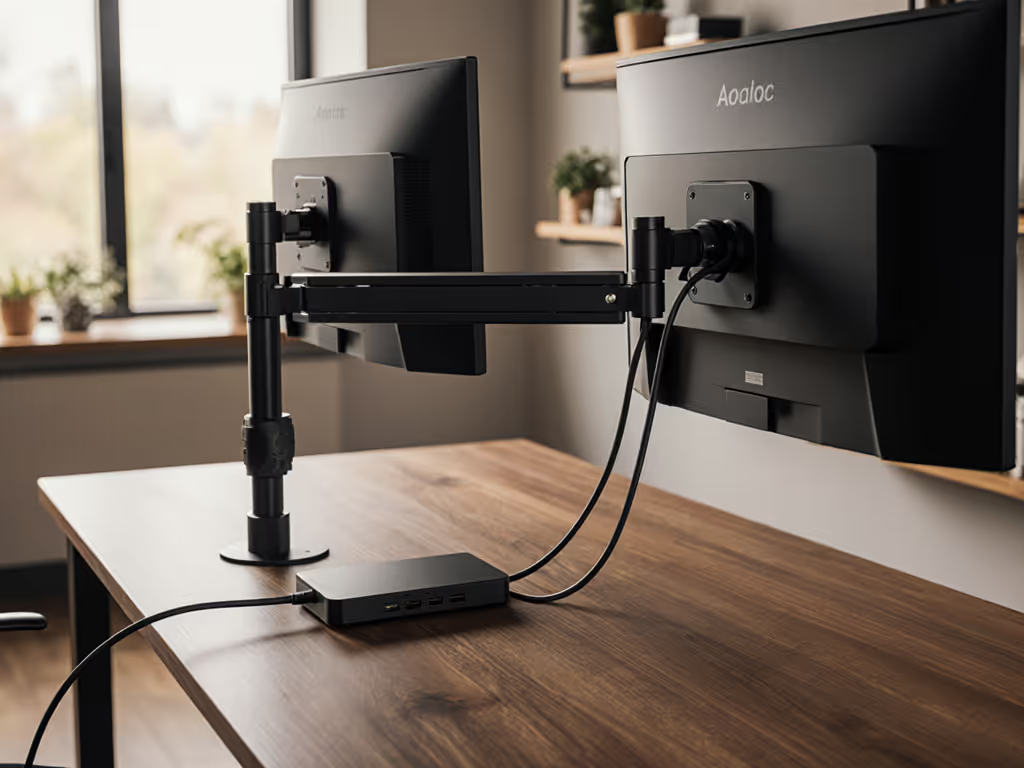
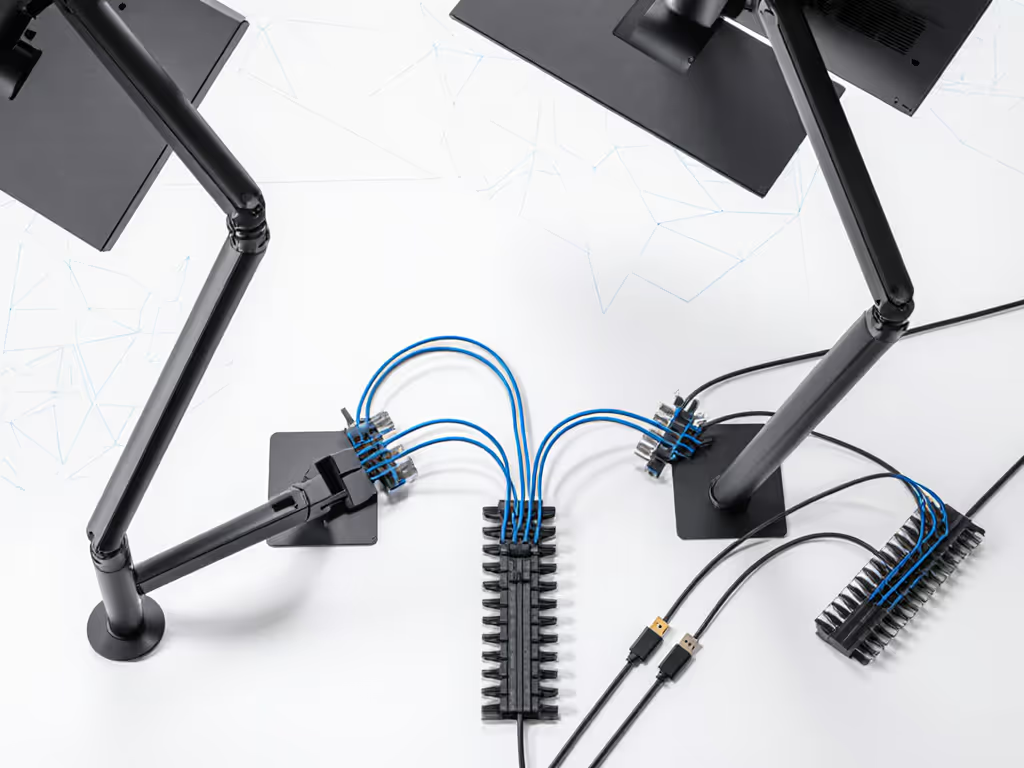
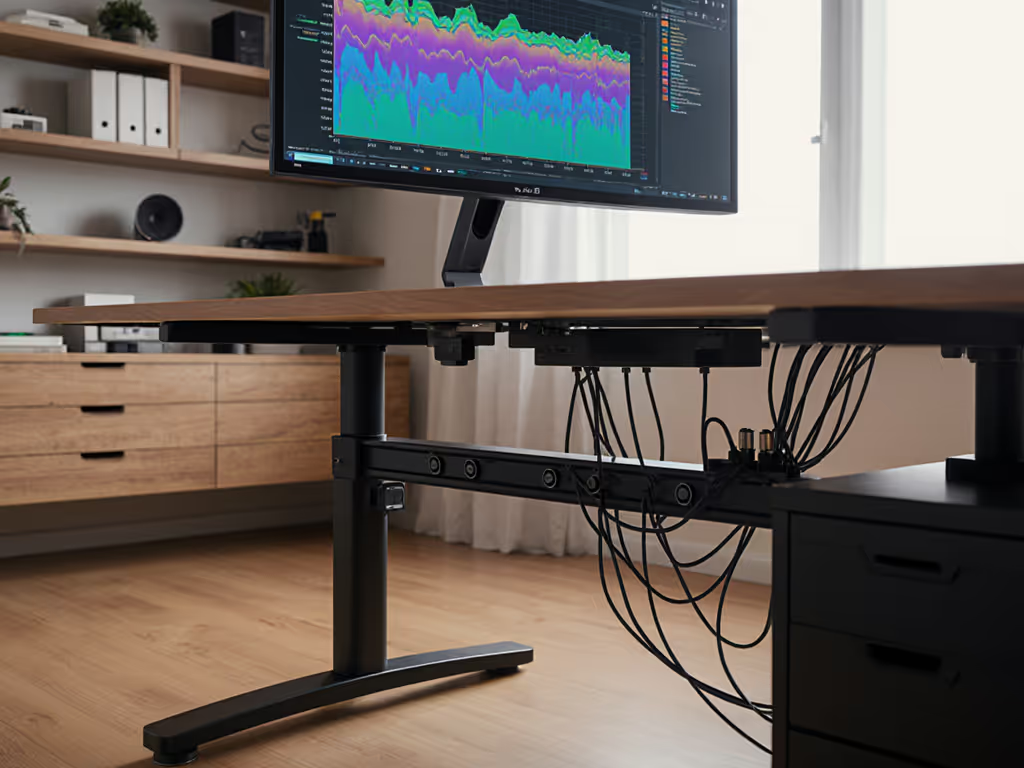
What Does a Typical Monitor Arm's Cable Management Actually Handle?
Industry standard: Built-in ducts, clips, or channels that route cables from monitor through the arm to the desk base. Capacity and routing design vary sharply.
Light duty (clipped routing):
- 2-4 cables maximum (1× HDMI or DP, 1× USB upstream, 1-2× USB downstream)
- Clips or adhesive channels add <100 g
- No strain relief; cables routed alongside arm, visible if not tucked
Medium duty (integrated ducts):
- 4-8 cables; internal or semi-internal channels
- 100-300 g added; cleaner appearance
- Some arms include loom or spiral wrapping for mechanical protection
Heavy duty (cable beam or trunking - rare on single arms):
- 8+ cables; dedicated cable tray or beam along back of desk
- 500+ g; requires post-mount or multi-monitor frame
- Suited to control rooms or trading floors, not single-desk setups
None of these route mains power or >30W USB PD. That's not an oversight - adding high-current wiring to a moving arm introduces thermal and safety liabilities. The industry standard separates concerns: the arm routes data; a separate power strip, dock, or cable manages mains.
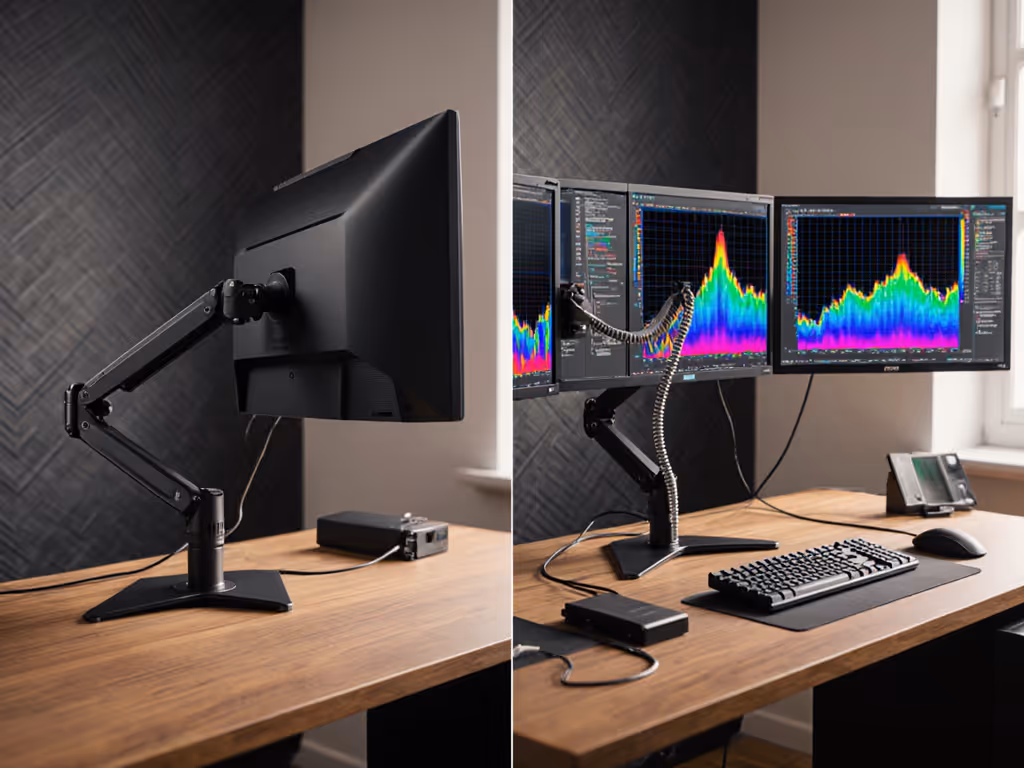
What Can USB-C and Integrated Docks Actually Deliver?
Some monitor arms - particularly newer USB-C powered monitor stands - advertise integrated docking via a single upstream cable. This is a real upgrade, but with hard constraints.
USB Power Delivery (USB PD) ceiling:
- 30W: Phones, tablets, small laptops (MacBook Air 13", iPad Pro)
- 60W: Mid-tier laptops (most 14" models, Dell XPS 13, Lenovo X1 Carbon)
- 90-100W: High-power laptops (16" models, gaming laptops with dGPU)
- 140W+: Desktop replacements (rare; most arms top out at 90W)
Watt ratings are not interchangeable. A 60W-rated dock cannot safely charge a 96W laptop continuously; it throttles the laptop's charging speed and drains the battery during heavy load. Measured tests confirm this: a 96W MacBook Pro charged via a 60W dock delivers roughly 30W net, tripling charge time.
Data passthrough capacity is equally constrained:
- Single USB-C 3.2 Gen 2 (10 Gbps) per arm is standard
- Display bandwidth: USB-C Alt Mode maxes at 2 displays at 4K60, or 1 display at 6K. No 5K or 7K support without DisplayPort 2.0 (almost nonexistent in docks as of 2026)
- Daisy-chaining DisplayPort monitors works only if your monitor supports MST (Multi-Stream Transport). Most do not.
Result: If you're charging a high-power laptop and connecting 2+ 4K displays, integrated docking undershoots. You need a separate power brick anyway. For verified multi-display bandwidth and charging limits, see our Thunderbolt 5 docks guide.
Cable Clutter vs. Power Sprawl: Which Bottleneck Costs More?
Let's measure the problem.
Cable clutter footprint (single monitor, typical setup):
- Monitor HDMI/DP + USB upstream + 2× USB downstream = 4 cables
- Desk real estate lost: ~30 cm² (monitor base footprint)
- Clutter severity: High if cables drape across desk; low if routed through arm
- Cost of remediation: Built-in arm cable clips ($0-50, often included) or aftermarket spiral loom ($10-30)
Power sprawl footprint (typical remote worker):
- Laptop power brick: 2 cables (mains + barrel connector), ~100 g, ~15 × 8 cm desk footprint
- Monitor power (if not powered via USB): 1 cable, ~20 g
- USB hub or dock power (if separate): 1 cable, 50-200 g
- Total: 3-4 power tethers, ~35 × 20 cm effective desk footprint, visual and tactile clutter
- Cost of remediation: Single integrated dock ($150-400) or routing existing cables ($30-50)
Data points: Surveys of knowledge workers show cable clutter as a perceived problem more than a functional one - most users notice it aesthetically, not functionally. Power sprawl, however, drives functional complaints: tripping hazards, power-strip overload, desk-depth constraints on standing desks, and laptop charging failures.
Conclusion: Cable management via clips is a nice-to-have. Power consolidation is often a must-have, but it requires a separate solution if your laptop demands >60W.
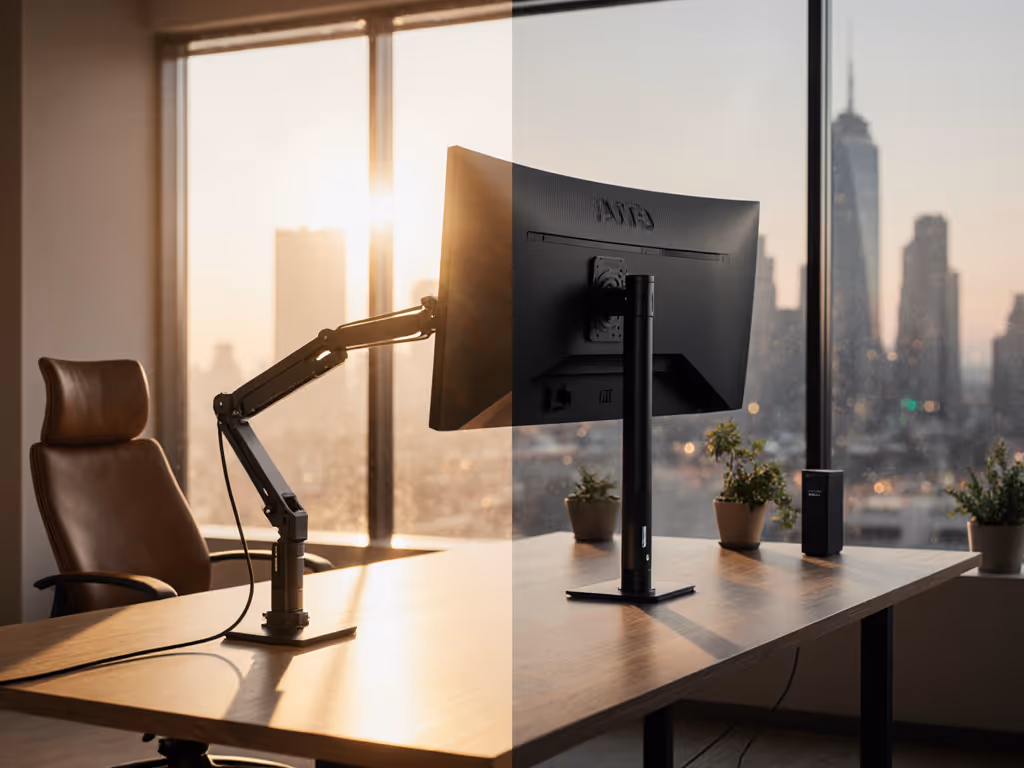
What's the Real Trade-Off: Integrated or Separated?
Scenario matrix:
| User Profile | Recommended Approach | Why |
|---|---|---|
| 13-15" MacBook Air, single 4K monitor | Integrated USB-C dock in arm or nearby | 30W PD sufficient; data + charging unified; cable count = 1 |
| 16" MacBook Pro or 96W+ laptop + 2× 4K displays | Separate power brick + data-only arm routing | Docks can't deliver >90W + 2 displays simultaneously; power brick essential; arm provides cable tidiness only |
| Desktop PC + gaming console | Separate power strip + arm cable management | No universal power standard; HDMI/DP separation from USB/audio; arm routing masks clutter |
| Dual monitor workstation (knowledge worker) | Clamp-mount arm + separate power strip, or monitor-native USB hubs | Cable management in arm sufficient; power rarely high-current; reduces complexity |
| Control room or multi-tier setup | Post-mount beam with cable tray + centralized power distribution | Post-mount arms can't integrate power safely; beam trunking designed for 8+ cables |
Key insight: Integrated docks make sense only if your power demand is ≤60W and your display count is ≤2.
How Do You Spec for Both Without Buying Twice?
Here's the decision tree that prevents surprises.
Step 1: Measure your power demand.
Check your laptop charger, PSU, or wall outlet: Your charger labels wattage directly. Add 20% for margin. If the result exceeds 60W, an integrated dock won't cut it; plan for a separate brick.
Step 2: Count your displays and identify cable types.
VIDEO cables: HDMI 2.1 (8K60) vs. 2.0 (4K60), DisplayPort 1.4 (5K60 or 4K240 with compression) vs. 1.2 (4K60 uncompressed). If both are video-only, they don't compete for power.
USB: Separate USB-C upstream (to laptop) from USB-A downstream (to peripherals). Most arms route one of each; some have none.
Step 3: Check arm weight rating at full extension.
This is where I learned the hard way. A 49" curved Asus with 12 kg mass + full extension = torque at the clamp that no standard single-arm can sustain without sag. For arms proven to handle curved ultrawides, see stable ultrawide monitor arms. Arm max weight isn't a simple number; it's a function of VESA offset and extension. Always ask for the weight map, not just "35 kg max." (I rebuilt that desk from specs outward: weight maps, torque geometry, clearance. Since then, zero surprises - only measured upgrades.)
Step 4: Separate cable and power pathways.
- Cables: Route through arm (video, USB data). Arm's cable ducts, clips, or channels cost $0-100.
- Power: Route separately (mains to a power strip, USB PD via dock or wall charger to laptop). Power brick stays off the desk or tucked behind it.
This separation costs $0 if you already have a power strip, and $150-300 if you add a dock - but you only do it if the wattage demands it.
Actionable Next Steps
- List your hardware: Laptop model + wattage, all monitors (make, VESA pattern, weight), any external devices. Verify specs from manufacturer datasheets, not marketing copy.
- Decide on integration threshold: If laptop is ≤60W and you have 1-2 displays, consider an integrated USB-C dock inside or near the arm. Otherwise, plan for separate power.
- Choose arm type: Clamp-mount for flexibility and desk clutter control via routed cables; post-mount only if you need ≥2 monitors or never adjust height. Match VESA pattern and max weight to your monitor - not the other way around.
- Plan cable pathways: List every data cable (HDMI, DP, USB-A, USB-C, audio). Count them. Verify the arm's duct capacity. For clean pathways and concealed options, use our monitor cable management guide. If cable count exceeds capacity, add a loom or spiral wrap ($20) or accept visible routing.
- Test power routing before committing: If using an integrated dock, charge your laptop under load (video streaming + disk I/O) for 30 minutes. If battery dips, the dock is undersized; revert to a separate brick.
- Validate desk clamp fit: Measure your desk thickness, overhang, and any crossbars. Most clamp arms need 25-50 mm of clearance. Use our clamp vs grommet vs bolt guide to confirm desk thickness compatibility. Standing desks with limited depth can choke a standard clamp; verify grommet or monitor-post options beforehand.
Performance starts with fit. Spec the desk, then the gear - never the other way around. Your cable and power setup is infrastructure; get it right upfront, and your desk stays a cockpit, not a puzzle.
Related Articles
Cable Management & Clean Desk Solutions
Monitor Cable Management: Hidden Routing for Tidy Desks
Engineer hidden cable paths that preserve color accuracy by cutting vibration, EMI, and reflections. Get practical guidance on separation, strain relief, slack for standing desks, and when to choose grounded metal conduit.
Cable Management & Clean Desk Solutions
Monitor Arm Clutter: Built-In vs External Cable Management Compared
See how cable management on monitor arms directly influences stability - and therefore color accuracy - with measured comparisons of built‑in versus external systems. Apply clear selection criteria and routing practices to minimize drift, vibration, and maintenance in color‑critical workflows.